SwiftUI @Observable vs @State: When to Use What in 2026
Master the differences between @Observable and @State in SwiftUI to choose the right state management tool for your iOS applications.
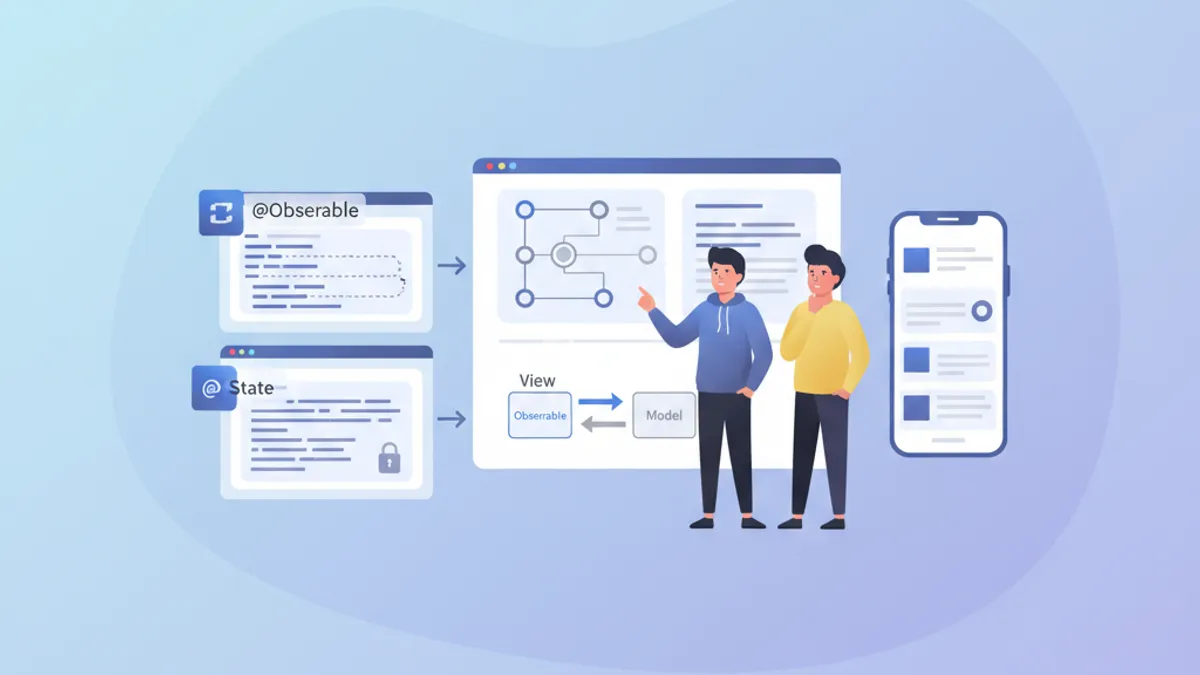
State management forms the cornerstone of any performant SwiftUI application. Since iOS 17, the @Observable macro has revolutionized how reactive models are created, while @State remains essential for local view state. Understanding when to use each tool prevents unnecessary re-renders and enables building smooth, responsive applications.
This article explores the internal mechanisms of @Observable and @State, their fundamental differences, and provides clear guidelines for choosing the right tool based on context.
Understanding @State fundamentals
@State represents the simplest form of state management in SwiftUI. This property wrapper creates persistent storage for a value that belongs exclusively to the view that declares it.
struct CounterView: View {
    // @State creates storage managed by SwiftUI
    @State private var count = 0

    var body: some View {
        VStack(spacing: 20) {
            // The view updates when count changes
            Text("Counter: \(count)")
                .font(.largeTitle)

            HStack(spacing: 16) {
                Button("- 1") {
                    count -= 1
                }

                Button("+ 1") {
                    count += 1
                }
            }
            .buttonStyle(.borderedProminent)
        }
    }
}
Each modification to count triggers a view re-render. SwiftUI automatically manages this value's lifecycle, preserving it across body reconstructions.
Key characteristics of @State
@State possesses several distinctive properties that define its optimal use:
struct FormView: View {
    // ✅ Simple local state - value types
    @State private var username = ""
    @State private var isEnabled = true
    @State private var selectedIndex = 0

    // ✅ Complex value types supported
    @State private var configuration = FormConfiguration()

    var body: some View {
        Form {
            TextField("Username", text: $username)

            Toggle("Enabled", isOn: $isEnabled)

            Picker("Option", selection: $selectedIndex) {
                Text("Option A").tag(0)
                Text("Option B").tag(1)
                Text("Option C").tag(2)
            }
        }
    }
}

// Structs work perfectly with @State
struct FormConfiguration: Equatable {
    var theme: Theme = .light
    var fontSize: CGFloat = 16
    var showNotifications: Bool = true
}

enum Theme {
    case light, dark, system
}
The crucial element: @State works with value types (structs, enums, primitive types). For reference types (classes), other tools are required.
The @Observable macro explained
Introduced with iOS 17, @Observable transforms any class into a reactive data source. Unlike the older ObservableObject protocol, this macro offers fine-grained observation: only properties actually read by a view trigger its re-render.
import Observation

// @Observable transforms the class into a reactive source
@Observable
class UserModel {
    var name: String = ""
    var email: String = ""
    var avatarURL: URL?
    var preferences = UserPreferences()

    // Computed properties work too
    var isValid: Bool {
        !name.isEmpty && email.contains("@")
    }
}

struct UserPreferences {
    var newsletter: Bool = false
    var notifications: Bool = true
    var theme: Theme = .system
}
The magic happens at compile time: the macro automatically generates the necessary tracking code for each property.
Granular observation in action
The major difference from the old ObservableObject lies in tracking granularity:
@Observable
class ProfileModel {
    var name: String = ""
    var bio: String = ""
    var followerCount: Int = 0
    var posts: [Post] = []
}

struct ProfileHeaderView: View {
    let model: ProfileModel

    var body: some View {
        VStack {
            // This view only re-renders if name or bio change
            Text(model.name)
                .font(.title)
            Text(model.bio)
                .foregroundStyle(.secondary)
        }
    }
}

struct FollowerCountView: View {
    let model: ProfileModel

    var body: some View {
        // This view only re-renders if followerCount changes
        HStack {
            Image(systemName: "person.2")
            Text("\(model.followerCount) followers")
        }
    }
}

struct ProfileScreen: View {
    @State private var model = ProfileModel()

    var body: some View {
        VStack {
            // Each subview tracks only its dependencies
            ProfileHeaderView(model: model)
            FollowerCountView(model: model)

            Button("Simulate new follower") {
                // Only re-renders FollowerCountView
                model.followerCount += 1
            }
        }
    }
}SwiftUI analyzes each view's body to determine which properties are read. Only those properties trigger a re-render when modified.
Direct comparison: @Observable vs @State
The choice between these tools depends on several factors. Here's a structured comparison:
// Scenario 1: Temporary UI state → @State
struct ToggleExample: View {
    @State private var isExpanded = false  // ✅ @State appropriate

    var body: some View {
        VStack {
            Button(isExpanded ? "Collapse" : "Expand") {
                withAnimation {
                    isExpanded.toggle()
                }
            }

            if isExpanded {
                Text("Detailed content...")
            }
        }
    }
}

// Scenario 2: Shared business data → @Observable
@Observable
class CartModel {  // ✅ @Observable appropriate
    var items: [CartItem] = []
    var promoCode: String?

    var total: Decimal {
        items.reduce(0) { $0 + $1.price * Decimal($1.quantity) }
    }

    var itemCount: Int {
        items.reduce(0) { $0 + $1.quantity }
    }

    func addItem(_ item: CartItem) {
        if let index = items.firstIndex(where: { $0.id == item.id }) {
            items[index].quantity += 1
        } else {
            items.append(item)
        }
    }

    func removeItem(_ item: CartItem) {
        items.removeAll { $0.id == item.id }
    }
}

struct CartItem: Identifiable, Equatable {
    let id: UUID
    let name: String
    let price: Decimal
    var quantity: Int
}
Use case summary table
| Criterion | @State | @Observable |
|---|---|---|
| Data type | Value types (struct, enum) | Classes |
| Scope | Local to a view | Shareable across views |
| Complexity | Simple state | Complex business logic |
| Lifecycle | Managed by SwiftUI | Explicitly managed |
| Re-render | Entire view | Granular per property |
Ready to ace your iOS interviews?
Practice with our interactive simulators, flashcards, and technical tests.
Advanced usage patterns
Combining @State and @Observable
In real applications, these tools coexist harmoniously. @State handles local UI state while @Observable encapsulates business data.
@Observable
class TodoListModel {
    var todos: [Todo] = []
    var filter: TodoFilter = .all

    var filteredTodos: [Todo] {
        switch filter {
        case .all:
            return todos
        case .active:
            return todos.filter { !$0.isCompleted }
        case .completed:
            return todos.filter { $0.isCompleted }
        }
    }

    func addTodo(title: String) {
        let todo = Todo(id: UUID(), title: title, isCompleted: false)
        todos.append(todo)
    }

    func toggleTodo(_ todo: Todo) {
        guard let index = todos.firstIndex(where: { $0.id == todo.id }) else { return }
        todos[index].isCompleted.toggle()
    }
}

struct Todo: Identifiable, Equatable {
    let id: UUID
    var title: String
    var isCompleted: Bool
}

enum TodoFilter: CaseIterable {
    case all, active, completed
}

struct TodoListView: View {
    // Business data via @Observable
    @State private var model = TodoListModel()

    // Local UI state via @State
    @State private var newTodoTitle = ""
    @State private var isAddingTodo = false
    @State private var selectedTodo: Todo?

    var body: some View {
        NavigationStack {
            VStack {
                // Filter with Picker
                Picker("Filter", selection: $model.filter) {
                    ForEach(TodoFilter.allCases, id: \.self) { filter in
                        Text(filter.label).tag(filter)
                    }
                }
                .pickerStyle(.segmented)
                .padding()

                // Todo list
                List(model.filteredTodos, selection: $selectedTodo) { todo in
                    TodoRowView(todo: todo) {
                        model.toggleTodo(todo)
                    }
                }
            }
            .navigationTitle("Tasks")
            .toolbar {
                Button {
                    isAddingTodo = true
                } label: {
                    Image(systemName: "plus")
                }
            }
            .sheet(isPresented: $isAddingTodo) {
                AddTodoSheet(model: model)
            }
        }
    }
}

struct TodoRowView: View {
    let todo: Todo
    let onToggle: () -> Void

    var body: some View {
        HStack {
            Image(systemName: todo.isCompleted ? "checkmark.circle.fill" : "circle")
                .foregroundStyle(todo.isCompleted ? .green : .secondary)
                .onTapGesture(perform: onToggle)

            Text(todo.title)
                .strikethrough(todo.isCompleted)
        }
    }
}

extension TodoFilter {
    var label: String {
        switch self {
        case .all: return "All"
        case .active: return "Active"
        case .completed: return "Completed"
        }
    }
}
@Observable with dependency injection
For more complex applications, injection via SwiftUI's environment enables effective decoupling:
@Observable
class AuthenticationService {
    var currentUser: User?
    var isAuthenticated: Bool { currentUser != nil }

    func login(email: String, password: String) async throws {
        // Authentication logic
        currentUser = User(id: UUID(), email: email, name: "User")
    }

    func logout() {
        currentUser = nil
    }
}

struct User: Identifiable, Equatable {
    let id: UUID
    let email: String
    let name: String
}

// Extension to create an environment key
extension EnvironmentValues {
    @Entry var authService: AuthenticationService = AuthenticationService()
}

// Configuration in the App
@main
struct MyApp: App {
    @State private var authService = AuthenticationService()

    var body: some Scene {
        WindowGroup {
            ContentView()
                .environment(\.authService, authService)
        }
    }
}

// Usage in views
struct ProfileView: View {
    @Environment(\.authService) private var authService

    var body: some View {
        if let user = authService.currentUser {
            VStack {
                Text("Hello, \(user.name)")
                Button("Sign Out") {
                    authService.logout()
                }
            }
        } else {
            Text("Not signed in")
        }
    }
}
Performance and optimization
Avoiding unnecessary re-renders
Even with @Observable's granularity, certain patterns can degrade performance:
// ❌ Bad pattern: reading the entire object
struct BadPatternView: View {
    let model: ProfileModel

    var body: some View {
        // Reads model.name AND model.posts even if only name is displayed
        let _ = model.posts.count  // Creates unnecessary dependency
        Text(model.name)
    }
}

// ✅ Good pattern: targeted reading
struct GoodPatternView: View {
    let model: ProfileModel

    var body: some View {
        // Tracks only name
        Text(model.name)
    }
}

// ✅ Extract into subviews to isolate dependencies
struct OptimizedProfileView: View {
    let model: ProfileModel

    var body: some View {
        VStack {
            // Each subview has its own dependencies
            ProfileNameView(model: model)
            ProfilePostsView(model: model)
            ProfileStatsView(model: model)
        }
    }
}

struct ProfileNameView: View {
    let model: ProfileModel

    var body: some View {
        Text(model.name)
            .font(.title)
    }
}

struct ProfilePostsView: View {
    let model: ProfileModel

    var body: some View {
        ForEach(model.posts) { post in
            PostRow(post: post)
        }
    }
}

struct ProfileStatsView: View {
    let model: ProfileModel

    var body: some View {
        HStack {
            StatBadge(value: model.followerCount, label: "Followers")
            StatBadge(value: model.posts.count, label: "Posts")
        }
    }
}Computed properties on @Observable are re-evaluated on every access. For complex calculations, consider caching the result in a stored property.
Batch updates with withObservationTracking
For advanced scenarios, withObservationTracking enables detecting changes without creating a binding:
import Observation

@Observable
class DataSyncModel {
    var lastSyncDate: Date?
    var pendingChanges: Int = 0
    var isSyncing: Bool = false
}

class SyncCoordinator {
    let model: DataSyncModel

    init(model: DataSyncModel) {
        self.model = model
        startObserving()
    }

    private func startObserving() {
        // Observe changes without UI
        withObservationTracking {
            // Access that creates dependencies
            _ = model.pendingChanges
            _ = model.isSyncing
        } onChange: {
            // Called when an observed property changes
            Task { @MainActor in
                self.handleModelChange()
            }
        }
    }

    private func handleModelChange() {
        if model.pendingChanges > 0 && !model.isSyncing {
            // Trigger synchronization
            Task {
                await syncChanges()
            }
        }
        // Re-establish observation
        startObserving()
    }

    private func syncChanges() async {
        model.isSyncing = true
        // Sync logic...
        model.isSyncing = false
        model.pendingChanges = 0
        model.lastSyncDate = Date()
    }
}
Migrating from ObservableObject
For existing projects using ObservableObject, migrating to @Observable simplifies the code:
// ❌ Old pattern with ObservableObject
class OldSettingsModel: ObservableObject {
    @Published var darkMode: Bool = false
    @Published var fontSize: CGFloat = 16
    @Published var notifications: Bool = true
}

struct OldSettingsView: View {
    @StateObject private var settings = OldSettingsModel()
    // or @ObservedObject if injected

    var body: some View {
        Form {
            Toggle("Dark Mode", isOn: $settings.darkMode)
            Slider(value: $settings.fontSize, in: 12...24)
            Toggle("Notifications", isOn: $settings.notifications)
        }
    }
}

// ✅ New pattern with @Observable
@Observable
class NewSettingsModel {
    var darkMode: Bool = false
    var fontSize: CGFloat = 16
    var notifications: Bool = true
}

struct NewSettingsView: View {
    @State private var settings = NewSettingsModel()

    var body: some View {
        Form {
            Toggle("Dark Mode", isOn: $settings.darkMode)
            Slider(value: $settings.fontSize, in: 12...24)
            Toggle("Notifications", isOn: $settings.notifications)
        }
    }
}
Migration benefits:
- No longer need
@Publishedon each property @Statereplaces@StateObjectfor creation- Automatic granular observation
- More readable and maintainable code
Practical decision rules
Here's a decision guide for choosing the right tool:
/*
 RULE 1: Ephemeral UI state → @State
 - Animations, transitions
 - Local form states
 - Temporary selections
 - Section expand/collapse
*/
struct AnimatedCard: View {
    @State private var isFlipped = false  // ✅ Local UI state
    // ...
}

/*
 RULE 2: Shared data across views → @Observable
 - Business data models
 - Authentication state
 - Shopping cart
 - User preferences
*/
@Observable
class UserSession {  // ✅ Shared across app
    var user: User?
    var preferences: Preferences
    // ...
}

/*
 RULE 3: Simple struct with binding → @State
 - Local configuration
 - Isolated forms
*/
struct FormData {
    var name: String = ""
    var email: String = ""
}

struct FormView: View {
    @State private var formData = FormData()  // ✅ Struct with @State
    // ...
}

/*
 RULE 4: Complex business logic → @Observable
 - Validations
 - Network calls
 - Data transformations
*/
@Observable
class OrderProcessor {  // ✅ Complex logic
    var items: [OrderItem] = []
    var status: OrderStatus = .draft

    func validate() -> [ValidationError] { /* ... */ }
    func submit() async throws { /* ... */ }
}
Conclusion
The choice between @Observable and @State comes down to two fundamental questions: the data type (value or reference) and the state scope (local or shared). @State excels for simple, local UI state, while @Observable shines for complex data models requiring granular observation.
Decision checklist
- ✅ Use
@Statefor value types and ephemeral UI state - ✅ Use
@Observablefor classes with business data - ✅ Prefer
@Observablewhen state spans multiple views - ✅ Extract into subviews to optimize re-renders
- ✅ Avoid reading unnecessary properties in the body
- ✅ Migrate progressively from
ObservableObject - ✅ Use environment for dependency injection
- ✅ Test performance with Instruments for complex cases
Start practicing!
Test your knowledge with our interview simulators and technical tests.
Can you spot the bug in iOS?
One real snippet, one hidden bug, one attempt a day. No account needed to try.

Written by
Anthony Fillion-MailletFounder of SharpSkill
Full-stack developer for over 10 years. Runs SharpSkill and answers for everything published here.
Updated on March 28, 2026
Tags
Share
Related articles
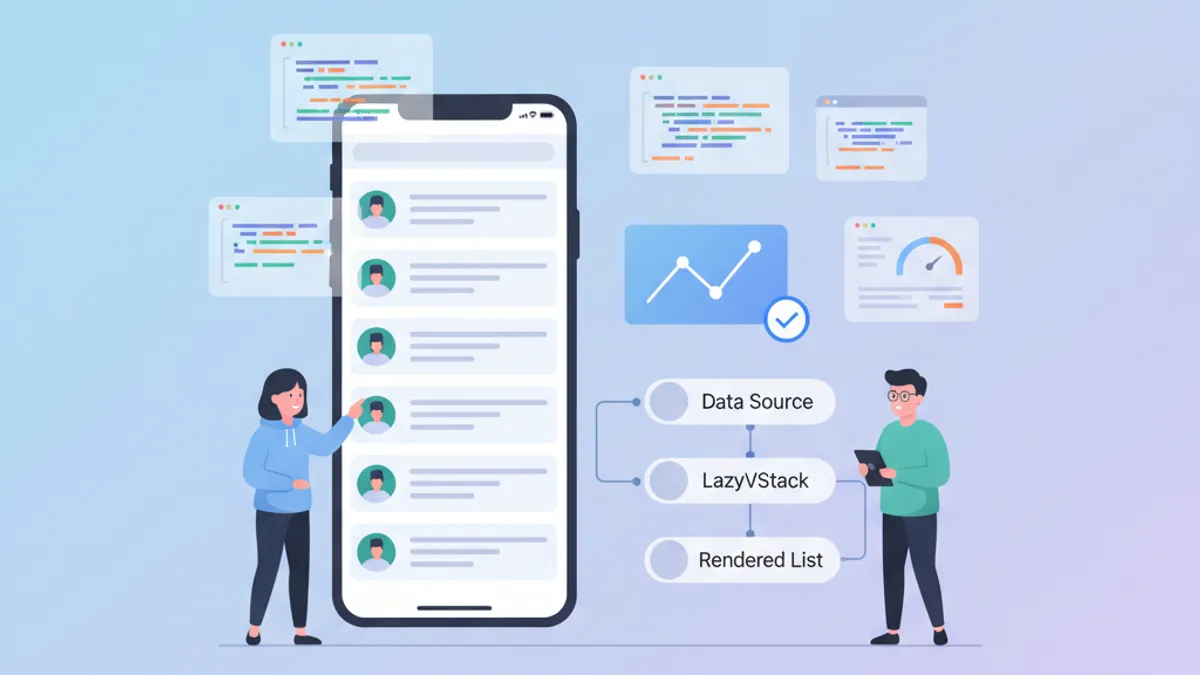
SwiftUI Performance: Optimizing LazyVStack and Complex Lists
Optimization techniques for LazyVStack and SwiftUI lists. Reduce memory consumption, improve scrolling performance, and avoid common pitfalls.

SwiftUI Custom ViewModifiers: Reusable Patterns for Design Systems
Build custom SwiftUI ViewModifiers for a consistent design system. Patterns, best practices, and practical examples to style iOS views efficiently.
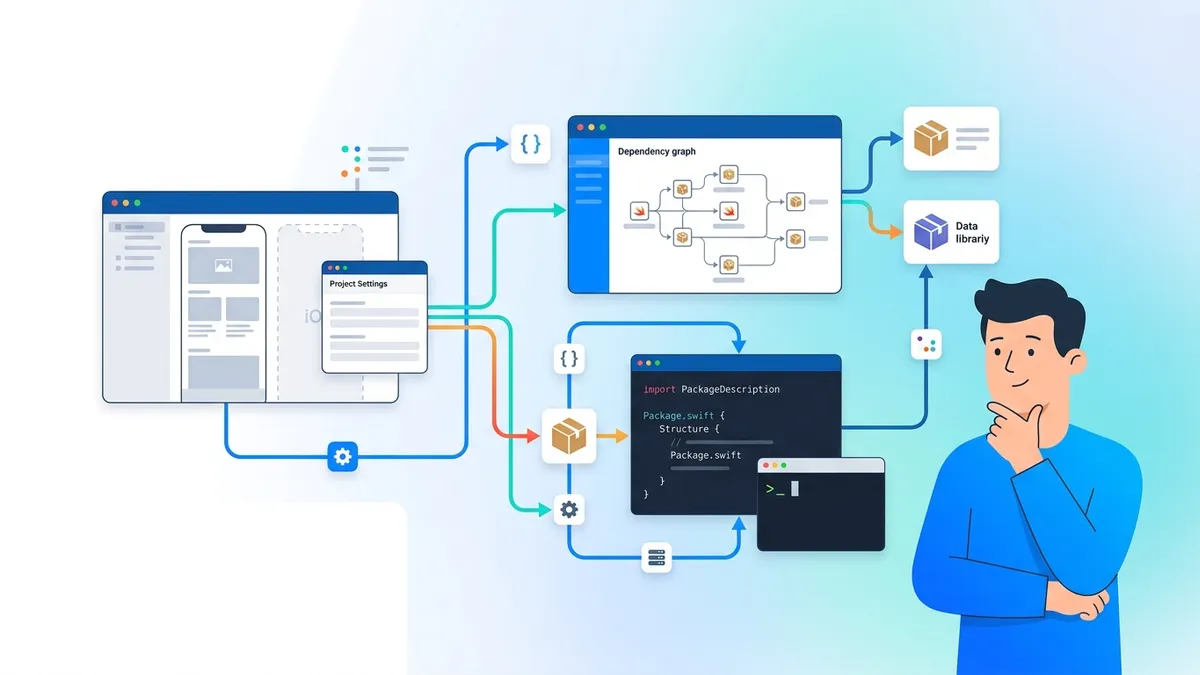
Swift Package Manager in 2026: Creating, Publishing and Interview Questions
Master Swift Package Manager with this comprehensive tutorial. Learn to create packages, manage dependencies, publish libraries, and prepare for iOS interview questions about SPM.