Kubernetes: 첫 애플리케이션 배포하기
Kubernetes에서 애플리케이션을 배포하기 위한 실용 가이드입니다. minikube 설치부터 Deployment, Service, ConfigMap까지 구체적인 예제와 함께 설명합니다.
Kubernetes(K8s)는 컨테이너 오케스트레이션의 사실상 표준이 되었습니다. Google에서 설계되었고 현재는 CNCF에서 유지관리하는 Kubernetes는 컨테이너화된 애플리케이션의 배포, 확장, 관리를 자동화합니다. 이 가이드는 로컬 클러스터 설정과 첫 애플리케이션 배포까지의 과정을 안내합니다.
Kubernetes를 깊이 다루기 전에 Docker에 대한 기본 지식을 갖추는 것이 권장됩니다. 컨테이너는 Kubernetes가 오케스트레이션하는 기본 구성 요소입니다. Docker 가이드를 먼저 읽어두면 여기서 소개하는 개념을 훨씬 쉽게 이해할 수 있습니다.
Kubernetes 아키텍처 이해하기
Kubernetes는 마스터-워커 아키텍처에 기반합니다. Control Plane은 클러스터에 대한 전역적 결정을 내리고, Node는 워크로드를 실행합니다.
# Simplified Kubernetes Architecture

┌─────────────────────────────────────────────────────────────┐
│                      CONTROL PLANE                          │
│  ┌─────────────┐  ┌─────────────┐  ┌─────────────────────┐ │
│  │ API Server  │  │ Scheduler   │  │ Controller Manager  │ │
│  └─────────────┘  └─────────────┘  └─────────────────────┘ │
│  ┌─────────────────────────────────────────────────────────┐│
│  │                        etcd                             ││
│  └─────────────────────────────────────────────────────────┘│
└─────────────────────────────────────────────────────────────┘
                              │
         ┌────────────────────┼────────────────────┐
         ▼                    ▼                    ▼
┌─────────────────┐  ┌─────────────────┐  ┌─────────────────┐
│     NODE 1      │  │     NODE 2      │  │     NODE 3      │
│  ┌───────────┐  │  │  ┌───────────┐  │  │  ┌───────────┐  │
│  │  kubelet  │  │  │  │  kubelet  │  │  │  │  kubelet  │  │
│  ├───────────┤  │  │  ├───────────┤  │  │  ├───────────┤  │
│  │ kube-proxy│  │  │  │ kube-proxy│  │  │  │ kube-proxy│  │
│  ├───────────┤  │  │  ├───────────┤  │  │  ├───────────┤  │
│  │   Pods    │  │  │  │   Pods    │  │  │  │   Pods    │  │
│  └───────────┘  │  │  └───────────┘  │  │  └───────────┘  │
└─────────────────┘  └─────────────────┘  └─────────────────┘
API Server는 모든 명령의 진입점입니다. etcd는 클러스터 상태를 저장합니다. Scheduler는 Pod를 Node에 할당합니다. Controller는 시스템의 원하는 상태를 유지합니다.
로컬 환경 설정하기
Kubernetes를 로컬에서 시험해 볼 수 있는 옵션은 여러 가지가 있습니다: minikube, kind, k3d 또는 Docker Desktop입니다. minikube는 학습에 가장 인기 있는 솔루션으로 남아 있습니다.
# terminal
# Install kubectl (Kubernetes client)
curl -LO "https://dl.k8s.io/release/$(curl -L -s https://dl.k8s.io/release/stable.txt)/bin/linux/amd64/kubectl"
chmod +x kubectl
sudo mv kubectl /usr/local/bin/

# Verify installation
kubectl version --client
# Client Version: v1.31.0

# Install minikube
curl -LO https://storage.googleapis.com/minikube/releases/latest/minikube-linux-amd64
sudo install minikube-linux-amd64 /usr/local/bin/minikube

# Start the local cluster
minikube start --driver=docker --cpus=2 --memory=4096

# Check status
minikube status
# minikube: Running
# cluster: Running
# kubectl: Configured
minikube는 가상 머신이나 Docker 컨테이너 안에 단일 노드 Kubernetes 클러스터를 생성합니다. 할당된 자원(CPU, 메모리)은 필요에 따라 조정할 수 있습니다.
# terminal
# Access the Kubernetes dashboard (web interface)
minikube dashboard

# Check cluster nodes
kubectl get nodes
# NAME       STATUS   ROLES           AGE   VERSION
# minikube   Ready    control-plane   5m    v1.31.0

# Detailed cluster information
kubectl cluster-infoKind(Kubernetes in Docker)는 더 빠르게 시작하며 CI/CD 테스트에 더 적합합니다. K3d는 경량 Kubernetes 배포판인 k3s를 사용합니다. Docker Desktop은 Kubernetes를 직접 통합하지만 더 많은 자원을 소비합니다.
Pod: 기본 단위
Pod는 Kubernetes에서 배포 가능한 가장 작은 단위입니다. Pod는 동일한 네트워크와 스토리지를 공유하는 하나 이상의 컨테이너를 캡슐화합니다.
# pod-simple.yaml
apiVersion: v1
kind: Pod
metadata:
  # Unique Pod name within the namespace
  name: nginx-pod
  # Labels for organization and selection
  labels:
    app: nginx
    environment: development
spec:
  containers:
    # Main container definition
    - name: nginx
      # Docker image to use
      image: nginx:1.25-alpine
      # Ports exposed by the container
      ports:
        - containerPort: 80
      # Container resource allocation
      resources:
        requests:
          memory: "64Mi"
          cpu: "100m"
        limits:
          memory: "128Mi"
          cpu: "200m"
이 YAML 매니페스트는 단일 nginx 컨테이너를 포함하는 Pod를 선언합니다. 레이블은 Pod를 식별하고 선택할 수 있게 합니다. 자원은 최소 보장(requests)과 최대 한도(limits)를 정의합니다.
# terminal
# Create the Pod
kubectl apply -f pod-simple.yaml
# pod/nginx-pod created

# List Pods
kubectl get pods
# NAME        READY   STATUS    RESTARTS   AGE
# nginx-pod   1/1     Running   0          30s

# Full Pod details
kubectl describe pod nginx-pod

# Container logs
kubectl logs nginx-pod

# Execute a command inside the Pod
kubectl exec -it nginx-pod -- /bin/sh

# Delete the Pod
kubectl delete pod nginx-pod
Pod는 본질적으로 일시적입니다. 충돌이나 삭제가 발생해도 Kubernetes는 자동으로 다시 만들지 않습니다. Deployment가 이러한 한계를 해결합니다.
Deployment: 선언적 관리
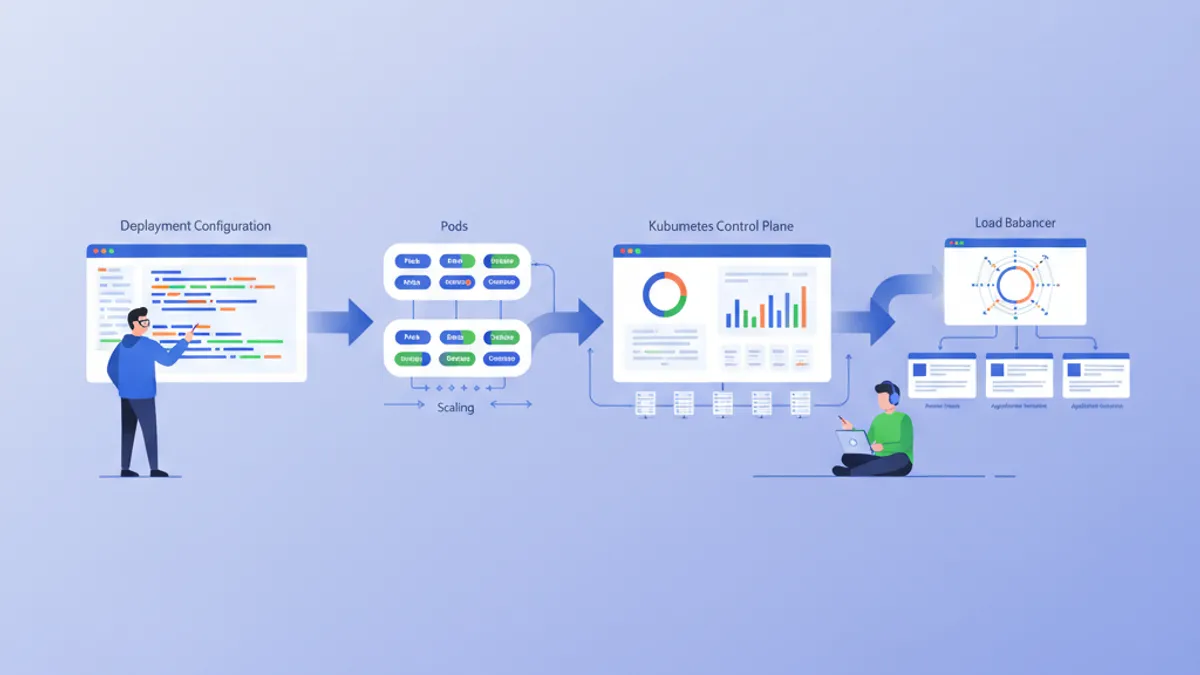
Deployment는 동일한 Pod 집합에 대한 원하는 상태를 정의합니다. Kubernetes는 필요에 따라 Pod를 만들고, 업데이트하고, 삭제하면서 이 상태를 자동으로 유지합니다.
# deployment.yaml
apiVersion: apps/v1
kind: Deployment
metadata:
  # Deployment name
  name: webapp-deployment
  labels:
    app: webapp
spec:
  # Desired number of replicas
  replicas: 3
  # Selector to identify managed Pods
  selector:
    matchLabels:
      app: webapp
  # Template for Pod creation
  template:
    metadata:
      labels:
        app: webapp
    spec:
      containers:
        - name: webapp
          image: nginx:1.25-alpine
          ports:
            - containerPort: 80
          resources:
            requests:
              memory: "64Mi"
              cpu: "100m"
            limits:
              memory: "128Mi"
              cpu: "200m"
          # Liveness probe: restarts container on failure
          livenessProbe:
            httpGet:
              path: /
              port: 80
            initialDelaySeconds: 10
            periodSeconds: 10
          # Readiness probe: removes Pod from Service on failure
          readinessProbe:
            httpGet:
              path: /
              port: 80
            initialDelaySeconds: 5
            periodSeconds: 5
Deployment는 3개의 동일한 Pod를 유지하는 ReplicaSet을 생성합니다. 프로브는 컨테이너의 상태를 확인하고 Kubernetes가 문제에 자동으로 대응할 수 있게 합니다.
# terminal
# Create the Deployment
kubectl apply -f deployment.yaml
# deployment.apps/webapp-deployment created

# Verify the Deployment
kubectl get deployments
# NAME                READY   UP-TO-DATE   AVAILABLE   AGE
# webapp-deployment   3/3     3            3           1m

# List Pods created by the Deployment
kubectl get pods -l app=webapp
# NAME                                READY   STATUS    RESTARTS   AGE
# webapp-deployment-7d9f8b6c4-abc12   1/1     Running   0          1m
# webapp-deployment-7d9f8b6c4-def34   1/1     Running   0          1m
# webapp-deployment-7d9f8b6c4-ghi56   1/1     Running   0          1m

# Manual scaling
kubectl scale deployment webapp-deployment --replicas=5

# Deployment history
kubectl rollout history deployment webapp-deployment
Pod를 삭제하면 원하는 복제본 수를 유지하기 위해 새 Pod의 생성이 자동으로 트리거됩니다.
DevOps 면접 준비가 되셨나요?
인터랙티브 시뮬레이터, flashcards, 기술 테스트로 연습하세요.
Service: 네트워크 노출
Pod는 일시적인 IP 주소를 갖습니다. Service는 내장 로드 밸런싱과 함께 Pod 집합에 액세스할 수 있는 안정적인 주소를 제공합니다.
# service.yaml
apiVersion: v1
kind: Service
metadata:
  name: webapp-service
spec:
  # Service type: ClusterIP (internal), NodePort, LoadBalancer
  type: ClusterIP
  # Selector to identify target Pods
  selector:
    app: webapp
  ports:
    # Port exposed by the Service
    - port: 80
      # Target container port
      targetPort: 80
      # Protocol (TCP by default)
      protocol: TCP
이 ClusterIP Service는 클러스터 내부에서만 접근 가능합니다. webapp-service:80으로 가는 요청은 app: webapp 레이블을 가진 Pod 사이에 분산됩니다.
# terminal
# Create the Service
kubectl apply -f service.yaml
# service/webapp-service created

# List Services
kubectl get services
# NAME             TYPE        CLUSTER-IP      EXTERNAL-IP   PORT(S)   AGE
# webapp-service   ClusterIP   10.96.123.456   <none>        80/TCP    30s

# Test from a temporary Pod
kubectl run curl-test --rm -it --image=curlimages/curl -- curl webapp-service

# Detailed Service description
kubectl describe service webapp-service
애플리케이션을 클러스터 외부로 노출하려면 NodePort 또는 LoadBalancer 타입이 필요합니다.
# service-nodeport.yaml
apiVersion: v1
kind: Service
metadata:
  name: webapp-nodeport
spec:
  type: NodePort
  selector:
    app: webapp
  ports:
    - port: 80
      targetPort: 80
      # Port on each Node (30000-32767)
      nodePort: 30080
minikube에서 minikube service webapp-nodeport 명령은 자동으로 올바른 URL로 브라우저를 엽니다.
ConfigMap: 외부화된 구성
ConfigMap은 구성을 코드와 분리합니다. 값은 환경 변수로 주입되거나 파일로 마운트됩니다.
# configmap.yaml
apiVersion: v1
kind: ConfigMap
metadata:
  name: webapp-config
data:
  # Simple key-value pairs
  APP_ENV: "production"
  LOG_LEVEL: "info"
  MAX_CONNECTIONS: "100"
  # Multiline configuration (complete file)
  nginx.conf: |
    server {
        listen 80;
        server_name localhost;

        location / {
            root /usr/share/nginx/html;
            index index.html;
        }

        location /health {
            return 200 'OK';
            add_header Content-Type text/plain;
        }
    }
ConfigMap은 민감하지 않은 데이터를 저장합니다. 비밀(비밀번호, 토큰)에는 Kubernetes Secret이 더 적합합니다.
# deployment-with-config.yaml
apiVersion: apps/v1
kind: Deployment
metadata:
  name: webapp-configured
spec:
  replicas: 2
  selector:
    matchLabels:
      app: webapp-configured
  template:
    metadata:
      labels:
        app: webapp-configured
    spec:
      containers:
        - name: webapp
          image: nginx:1.25-alpine
          ports:
            - containerPort: 80
          # Inject environment variables
          envFrom:
            - configMapRef:
                name: webapp-config
          # Or individual variables
          env:
            - name: SPECIFIC_VAR
              valueFrom:
                configMapKeyRef:
                  name: webapp-config
                  key: LOG_LEVEL
          # Mount configuration file
          volumeMounts:
            - name: nginx-config
              mountPath: /etc/nginx/conf.d/default.conf
              subPath: nginx.conf
      volumes:
        - name: nginx-config
          configMap:
            name: webapp-config
이 구성은 환경 변수를 주입하고 컨테이너 안에 nginx.conf 파일을 마운트합니다.
# terminal
# Apply resources
kubectl apply -f configmap.yaml
kubectl apply -f deployment-with-config.yaml

# Verify environment variables
kubectl exec deployment/webapp-configured -- printenv | grep APP_ENV
# APP_ENV=production

# Verify mounted file
kubectl exec deployment/webapp-configured -- cat /etc/nginx/conf.d/default.confConfigMap을 수정해도 Pod가 자동으로 재시작되지 않습니다. 변경 사항을 적용하려면 수동 재시작이 필요합니다: kubectl rollout restart deployment webapp-configured. Reloader와 같은 도구가 이 과정을 자동화합니다.
Secret: 민감한 데이터
Secret은 비밀번호, 토큰, SSH 키와 같은 민감한 정보를 저장합니다. base64로 인코딩되어 있지만 기본적으로 저장 시 암호화되지는 않습니다.
# secret.yaml
apiVersion: v1
kind: Secret
metadata:
  name: webapp-secrets
type: Opaque
# Values must be base64-encoded
data:
  # echo -n 'admin' | base64
  username: YWRtaW4=
  # echo -n 'supersecretpassword' | base64
  password: c3VwZXJzZWNyZXRwYXNzd29yZA==
---
# Alternative: stringData accepts plain text values
apiVersion: v1
kind: Secret
metadata:
  name: webapp-secrets-plain
type: Opaque
stringData:
  username: admin
  password: supersecretpassword
Secret은 ConfigMap과 같은 방식으로 주입됩니다.
# deployment-with-secrets.yaml
apiVersion: apps/v1
kind: Deployment
metadata:
  name: webapp-secure
spec:
  replicas: 1
  selector:
    matchLabels:
      app: webapp-secure
  template:
    metadata:
      labels:
        app: webapp-secure
    spec:
      containers:
        - name: webapp
          image: nginx:1.25-alpine
          env:
            - name: DB_USERNAME
              valueFrom:
                secretKeyRef:
                  name: webapp-secrets
                  key: username
            - name: DB_PASSWORD
              valueFrom:
                secretKeyRef:
                  name: webapp-secrets
key: password# terminal
# Create the Secret
kubectl apply -f secret.yaml
# List Secrets (values are not displayed)
kubectl get secrets
# NAME TYPE DATA AGE
# webapp-secrets Opaque 2 10s
# Decode a value
kubectl get secret webapp-secrets -o jsonpath='{.data.password}' | base64 -d
# supersecretpasswordNamespace: 논리적 격리
Namespace는 클러스터를 격리된 가상 환경으로 분할합니다. 이러한 분리는 동일한 클러스터에서 여러 팀이나 환경을 관리할 수 있게 합니다.
# namespace.yaml
apiVersion: v1
kind: Namespace
metadata:
  name: development
  labels:
    environment: development
---
apiVersion: v1
kind: Namespace
metadata:
  name: staging
  labels:
    environment: staging
각 자원은 특정 Namespace에 생성될 수 있습니다.
# terminal
# Create namespaces
kubectl apply -f namespace.yaml

# List namespaces
kubectl get namespaces
# NAME          STATUS   AGE
# default       Active   1d
# development   Active   10s
# staging       Active   10s

# Create a resource in a specific namespace
kubectl apply -f deployment.yaml -n development

# List Pods in a namespace
kubectl get pods -n development

# Change default namespace
kubectl config set-context --current --namespace=development
다른 Namespace의 자원은 기본적으로 격리됩니다. Namespace 간 통신은 내부 DNS를 통해 이루어집니다: service-name.namespace.svc.cluster.local.
완전한 애플리케이션: 자원 조합하기
다음은 소개한 모든 개념을 결합한 완전한 애플리케이션입니다.
# complete-app.yaml
---
# Dedicated Namespace
apiVersion: v1
kind: Namespace
metadata:
  name: myapp
---
# ConfigMap for configuration
apiVersion: v1
kind: ConfigMap
metadata:
  name: myapp-config
  namespace: myapp
data:
  APP_NAME: "MyApp"
  LOG_LEVEL: "info"
---
# Secret for sensitive data
apiVersion: v1
kind: Secret
metadata:
  name: myapp-secrets
  namespace: myapp
type: Opaque
stringData:
  api-key: "sk-1234567890abcdef"
---
# Deployment with 3 replicas
apiVersion: apps/v1
kind: Deployment
metadata:
  name: myapp
  namespace: myapp
spec:
  replicas: 3
  selector:
    matchLabels:
      app: myapp
  template:
    metadata:
      labels:
        app: myapp
    spec:
      containers:
        - name: myapp
          image: nginx:1.25-alpine
          ports:
            - containerPort: 80
          envFrom:
            - configMapRef:
                name: myapp-config
          env:
            - name: API_KEY
              valueFrom:
                secretKeyRef:
                  name: myapp-secrets
                  key: api-key
          resources:
            requests:
              memory: "64Mi"
              cpu: "100m"
            limits:
              memory: "128Mi"
              cpu: "200m"
          livenessProbe:
            httpGet:
              path: /
              port: 80
            initialDelaySeconds: 10
            periodSeconds: 10
          readinessProbe:
            httpGet:
              path: /
              port: 80
            initialDelaySeconds: 5
            periodSeconds: 5
---
# Service for internal exposure
apiVersion: v1
kind: Service
metadata:
  name: myapp-service
  namespace: myapp
spec:
  type: ClusterIP
  selector:
    app: myapp
  ports:
    - port: 80
      targetPort: 80
---
# NodePort Service for external access (development)
apiVersion: v1
kind: Service
metadata:
  name: myapp-nodeport
  namespace: myapp
spec:
  type: NodePort
  selector:
    app: myapp
  ports:
    - port: 80
      targetPort: 80
      nodePort: 30100
이 단일 파일은 외부화된 구성, 비밀, 고가용성, 네트워크 노출을 갖춘 완전한 애플리케이션을 배포합니다.
# terminal
# Deploy the complete application
kubectl apply -f complete-app.yaml

# Verify all resources
kubectl get all -n myapp
# NAME                         READY   STATUS    RESTARTS   AGE
# pod/myapp-7d9f8b6c4-abc12    1/1     Running   0          30s
# pod/myapp-7d9f8b6c4-def34    1/1     Running   0          30s
# pod/myapp-7d9f8b6c4-ghi56    1/1     Running   0          30s
#
# NAME                    TYPE        CLUSTER-IP      PORT(S)        AGE
# service/myapp-service   ClusterIP   10.96.123.456   80/TCP         30s
# service/myapp-nodeport  NodePort    10.96.123.789   80:30100/TCP   30s
#
# NAME                    READY   UP-TO-DATE   AVAILABLE   AGE
# deployment.apps/myapp   3/3     3            3           30s

# Access the application with minikube
minikube service myapp-nodeport -n myapp
업데이트와 롤백
Kubernetes는 점진적 업데이트와 롤백을 용이하게 합니다.
# terminal
# Update the Deployment image
kubectl set image deployment/myapp myapp=nginx:1.26-alpine -n myapp

# Track deployment in real-time
kubectl rollout status deployment/myapp -n myapp
# Waiting for deployment "myapp" rollout to finish: 1 out of 3 new replicas updated
# Waiting for deployment "myapp" rollout to finish: 2 out of 3 new replicas updated
# deployment "myapp" successfully rolled out

# Revision history
kubectl rollout history deployment/myapp -n myapp
# REVISION  CHANGE-CAUSE
# 1         <none>
# 2         <none>

# Rollback to previous revision
kubectl rollout undo deployment/myapp -n myapp

# Rollback to a specific revision
kubectl rollout undo deployment/myapp --to-revision=1 -n myapp
기본 업데이트 전략(RollingUpdate)은 이전 Pod를 새 Pod로 점진적으로 교체하여 지속적인 가용성을 보장합니다.
필수 kubectl 명령어
# terminal
# ========================================
# General Information
# ========================================
kubectl cluster-info                    # Cluster info
kubectl get nodes -o wide               # Nodes with details
kubectl api-resources                   # List resource types

# ========================================
# Resource Management
# ========================================
kubectl get all                         # All namespace resources
kubectl get pods -A                     # Pods from all namespaces
kubectl get pods -o wide                # Pods with IP and Node
kubectl get pods -w                     # Watch mode (real-time)

# ========================================
# Inspection and Debugging
# ========================================
kubectl describe pod <name>             # Full details
kubectl logs <pod> -f                   # Streaming logs
kubectl logs <pod> -c <container>       # Specific container logs
kubectl exec -it <pod> -- /bin/sh       # Interactive shell
kubectl port-forward <pod> 8080:80      # Local tunnel to Pod

# ========================================
# Editing and Deletion
# ========================================
kubectl edit deployment <name>          # Live editing (vi)
kubectl delete -f manifest.yaml         # Delete via file
kubectl delete pod <name> --force       # Force deletion
결론
Kubernetes는 선언적이고 회복력 있으며 확장 가능한 프레임워크를 제공함으로써 컨테이너화된 애플리케이션 관리를 변화시킵니다. 여기서 소개한 기본 개념은 프로덕션 환경에 적합한 배포의 기초를 형성합니다.
첫 Kubernetes 배포를 위한 체크리스트
- ✅ 작동하는 로컬 클러스터(minikube, kind 또는 k3d)
- ✅ kubectl 설치 및 구성 완료
- ✅ 복제본과 health probe를 갖춘 Deployment
- ✅ 네트워크 노출을 위한 Service
- ✅ 외부화된 구성을 위한 ConfigMap
- ✅ 민감한 데이터를 위한 Secret
- ✅ 격리를 위한 Namespace
- ✅ 정의된 자원 한도(requests/limits)
- ✅ 업데이트 전략과 롤백 숙달
연습을 시작하세요!
면접 시뮬레이터와 기술 테스트로 지식을 테스트하세요.
Kubernetes를 마스터하면 확장 가능한 클라우드 네이티브 아키텍처로 가는 문이 열립니다. 다음 단계에는 HTTP 라우팅을 위한 Ingress Controller, 스토리지를 위한 PersistentVolume, 패키지 관리를 위한 Helm 탐구가 포함됩니다. Kubernetes는 DevOps와 SRE 면접에서 중요한 자산이 됩니다.
태그
공유
관련 기사
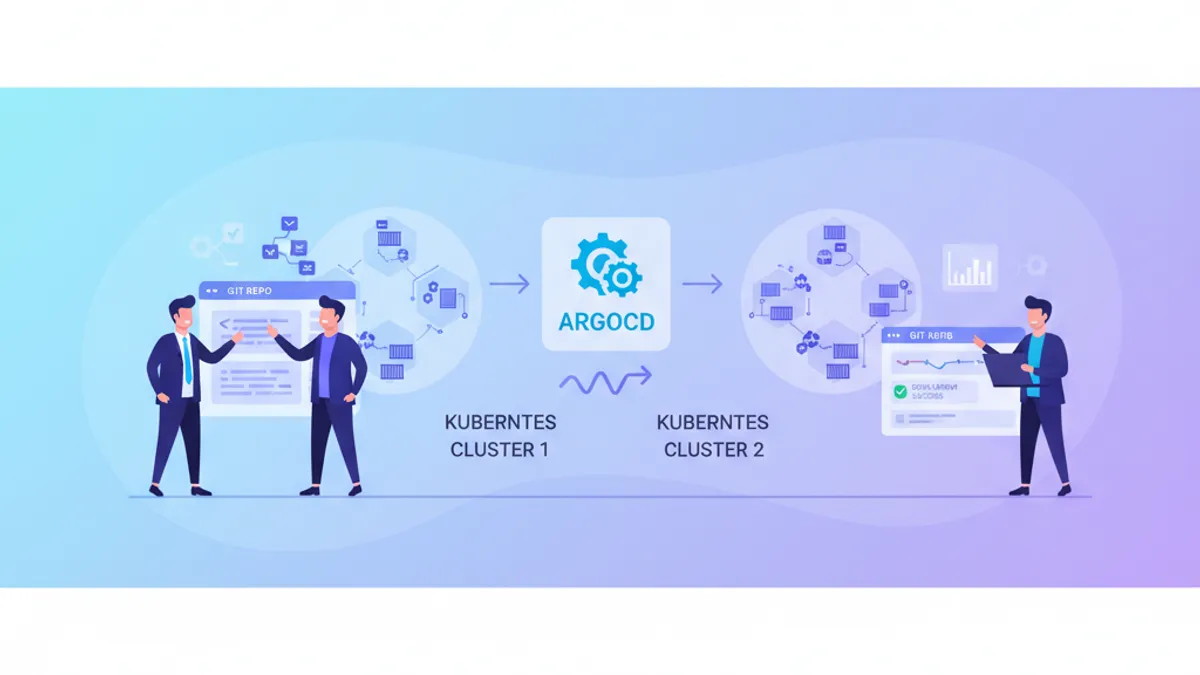
ArgoCD와 GitOps 완벽 가이드 2026: Kubernetes 지속적 배포 전략과 면접 핵심 질문
ArgoCD 3.4 GitOps 튜토리얼. Kubernetes 지속적 배포, Application CRD, Sync Waves, 멀티클러스터 관리, Flux 비교, 면접 빈출 질문을 YAML 예제와 함께 해설합니다.

Kubernetes 면접 완벽 가이드: Pod, Service, Deployment 핵심 정리
Kubernetes 면접에서 자주 출제되는 Pod, Service, Deployment의 핵심 개념을 YAML 예제와 함께 상세히 정리합니다. 2026년 최신 트렌드를 반영한 실전 대비 가이드입니다.
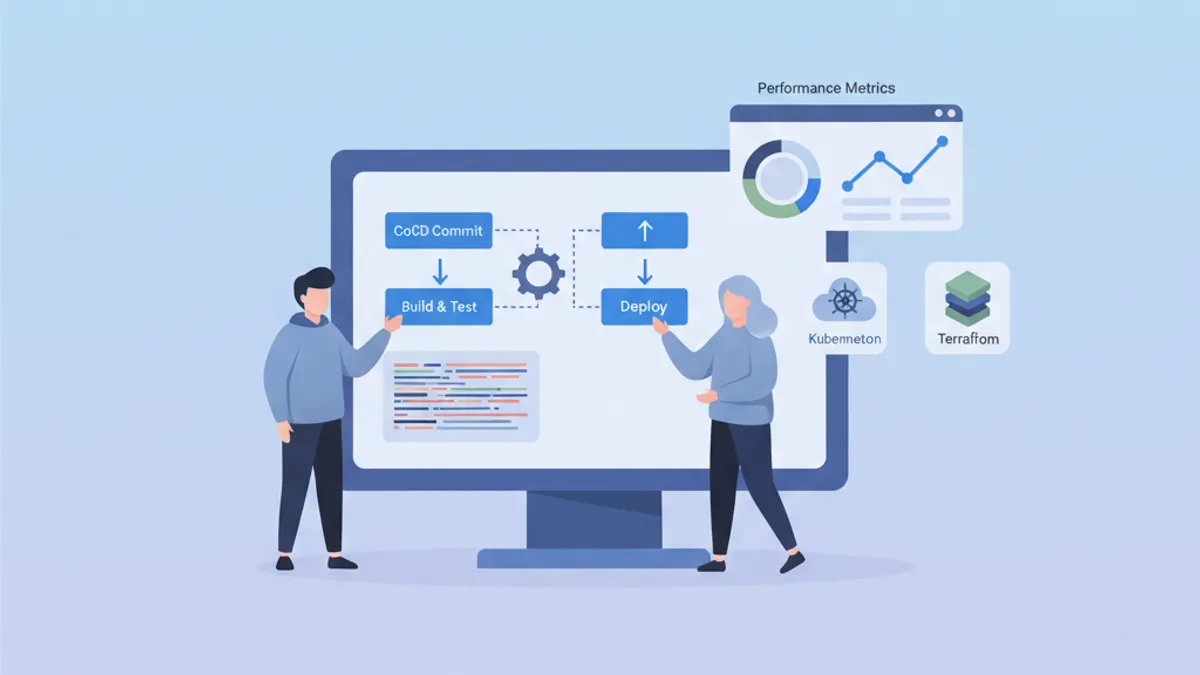
DevOps 인터뷰 필수 질문: 완전 가이드 2026
CI/CD, Kubernetes, Docker, Terraform, SRE 실천에 관한 필수 질문으로 DevOps 인터뷰를 준비하십시오. 상세한 답변 포함.