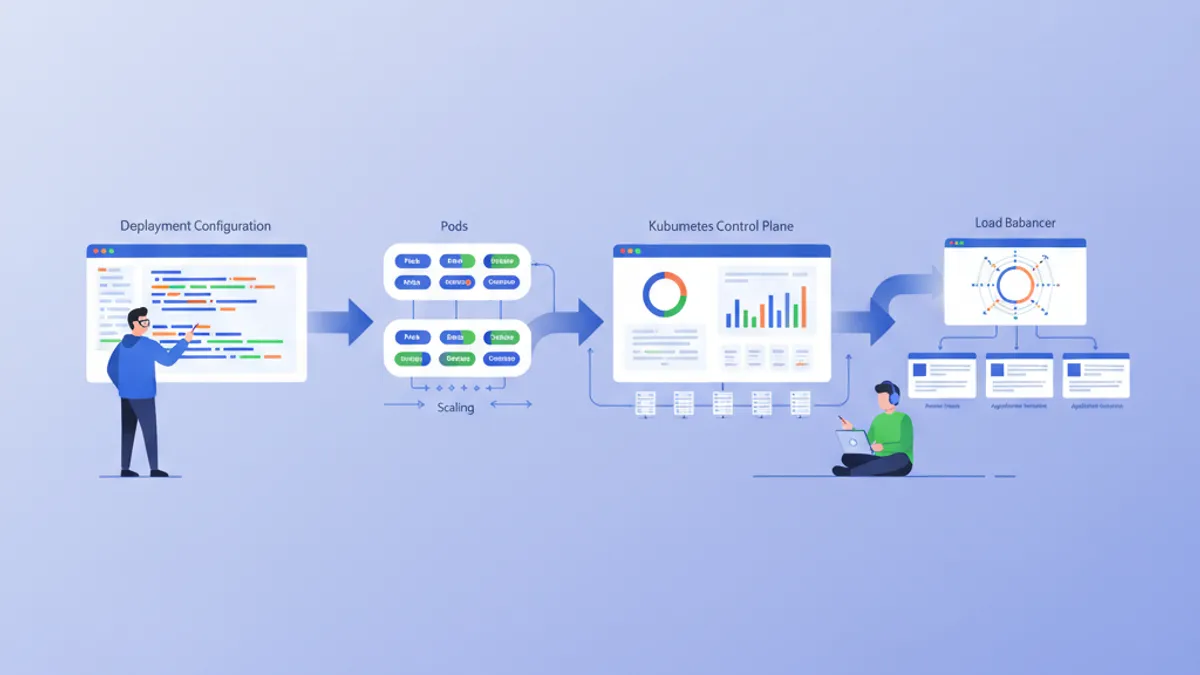
Kubernetes: Mendeploy aplikasi pertama Anda
Panduan praktis untuk mendeploy aplikasi di Kubernetes. Dari instalasi minikube hingga Deployments, Services, dan ConfigMaps dengan contoh nyata.
Kubernetes (K8s) telah menjadi standar de facto untuk orkestrasi kontainer. Dirancang oleh Google dan saat ini dikelola oleh CNCF, Kubernetes mengotomatiskan deployment, penskalaan, dan pengelolaan aplikasi yang dikontainerisasi. Panduan ini menelusuri penyiapan cluster lokal dan deployment aplikasi pertama.
Pengetahuan dasar Docker disarankan sebelum mendalami Kubernetes. Kontainer adalah blok fundamental yang diorkestrasi oleh Kubernetes. Membaca panduan Docker terlebih dahulu sangat memudahkan pemahaman konsep yang disajikan di sini.
Memahami arsitektur Kubernetes
Kubernetes mengandalkan arsitektur master-worker. Control Plane membuat keputusan global tentang cluster, sementara Nodes menjalankan beban kerja.
# Simplified Kubernetes Architecture

┌─────────────────────────────────────────────────────────────┐
│                      CONTROL PLANE                          │
│  ┌─────────────┐  ┌─────────────┐  ┌─────────────────────┐ │
│  │ API Server  │  │ Scheduler   │  │ Controller Manager  │ │
│  └─────────────┘  └─────────────┘  └─────────────────────┘ │
│  ┌─────────────────────────────────────────────────────────┐│
│  │                        etcd                             ││
│  └─────────────────────────────────────────────────────────┘│
└─────────────────────────────────────────────────────────────┘
                              │
         ┌────────────────────┼────────────────────┐
         ▼                    ▼                    ▼
┌─────────────────┐  ┌─────────────────┐  ┌─────────────────┐
│     NODE 1      │  │     NODE 2      │  │     NODE 3      │
│  ┌───────────┐  │  │  ┌───────────┐  │  │  ┌───────────┐  │
│  │  kubelet  │  │  │  │  kubelet  │  │  │  │  kubelet  │  │
│  ├───────────┤  │  │  ├───────────┤  │  │  ├───────────┤  │
│  │ kube-proxy│  │  │  │ kube-proxy│  │  │  │ kube-proxy│  │
│  ├───────────┤  │  │  ├───────────┤  │  │  ├───────────┤  │
│  │   Pods    │  │  │  │   Pods    │  │  │  │   Pods    │  │
│  └───────────┘  │  │  └───────────┘  │  │  └───────────┘  │
└─────────────────┘  └─────────────────┘  └─────────────────┘
API Server adalah titik masuk untuk semua perintah. etcd menyimpan keadaan cluster. Scheduler menetapkan Pods ke Nodes. Controllers mempertahankan keadaan sistem yang diinginkan.
Menyiapkan lingkungan lokal
Beberapa pilihan tersedia untuk bereksperimen dengan Kubernetes secara lokal: minikube, kind, k3d, atau Docker Desktop. Minikube tetap menjadi solusi paling populer untuk belajar.
# terminal
# Install kubectl (Kubernetes client)
curl -LO "https://dl.k8s.io/release/$(curl -L -s https://dl.k8s.io/release/stable.txt)/bin/linux/amd64/kubectl"
chmod +x kubectl
sudo mv kubectl /usr/local/bin/

# Verify installation
kubectl version --client
# Client Version: v1.31.0

# Install minikube
curl -LO https://storage.googleapis.com/minikube/releases/latest/minikube-linux-amd64
sudo install minikube-linux-amd64 /usr/local/bin/minikube

# Start the local cluster
minikube start --driver=docker --cpus=2 --memory=4096

# Check status
minikube status
# minikube: Running
# cluster: Running
# kubectl: Configured
Minikube membuat cluster Kubernetes satu-node di dalam mesin virtual atau kontainer Docker. Sumber daya yang dialokasikan (CPU, memori) dapat disesuaikan dengan kebutuhan.
# terminal
# Access the Kubernetes dashboard (web interface)
minikube dashboard

# Check cluster nodes
kubectl get nodes
# NAME       STATUS   ROLES           AGE   VERSION
# minikube   Ready    control-plane   5m    v1.31.0

# Detailed cluster information
kubectl cluster-infoKind (Kubernetes in Docker) memulai lebih cepat dan lebih cocok untuk pengujian CI/CD. K3d menggunakan k3s, distribusi Kubernetes yang ringan. Docker Desktop mengintegrasikan Kubernetes secara langsung tetapi mengonsumsi lebih banyak sumber daya.
Pods: unit dasar
Pod adalah unit terkecil yang dapat dideploy di Kubernetes. Sebuah Pod mengenkapsulasi satu atau lebih kontainer yang berbagi jaringan dan penyimpanan yang sama.
# pod-simple.yaml
apiVersion: v1
kind: Pod
metadata:
  # Unique Pod name within the namespace
  name: nginx-pod
  # Labels for organization and selection
  labels:
    app: nginx
    environment: development
spec:
  containers:
    # Main container definition
    - name: nginx
      # Docker image to use
      image: nginx:1.25-alpine
      # Ports exposed by the container
      ports:
        - containerPort: 80
      # Container resource allocation
      resources:
        requests:
          memory: "64Mi"
          cpu: "100m"
        limits:
          memory: "128Mi"
          cpu: "200m"
Manifest YAML ini mendeklarasikan Pod yang berisi satu kontainer nginx. Label memungkinkan identifikasi dan pemilihan Pods. Sumber daya menentukan jaminan minimum (requests) dan batas maksimum (limits).
# terminal
# Create the Pod
kubectl apply -f pod-simple.yaml
# pod/nginx-pod created

# List Pods
kubectl get pods
# NAME        READY   STATUS    RESTARTS   AGE
# nginx-pod   1/1     Running   0          30s

# Full Pod details
kubectl describe pod nginx-pod

# Container logs
kubectl logs nginx-pod

# Execute a command inside the Pod
kubectl exec -it nginx-pod -- /bin/sh

# Delete the Pod
kubectl delete pod nginx-pod
Pods bersifat sementara secara alami. Jika terjadi crash atau penghapusan, Kubernetes tidak membuatnya ulang secara otomatis. Deployments mengatasi keterbatasan ini.
Deployments: pengelolaan deklaratif
Deployment mendefinisikan keadaan yang diinginkan untuk sekumpulan Pods identik. Kubernetes mempertahankan keadaan ini secara otomatis dengan membuat, memperbarui, atau menghapus Pods sesuai kebutuhan.
# deployment.yaml
apiVersion: apps/v1
kind: Deployment
metadata:
  # Deployment name
  name: webapp-deployment
  labels:
    app: webapp
spec:
  # Desired number of replicas
  replicas: 3
  # Selector to identify managed Pods
  selector:
    matchLabels:
      app: webapp
  # Template for Pod creation
  template:
    metadata:
      labels:
        app: webapp
    spec:
      containers:
        - name: webapp
          image: nginx:1.25-alpine
          ports:
            - containerPort: 80
          resources:
            requests:
              memory: "64Mi"
              cpu: "100m"
            limits:
              memory: "128Mi"
              cpu: "200m"
          # Liveness probe: restarts container on failure
          livenessProbe:
            httpGet:
              path: /
              port: 80
            initialDelaySeconds: 10
            periodSeconds: 10
          # Readiness probe: removes Pod from Service on failure
          readinessProbe:
            httpGet:
              path: /
              port: 80
            initialDelaySeconds: 5
            periodSeconds: 5
Deployment membuat ReplicaSet yang mempertahankan 3 Pods identik. Probe memeriksa keadaan kontainer dan memungkinkan Kubernetes bereaksi secara otomatis terhadap masalah.
# terminal
# Create the Deployment
kubectl apply -f deployment.yaml
# deployment.apps/webapp-deployment created

# Verify the Deployment
kubectl get deployments
# NAME                READY   UP-TO-DATE   AVAILABLE   AGE
# webapp-deployment   3/3     3            3           1m

# List Pods created by the Deployment
kubectl get pods -l app=webapp
# NAME                                READY   STATUS    RESTARTS   AGE
# webapp-deployment-7d9f8b6c4-abc12   1/1     Running   0          1m
# webapp-deployment-7d9f8b6c4-def34   1/1     Running   0          1m
# webapp-deployment-7d9f8b6c4-ghi56   1/1     Running   0          1m

# Manual scaling
kubectl scale deployment webapp-deployment --replicas=5

# Deployment history
kubectl rollout history deployment webapp-deployment
Menghapus sebuah Pod secara otomatis memicu pembuatan Pod baru untuk mempertahankan jumlah replika yang diinginkan.
Siap menguasai wawancara DevOps Anda?
Berlatih dengan simulator interaktif, flashcards, dan tes teknis kami.
Services: ekspos jaringan
Pods memiliki alamat IP yang sementara. Services menyediakan alamat stabil untuk mengakses sekumpulan Pods, dengan load balancing bawaan.
# service.yaml
apiVersion: v1
kind: Service
metadata:
  name: webapp-service
spec:
  # Service type: ClusterIP (internal), NodePort, LoadBalancer
  type: ClusterIP
  # Selector to identify target Pods
  selector:
    app: webapp
  ports:
    # Port exposed by the Service
    - port: 80
      # Target container port
      targetPort: 80
      # Protocol (TCP by default)
      protocol: TCP
Service ClusterIP ini hanya dapat diakses dari dalam cluster. Permintaan ke webapp-service:80 didistribusikan di antara Pods dengan label app: webapp.
# terminal
# Create the Service
kubectl apply -f service.yaml
# service/webapp-service created

# List Services
kubectl get services
# NAME             TYPE        CLUSTER-IP      EXTERNAL-IP   PORT(S)   AGE
# webapp-service   ClusterIP   10.96.123.456   <none>        80/TCP    30s

# Test from a temporary Pod
kubectl run curl-test --rm -it --image=curlimages/curl -- curl webapp-service

# Detailed Service description
kubectl describe service webapp-service
Untuk mengekspos aplikasi di luar cluster, jenis NodePort atau LoadBalancer diperlukan.
# service-nodeport.yaml
apiVersion: v1
kind: Service
metadata:
  name: webapp-nodeport
spec:
  type: NodePort
  selector:
    app: webapp
  ports:
    - port: 80
      targetPort: 80
      # Port on each Node (30000-32767)
      nodePort: 30080
Dengan minikube, perintah minikube service webapp-nodeport secara otomatis membuka browser pada URL yang benar.
ConfigMaps: konfigurasi yang dieksternalkan
ConfigMaps memisahkan konfigurasi dari kode. Nilai disuntikkan sebagai variabel lingkungan atau dipasang sebagai file.
# configmap.yaml
apiVersion: v1
kind: ConfigMap
metadata:
  name: webapp-config
data:
  # Simple key-value pairs
  APP_ENV: "production"
  LOG_LEVEL: "info"
  MAX_CONNECTIONS: "100"
  # Multiline configuration (complete file)
  nginx.conf: |
    server {
        listen 80;
        server_name localhost;

        location / {
            root /usr/share/nginx/html;
            index index.html;
        }

        location /health {
            return 200 'OK';
            add_header Content-Type text/plain;
        }
    }
ConfigMaps menyimpan data tidak sensitif. Untuk rahasia (kata sandi, token), Secrets Kubernetes lebih sesuai.
# deployment-with-config.yaml
apiVersion: apps/v1
kind: Deployment
metadata:
  name: webapp-configured
spec:
  replicas: 2
  selector:
    matchLabels:
      app: webapp-configured
  template:
    metadata:
      labels:
        app: webapp-configured
    spec:
      containers:
        - name: webapp
          image: nginx:1.25-alpine
          ports:
            - containerPort: 80
          # Inject environment variables
          envFrom:
            - configMapRef:
                name: webapp-config
          # Or individual variables
          env:
            - name: SPECIFIC_VAR
              valueFrom:
                configMapKeyRef:
                  name: webapp-config
                  key: LOG_LEVEL
          # Mount configuration file
          volumeMounts:
            - name: nginx-config
              mountPath: /etc/nginx/conf.d/default.conf
              subPath: nginx.conf
      volumes:
        - name: nginx-config
          configMap:
            name: webapp-config
Konfigurasi ini menyuntikkan variabel lingkungan dan memasang file nginx.conf di dalam kontainer.
# terminal
# Apply resources
kubectl apply -f configmap.yaml
kubectl apply -f deployment-with-config.yaml

# Verify environment variables
kubectl exec deployment/webapp-configured -- printenv | grep APP_ENV
# APP_ENV=production

# Verify mounted file
kubectl exec deployment/webapp-configured -- cat /etc/nginx/conf.d/default.confMengubah ConfigMap tidak me-restart Pods secara otomatis. Untuk menerapkan perubahan, restart manual diperlukan: kubectl rollout restart deployment webapp-configured. Alat seperti Reloader mengotomatiskan proses ini.
Secrets: data sensitif
Secrets menyimpan informasi sensitif seperti kata sandi, token, atau kunci SSH. Meskipun dikodekan dalam base64, mereka tidak dienkripsi secara default saat disimpan.
# secret.yaml
apiVersion: v1
kind: Secret
metadata:
  name: webapp-secrets
type: Opaque
# Values must be base64-encoded
data:
  # echo -n 'admin' | base64
  username: YWRtaW4=
  # echo -n 'supersecretpassword' | base64
  password: c3VwZXJzZWNyZXRwYXNzd29yZA==
---
# Alternative: stringData accepts plain text values
apiVersion: v1
kind: Secret
metadata:
  name: webapp-secrets-plain
type: Opaque
stringData:
  username: admin
  password: supersecretpassword
Secrets disuntikkan dengan cara yang sama seperti ConfigMaps.
# deployment-with-secrets.yaml
apiVersion: apps/v1
kind: Deployment
metadata:
  name: webapp-secure
spec:
  replicas: 1
  selector:
    matchLabels:
      app: webapp-secure
  template:
    metadata:
      labels:
        app: webapp-secure
    spec:
      containers:
        - name: webapp
          image: nginx:1.25-alpine
          env:
            - name: DB_USERNAME
              valueFrom:
                secretKeyRef:
                  name: webapp-secrets
                  key: username
            - name: DB_PASSWORD
              valueFrom:
                secretKeyRef:
                  name: webapp-secrets
key: password# terminal
# Create the Secret
kubectl apply -f secret.yaml
# List Secrets (values are not displayed)
kubectl get secrets
# NAME TYPE DATA AGE
# webapp-secrets Opaque 2 10s
# Decode a value
kubectl get secret webapp-secrets -o jsonpath='{.data.password}' | base64 -d
# supersecretpasswordNamespaces: isolasi logis
Namespaces membagi cluster menjadi lingkungan virtual yang terisolasi. Pemisahan ini memungkinkan pengelolaan beberapa tim atau lingkungan pada cluster yang sama.
# namespace.yaml
apiVersion: v1
kind: Namespace
metadata:
  name: development
  labels:
    environment: development
---
apiVersion: v1
kind: Namespace
metadata:
  name: staging
  labels:
    environment: staging
Setiap sumber daya dapat dibuat dalam namespace tertentu.
# terminal
# Create namespaces
kubectl apply -f namespace.yaml

# List namespaces
kubectl get namespaces
# NAME          STATUS   AGE
# default       Active   1d
# development   Active   10s
# staging       Active   10s

# Create a resource in a specific namespace
kubectl apply -f deployment.yaml -n development

# List Pods in a namespace
kubectl get pods -n development

# Change default namespace
kubectl config set-context --current --namespace=development
Sumber daya di namespace yang berbeda terisolasi secara default. Komunikasi antar-namespace dilakukan melalui DNS internal: service-name.namespace.svc.cluster.local.
Aplikasi lengkap: merakit sumber daya
Berikut adalah aplikasi lengkap yang menggabungkan semua konsep yang telah disajikan.
# complete-app.yaml
---
# Dedicated Namespace
apiVersion: v1
kind: Namespace
metadata:
  name: myapp
---
# ConfigMap for configuration
apiVersion: v1
kind: ConfigMap
metadata:
  name: myapp-config
  namespace: myapp
data:
  APP_NAME: "MyApp"
  LOG_LEVEL: "info"
---
# Secret for sensitive data
apiVersion: v1
kind: Secret
metadata:
  name: myapp-secrets
  namespace: myapp
type: Opaque
stringData:
  api-key: "sk-1234567890abcdef"
---
# Deployment with 3 replicas
apiVersion: apps/v1
kind: Deployment
metadata:
  name: myapp
  namespace: myapp
spec:
  replicas: 3
  selector:
    matchLabels:
      app: myapp
  template:
    metadata:
      labels:
        app: myapp
    spec:
      containers:
        - name: myapp
          image: nginx:1.25-alpine
          ports:
            - containerPort: 80
          envFrom:
            - configMapRef:
                name: myapp-config
          env:
            - name: API_KEY
              valueFrom:
                secretKeyRef:
                  name: myapp-secrets
                  key: api-key
          resources:
            requests:
              memory: "64Mi"
              cpu: "100m"
            limits:
              memory: "128Mi"
              cpu: "200m"
          livenessProbe:
            httpGet:
              path: /
              port: 80
            initialDelaySeconds: 10
            periodSeconds: 10
          readinessProbe:
            httpGet:
              path: /
              port: 80
            initialDelaySeconds: 5
            periodSeconds: 5
---
# Service for internal exposure
apiVersion: v1
kind: Service
metadata:
  name: myapp-service
  namespace: myapp
spec:
  type: ClusterIP
  selector:
    app: myapp
  ports:
    - port: 80
      targetPort: 80
---
# NodePort Service for external access (development)
apiVersion: v1
kind: Service
metadata:
  name: myapp-nodeport
  namespace: myapp
spec:
  type: NodePort
  selector:
    app: myapp
  ports:
    - port: 80
      targetPort: 80
      nodePort: 30100
File tunggal ini mendeploy aplikasi lengkap dengan konfigurasi yang dieksternalkan, rahasia, ketersediaan tinggi, dan ekspos jaringan.
# terminal
# Deploy the complete application
kubectl apply -f complete-app.yaml

# Verify all resources
kubectl get all -n myapp
# NAME                         READY   STATUS    RESTARTS   AGE
# pod/myapp-7d9f8b6c4-abc12    1/1     Running   0          30s
# pod/myapp-7d9f8b6c4-def34    1/1     Running   0          30s
# pod/myapp-7d9f8b6c4-ghi56    1/1     Running   0          30s
#
# NAME                    TYPE        CLUSTER-IP      PORT(S)        AGE
# service/myapp-service   ClusterIP   10.96.123.456   80/TCP         30s
# service/myapp-nodeport  NodePort    10.96.123.789   80:30100/TCP   30s
#
# NAME                    READY   UP-TO-DATE   AVAILABLE   AGE
# deployment.apps/myapp   3/3     3            3           30s

# Access the application with minikube
minikube service myapp-nodeport -n myapp
Pembaruan dan rollback
Kubernetes memudahkan pembaruan progresif dan rollback.
# terminal
# Update the Deployment image
kubectl set image deployment/myapp myapp=nginx:1.26-alpine -n myapp

# Track deployment in real-time
kubectl rollout status deployment/myapp -n myapp
# Waiting for deployment "myapp" rollout to finish: 1 out of 3 new replicas updated
# Waiting for deployment "myapp" rollout to finish: 2 out of 3 new replicas updated
# deployment "myapp" successfully rolled out

# Revision history
kubectl rollout history deployment/myapp -n myapp
# REVISION  CHANGE-CAUSE
# 1         <none>
# 2         <none>

# Rollback to previous revision
kubectl rollout undo deployment/myapp -n myapp

# Rollback to a specific revision
kubectl rollout undo deployment/myapp --to-revision=1 -n myapp
Strategi pembaruan default (RollingUpdate) secara progresif menggantikan Pods lama dengan yang baru, memastikan ketersediaan yang berkelanjutan.
Perintah kubectl penting
# terminal
# ========================================
# General Information
# ========================================
kubectl cluster-info                    # Cluster info
kubectl get nodes -o wide               # Nodes with details
kubectl api-resources                   # List resource types

# ========================================
# Resource Management
# ========================================
kubectl get all                         # All namespace resources
kubectl get pods -A                     # Pods from all namespaces
kubectl get pods -o wide                # Pods with IP and Node
kubectl get pods -w                     # Watch mode (real-time)

# ========================================
# Inspection and Debugging
# ========================================
kubectl describe pod <name>             # Full details
kubectl logs <pod> -f                   # Streaming logs
kubectl logs <pod> -c <container>       # Specific container logs
kubectl exec -it <pod> -- /bin/sh       # Interactive shell
kubectl port-forward <pod> 8080:80      # Local tunnel to Pod

# ========================================
# Editing and Deletion
# ========================================
kubectl edit deployment <name>          # Live editing (vi)
kubectl delete -f manifest.yaml         # Delete via file
kubectl delete pod <name> --force       # Force deletion
Kesimpulan
Kubernetes mengubah pengelolaan aplikasi yang dikontainerisasi dengan menyediakan kerangka kerja yang deklaratif, tangguh, dan dapat diperluas. Konsep-konsep fundamental yang disajikan di sini menjadi dasar untuk deployment yang siap produksi.
Daftar periksa untuk deployment Kubernetes pertama
- ✅ Cluster lokal yang berfungsi (minikube, kind, atau k3d)
- ✅ kubectl terinstal dan terkonfigurasi
- ✅ Deployment dengan replika dan health probes
- ✅ Service untuk ekspos jaringan
- ✅ ConfigMap untuk konfigurasi yang dieksternalkan
- ✅ Secret untuk data sensitif
- ✅ Namespace untuk isolasi
- ✅ Batas sumber daya yang ditentukan (requests/limits)
- ✅ Strategi pembaruan dan rollback yang dikuasai
Mulai berlatih!
Uji pengetahuan Anda dengan simulator wawancara dan tes teknis kami.
Menguasai Kubernetes membuka pintu menuju arsitektur cloud-native yang dapat diskalakan. Langkah selanjutnya termasuk menjelajahi Ingress Controllers untuk routing HTTP, PersistentVolumes untuk penyimpanan, dan Helm untuk manajemen paket. Kubernetes menjadi aset penting selama wawancara DevOps dan SRE.
Tag
Bagikan
Artikel terkait
Pertanyaan Wawancara DevOps Penting: Panduan Lengkap 2026
Persiapkan wawancara DevOps dengan pertanyaan wajib tentang CI/CD, Kubernetes, Docker, Terraform, dan praktik SRE. Jawaban lengkap disertakan.
Docker: dari Pengembangan ke Produksi
Panduan lengkap Docker untuk kontainerisasi aplikasi. Dockerfile, Docker Compose, multi-stage build, dan deployment produksi dengan contoh praktis.
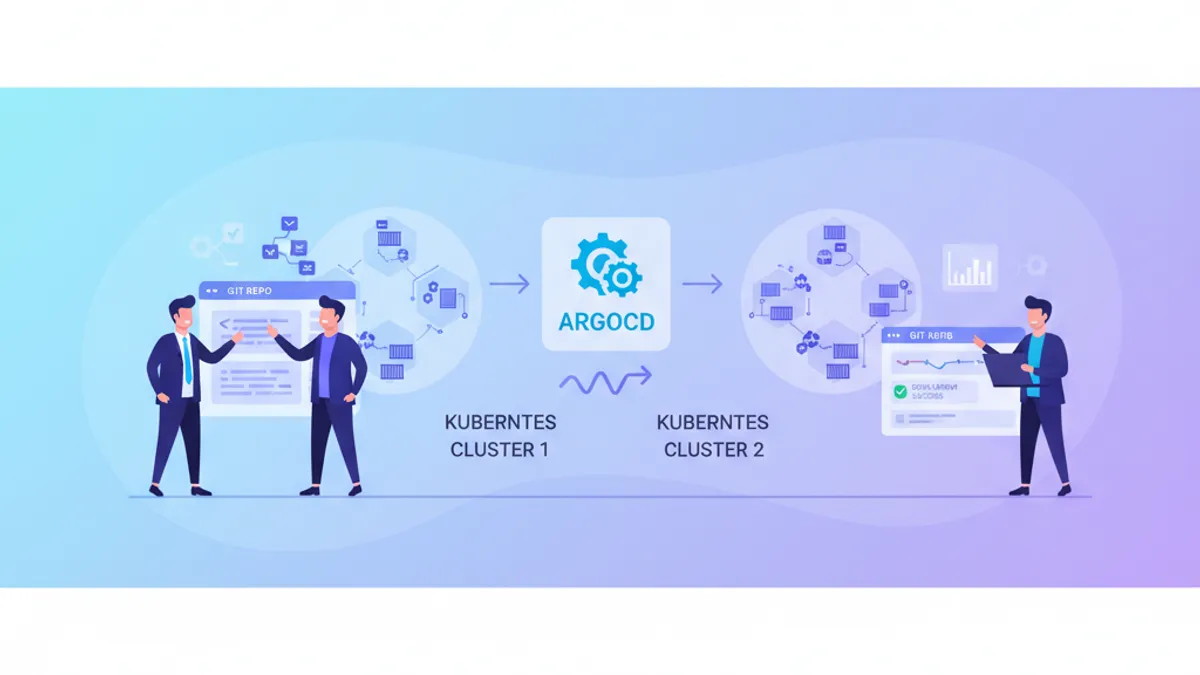
ArgoCD dan GitOps untuk Kubernetes: Panduan Lengkap serta Pertanyaan Interview 2026
Pelajari cara mengimplementasikan GitOps dengan ArgoCD untuk continuous deployment di Kubernetes. Dilengkapi contoh konfigurasi, perbandingan dengan Flux, dan pertanyaan interview yang sering muncul.