Kubernetes: Implantando sua primeira aplicação
Guia prático para implantar uma aplicação no Kubernetes. Da instalação do minikube até Deployments, Services e ConfigMaps com exemplos concretos.
Kubernetes (K8s) tornou-se o padrão de fato para a orquestração de contêineres. Projetado pelo Google e atualmente mantido pela CNCF, o Kubernetes automatiza a implantação, o escalonamento e a gestão de aplicações conteinerizadas. Este guia percorre a configuração de um cluster local e a implantação de uma primeira aplicação.
É recomendado ter conhecimentos básicos de Docker antes de mergulhar no Kubernetes. Os contêineres são os blocos fundamentais que o Kubernetes orquestra. Ler o guia do Docker antes facilita muito a compreensão dos conceitos apresentados aqui.
Entender a arquitetura do Kubernetes
O Kubernetes baseia-se em uma arquitetura mestre-trabalhador. O Control Plane toma as decisões globais sobre o cluster, enquanto os Nodes executam as cargas de trabalho.
# Simplified Kubernetes Architecture

┌─────────────────────────────────────────────────────────────┐
│                      CONTROL PLANE                          │
│  ┌─────────────┐  ┌─────────────┐  ┌─────────────────────┐ │
│  │ API Server  │  │ Scheduler   │  │ Controller Manager  │ │
│  └─────────────┘  └─────────────┘  └─────────────────────┘ │
│  ┌─────────────────────────────────────────────────────────┐│
│  │                        etcd                             ││
│  └─────────────────────────────────────────────────────────┘│
└─────────────────────────────────────────────────────────────┘
                              │
         ┌────────────────────┼────────────────────┐
         ▼                    ▼                    ▼
┌─────────────────┐  ┌─────────────────┐  ┌─────────────────┐
│     NODE 1      │  │     NODE 2      │  │     NODE 3      │
│  ┌───────────┐  │  │  ┌───────────┐  │  │  ┌───────────┐  │
│  │  kubelet  │  │  │  │  kubelet  │  │  │  │  kubelet  │  │
│  ├───────────┤  │  │  ├───────────┤  │  │  ├───────────┤  │
│  │ kube-proxy│  │  │  │ kube-proxy│  │  │  │ kube-proxy│  │
│  ├───────────┤  │  │  ├───────────┤  │  │  ├───────────┤  │
│  │   Pods    │  │  │  │   Pods    │  │  │  │   Pods    │  │
│  └───────────┘  │  │  └───────────┘  │  │  └───────────┘  │
└─────────────────┘  └─────────────────┘  └─────────────────┘
O API Server é o ponto de entrada para todos os comandos. O etcd armazena o estado do cluster. O Scheduler atribui os Pods aos Nodes. Os Controllers mantêm o estado desejado do sistema.
Configurar o ambiente local
Existem várias opções para experimentar o Kubernetes localmente: minikube, kind, k3d ou Docker Desktop. O Minikube continua sendo a solução mais popular para aprender.
# terminal
# Install kubectl (Kubernetes client)
curl -LO "https://dl.k8s.io/release/$(curl -L -s https://dl.k8s.io/release/stable.txt)/bin/linux/amd64/kubectl"
chmod +x kubectl
sudo mv kubectl /usr/local/bin/

# Verify installation
kubectl version --client
# Client Version: v1.31.0

# Install minikube
curl -LO https://storage.googleapis.com/minikube/releases/latest/minikube-linux-amd64
sudo install minikube-linux-amd64 /usr/local/bin/minikube

# Start the local cluster
minikube start --driver=docker --cpus=2 --memory=4096

# Check status
minikube status
# minikube: Running
# cluster: Running
# kubectl: Configured
O Minikube cria um cluster Kubernetes de um único nó dentro de uma máquina virtual ou de um contêiner Docker. Os recursos alocados (CPU, memória) podem ser ajustados conforme as necessidades.
# terminal
# Access the Kubernetes dashboard (web interface)
minikube dashboard

# Check cluster nodes
kubectl get nodes
# NAME       STATUS   ROLES           AGE   VERSION
# minikube   Ready    control-plane   5m    v1.31.0

# Detailed cluster information
kubectl cluster-infoO Kind (Kubernetes in Docker) inicia mais rápido e adapta-se melhor aos testes em CI/CD. O K3d utiliza o k3s, uma distribuição leve do Kubernetes. O Docker Desktop integra o Kubernetes diretamente, mas consome mais recursos.
Pods: a unidade básica
Um Pod é a menor unidade implantável no Kubernetes. Um Pod encapsula um ou mais contêineres que compartilham a mesma rede e o mesmo armazenamento.
# pod-simple.yaml
apiVersion: v1
kind: Pod
metadata:
  # Unique Pod name within the namespace
  name: nginx-pod
  # Labels for organization and selection
  labels:
    app: nginx
    environment: development
spec:
  containers:
    # Main container definition
    - name: nginx
      # Docker image to use
      image: nginx:1.25-alpine
      # Ports exposed by the container
      ports:
        - containerPort: 80
      # Container resource allocation
      resources:
        requests:
          memory: "64Mi"
          cpu: "100m"
        limits:
          memory: "128Mi"
          cpu: "200m"
Este manifesto YAML declara um Pod contendo um único contêiner nginx. As labels permitem identificar e selecionar os Pods. Os recursos definem as garantias mínimas (requests) e os limites máximos (limits).
# terminal
# Create the Pod
kubectl apply -f pod-simple.yaml
# pod/nginx-pod created

# List Pods
kubectl get pods
# NAME        READY   STATUS    RESTARTS   AGE
# nginx-pod   1/1     Running   0          30s

# Full Pod details
kubectl describe pod nginx-pod

# Container logs
kubectl logs nginx-pod

# Execute a command inside the Pod
kubectl exec -it nginx-pod -- /bin/sh

# Delete the Pod
kubectl delete pod nginx-pod
Os Pods são efêmeros por natureza. Em caso de queda ou exclusão, o Kubernetes não os recria automaticamente. Os Deployments resolvem essa limitação.
Deployments: gestão declarativa
Um Deployment define o estado desejado para um conjunto de Pods idênticos. O Kubernetes mantém automaticamente este estado criando, atualizando ou excluindo Pods conforme necessário.
# deployment.yaml
apiVersion: apps/v1
kind: Deployment
metadata:
  # Deployment name
  name: webapp-deployment
  labels:
    app: webapp
spec:
  # Desired number of replicas
  replicas: 3
  # Selector to identify managed Pods
  selector:
    matchLabels:
      app: webapp
  # Template for Pod creation
  template:
    metadata:
      labels:
        app: webapp
    spec:
      containers:
        - name: webapp
          image: nginx:1.25-alpine
          ports:
            - containerPort: 80
          resources:
            requests:
              memory: "64Mi"
              cpu: "100m"
            limits:
              memory: "128Mi"
              cpu: "200m"
          # Liveness probe: restarts container on failure
          livenessProbe:
            httpGet:
              path: /
              port: 80
            initialDelaySeconds: 10
            periodSeconds: 10
          # Readiness probe: removes Pod from Service on failure
          readinessProbe:
            httpGet:
              path: /
              port: 80
            initialDelaySeconds: 5
            periodSeconds: 5
O Deployment cria um ReplicaSet que mantém 3 Pods idênticos. As probes verificam o estado dos contêineres e permitem ao Kubernetes reagir automaticamente a incidentes.
# terminal
# Create the Deployment
kubectl apply -f deployment.yaml
# deployment.apps/webapp-deployment created

# Verify the Deployment
kubectl get deployments
# NAME                READY   UP-TO-DATE   AVAILABLE   AGE
# webapp-deployment   3/3     3            3           1m

# List Pods created by the Deployment
kubectl get pods -l app=webapp
# NAME                                READY   STATUS    RESTARTS   AGE
# webapp-deployment-7d9f8b6c4-abc12   1/1     Running   0          1m
# webapp-deployment-7d9f8b6c4-def34   1/1     Running   0          1m
# webapp-deployment-7d9f8b6c4-ghi56   1/1     Running   0          1m

# Manual scaling
kubectl scale deployment webapp-deployment --replicas=5

# Deployment history
kubectl rollout history deployment webapp-deployment
Excluir um Pod aciona automaticamente a criação de um novo Pod para manter o número desejado de réplicas.
Pronto para mandar bem nas entrevistas de DevOps?
Pratique com nossos simuladores interativos, flashcards e testes tecnicos.
Services: exposição de rede
Os Pods possuem endereços IP efêmeros. Os Services fornecem um endereço estável para acessar um conjunto de Pods, com balanceamento de carga integrado.
# service.yaml
apiVersion: v1
kind: Service
metadata:
  name: webapp-service
spec:
  # Service type: ClusterIP (internal), NodePort, LoadBalancer
  type: ClusterIP
  # Selector to identify target Pods
  selector:
    app: webapp
  ports:
    # Port exposed by the Service
    - port: 80
      # Target container port
      targetPort: 80
      # Protocol (TCP by default)
      protocol: TCP
Este Service ClusterIP é acessível somente de dentro do cluster. As requisições para webapp-service:80 são distribuídas entre os Pods que possuem a label app: webapp.
# terminal
# Create the Service
kubectl apply -f service.yaml
# service/webapp-service created

# List Services
kubectl get services
# NAME             TYPE        CLUSTER-IP      EXTERNAL-IP   PORT(S)   AGE
# webapp-service   ClusterIP   10.96.123.456   <none>        80/TCP    30s

# Test from a temporary Pod
kubectl run curl-test --rm -it --image=curlimages/curl -- curl webapp-service

# Detailed Service description
kubectl describe service webapp-service
Para expor a aplicação fora do cluster, é necessário um tipo NodePort ou LoadBalancer.
# service-nodeport.yaml
apiVersion: v1
kind: Service
metadata:
  name: webapp-nodeport
spec:
  type: NodePort
  selector:
    app: webapp
  ports:
    - port: 80
      targetPort: 80
      # Port on each Node (30000-32767)
      nodePort: 30080
Com o minikube, o comando minikube service webapp-nodeport abre automaticamente o navegador na URL correta.
ConfigMaps: configuração externalizada
Os ConfigMaps separam a configuração do código. Os valores são injetados como variáveis de ambiente ou montados como arquivos.
# configmap.yaml
apiVersion: v1
kind: ConfigMap
metadata:
  name: webapp-config
data:
  # Simple key-value pairs
  APP_ENV: "production"
  LOG_LEVEL: "info"
  MAX_CONNECTIONS: "100"
  # Multiline configuration (complete file)
  nginx.conf: |
    server {
        listen 80;
        server_name localhost;

        location / {
            root /usr/share/nginx/html;
            index index.html;
        }

        location /health {
            return 200 'OK';
            add_header Content-Type text/plain;
        }
    }
Os ConfigMaps armazenam dados não sensíveis. Para os segredos (senhas, tokens), os Secrets do Kubernetes são mais apropriados.
# deployment-with-config.yaml
apiVersion: apps/v1
kind: Deployment
metadata:
  name: webapp-configured
spec:
  replicas: 2
  selector:
    matchLabels:
      app: webapp-configured
  template:
    metadata:
      labels:
        app: webapp-configured
    spec:
      containers:
        - name: webapp
          image: nginx:1.25-alpine
          ports:
            - containerPort: 80
          # Inject environment variables
          envFrom:
            - configMapRef:
                name: webapp-config
          # Or individual variables
          env:
            - name: SPECIFIC_VAR
              valueFrom:
                configMapKeyRef:
                  name: webapp-config
                  key: LOG_LEVEL
          # Mount configuration file
          volumeMounts:
            - name: nginx-config
              mountPath: /etc/nginx/conf.d/default.conf
              subPath: nginx.conf
      volumes:
        - name: nginx-config
          configMap:
            name: webapp-config
Esta configuração injeta variáveis de ambiente e monta o arquivo nginx.conf dentro do contêiner.
# terminal
# Apply resources
kubectl apply -f configmap.yaml
kubectl apply -f deployment-with-config.yaml

# Verify environment variables
kubectl exec deployment/webapp-configured -- printenv | grep APP_ENV
# APP_ENV=production

# Verify mounted file
kubectl exec deployment/webapp-configured -- cat /etc/nginx/conf.d/default.confModificar um ConfigMap não reinicia automaticamente os Pods. Para aplicar as mudanças, é necessário um reinício manual: kubectl rollout restart deployment webapp-configured. Ferramentas como o Reloader automatizam esse processo.
Secrets: dados sensíveis
Os Secrets armazenam informações sensíveis como senhas, tokens ou chaves SSH. Embora codificados em base64, eles não são criptografados por padrão em repouso.
# secret.yaml
apiVersion: v1
kind: Secret
metadata:
  name: webapp-secrets
type: Opaque
# Values must be base64-encoded
data:
  # echo -n 'admin' | base64
  username: YWRtaW4=
  # echo -n 'supersecretpassword' | base64
  password: c3VwZXJzZWNyZXRwYXNzd29yZA==
---
# Alternative: stringData accepts plain text values
apiVersion: v1
kind: Secret
metadata:
  name: webapp-secrets-plain
type: Opaque
stringData:
  username: admin
  password: supersecretpassword
Os Secrets são injetados da mesma forma que os ConfigMaps.
# deployment-with-secrets.yaml
apiVersion: apps/v1
kind: Deployment
metadata:
  name: webapp-secure
spec:
  replicas: 1
  selector:
    matchLabels:
      app: webapp-secure
  template:
    metadata:
      labels:
        app: webapp-secure
    spec:
      containers:
        - name: webapp
          image: nginx:1.25-alpine
          env:
            - name: DB_USERNAME
              valueFrom:
                secretKeyRef:
                  name: webapp-secrets
                  key: username
            - name: DB_PASSWORD
              valueFrom:
                secretKeyRef:
                  name: webapp-secrets
key: password# terminal
# Create the Secret
kubectl apply -f secret.yaml
# List Secrets (values are not displayed)
kubectl get secrets
# NAME TYPE DATA AGE
# webapp-secrets Opaque 2 10s
# Decode a value
kubectl get secret webapp-secrets -o jsonpath='{.data.password}' | base64 -d
# supersecretpasswordNamespaces: isolamento lógico
Os Namespaces dividem um cluster em ambientes virtuais isolados. Essa separação permite gerenciar várias equipes ou ambientes no mesmo cluster.
# namespace.yaml
apiVersion: v1
kind: Namespace
metadata:
  name: development
  labels:
    environment: development
---
apiVersion: v1
kind: Namespace
metadata:
  name: staging
  labels:
    environment: staging
Cada recurso pode ser criado dentro de um namespace específico.
# terminal
# Create namespaces
kubectl apply -f namespace.yaml

# List namespaces
kubectl get namespaces
# NAME          STATUS   AGE
# default       Active   1d
# development   Active   10s
# staging       Active   10s

# Create a resource in a specific namespace
kubectl apply -f deployment.yaml -n development

# List Pods in a namespace
kubectl get pods -n development

# Change default namespace
kubectl config set-context --current --namespace=development
Os recursos de namespaces diferentes são isolados por padrão. A comunicação entre namespaces é feita através do DNS interno: service-name.namespace.svc.cluster.local.
Aplicação completa: montar os recursos
A seguir, uma aplicação completa que combina todos os conceitos apresentados.
# complete-app.yaml
---
# Dedicated Namespace
apiVersion: v1
kind: Namespace
metadata:
  name: myapp
---
# ConfigMap for configuration
apiVersion: v1
kind: ConfigMap
metadata:
  name: myapp-config
  namespace: myapp
data:
  APP_NAME: "MyApp"
  LOG_LEVEL: "info"
---
# Secret for sensitive data
apiVersion: v1
kind: Secret
metadata:
  name: myapp-secrets
  namespace: myapp
type: Opaque
stringData:
  api-key: "sk-1234567890abcdef"
---
# Deployment with 3 replicas
apiVersion: apps/v1
kind: Deployment
metadata:
  name: myapp
  namespace: myapp
spec:
  replicas: 3
  selector:
    matchLabels:
      app: myapp
  template:
    metadata:
      labels:
        app: myapp
    spec:
      containers:
        - name: myapp
          image: nginx:1.25-alpine
          ports:
            - containerPort: 80
          envFrom:
            - configMapRef:
                name: myapp-config
          env:
            - name: API_KEY
              valueFrom:
                secretKeyRef:
                  name: myapp-secrets
                  key: api-key
          resources:
            requests:
              memory: "64Mi"
              cpu: "100m"
            limits:
              memory: "128Mi"
              cpu: "200m"
          livenessProbe:
            httpGet:
              path: /
              port: 80
            initialDelaySeconds: 10
            periodSeconds: 10
          readinessProbe:
            httpGet:
              path: /
              port: 80
            initialDelaySeconds: 5
            periodSeconds: 5
---
# Service for internal exposure
apiVersion: v1
kind: Service
metadata:
  name: myapp-service
  namespace: myapp
spec:
  type: ClusterIP
  selector:
    app: myapp
  ports:
    - port: 80
      targetPort: 80
---
# NodePort Service for external access (development)
apiVersion: v1
kind: Service
metadata:
  name: myapp-nodeport
  namespace: myapp
spec:
  type: NodePort
  selector:
    app: myapp
  ports:
    - port: 80
      targetPort: 80
      nodePort: 30100
Este único arquivo implanta uma aplicação completa com configuração externalizada, segredos, alta disponibilidade e exposição de rede.
# terminal
# Deploy the complete application
kubectl apply -f complete-app.yaml

# Verify all resources
kubectl get all -n myapp
# NAME                         READY   STATUS    RESTARTS   AGE
# pod/myapp-7d9f8b6c4-abc12    1/1     Running   0          30s
# pod/myapp-7d9f8b6c4-def34    1/1     Running   0          30s
# pod/myapp-7d9f8b6c4-ghi56    1/1     Running   0          30s
#
# NAME                    TYPE        CLUSTER-IP      PORT(S)        AGE
# service/myapp-service   ClusterIP   10.96.123.456   80/TCP         30s
# service/myapp-nodeport  NodePort    10.96.123.789   80:30100/TCP   30s
#
# NAME                    READY   UP-TO-DATE   AVAILABLE   AGE
# deployment.apps/myapp   3/3     3            3           30s

# Access the application with minikube
minikube service myapp-nodeport -n myapp
Atualizações e rollbacks
O Kubernetes facilita as atualizações progressivas e os rollbacks.
# terminal
# Update the Deployment image
kubectl set image deployment/myapp myapp=nginx:1.26-alpine -n myapp

# Track deployment in real-time
kubectl rollout status deployment/myapp -n myapp
# Waiting for deployment "myapp" rollout to finish: 1 out of 3 new replicas updated
# Waiting for deployment "myapp" rollout to finish: 2 out of 3 new replicas updated
# deployment "myapp" successfully rolled out

# Revision history
kubectl rollout history deployment/myapp -n myapp
# REVISION  CHANGE-CAUSE
# 1         <none>
# 2         <none>

# Rollback to previous revision
kubectl rollout undo deployment/myapp -n myapp

# Rollback to a specific revision
kubectl rollout undo deployment/myapp --to-revision=1 -n myapp
A estratégia de atualização padrão (RollingUpdate) substitui progressivamente os Pods antigos pelos novos, garantindo a disponibilidade contínua.
Comandos kubectl essenciais
# terminal
# ========================================
# General Information
# ========================================
kubectl cluster-info                    # Cluster info
kubectl get nodes -o wide               # Nodes with details
kubectl api-resources                   # List resource types

# ========================================
# Resource Management
# ========================================
kubectl get all                         # All namespace resources
kubectl get pods -A                     # Pods from all namespaces
kubectl get pods -o wide                # Pods with IP and Node
kubectl get pods -w                     # Watch mode (real-time)

# ========================================
# Inspection and Debugging
# ========================================
kubectl describe pod <name>             # Full details
kubectl logs <pod> -f                   # Streaming logs
kubectl logs <pod> -c <container>       # Specific container logs
kubectl exec -it <pod> -- /bin/sh       # Interactive shell
kubectl port-forward <pod> 8080:80      # Local tunnel to Pod

# ========================================
# Editing and Deletion
# ========================================
kubectl edit deployment <name>          # Live editing (vi)
kubectl delete -f manifest.yaml         # Delete via file
kubectl delete pod <name> --force       # Force deletion
Conclusão
O Kubernetes transforma a gestão de aplicações conteinerizadas ao oferecer um framework declarativo, resiliente e extensível. Os conceitos fundamentais apresentados aqui formam a base para implantações prontas para produção.
Checklist para uma primeira implantação Kubernetes
- ✅ Cluster local funcional (minikube, kind ou k3d)
- ✅ kubectl instalado e configurado
- ✅ Deployment com réplicas e health probes
- ✅ Service para a exposição de rede
- ✅ ConfigMap para a configuração externalizada
- ✅ Secret para os dados sensíveis
- ✅ Namespace para o isolamento
- ✅ Limites de recursos definidos (requests/limits)
- ✅ Estratégia de atualização e rollback dominados
Comece a praticar!
Teste seus conhecimentos com nossos simuladores de entrevista e testes tecnicos.
Dominar o Kubernetes abre as portas para arquiteturas cloud-native escaláveis. As próximas etapas incluem explorar os Ingress Controllers para o roteamento HTTP, os PersistentVolumes para o armazenamento e o Helm para a gestão de pacotes. O Kubernetes torna-se um ativo importante durante as entrevistas DevOps e SRE.
Tags
Compartilhar
Artigos relacionados
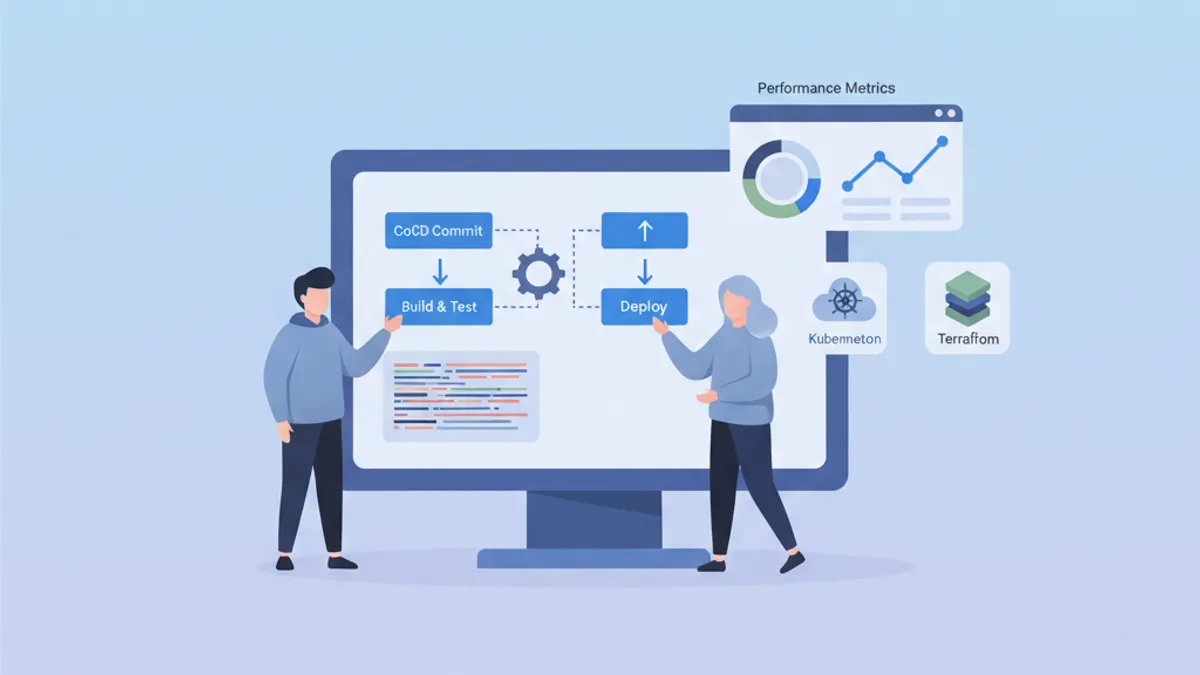
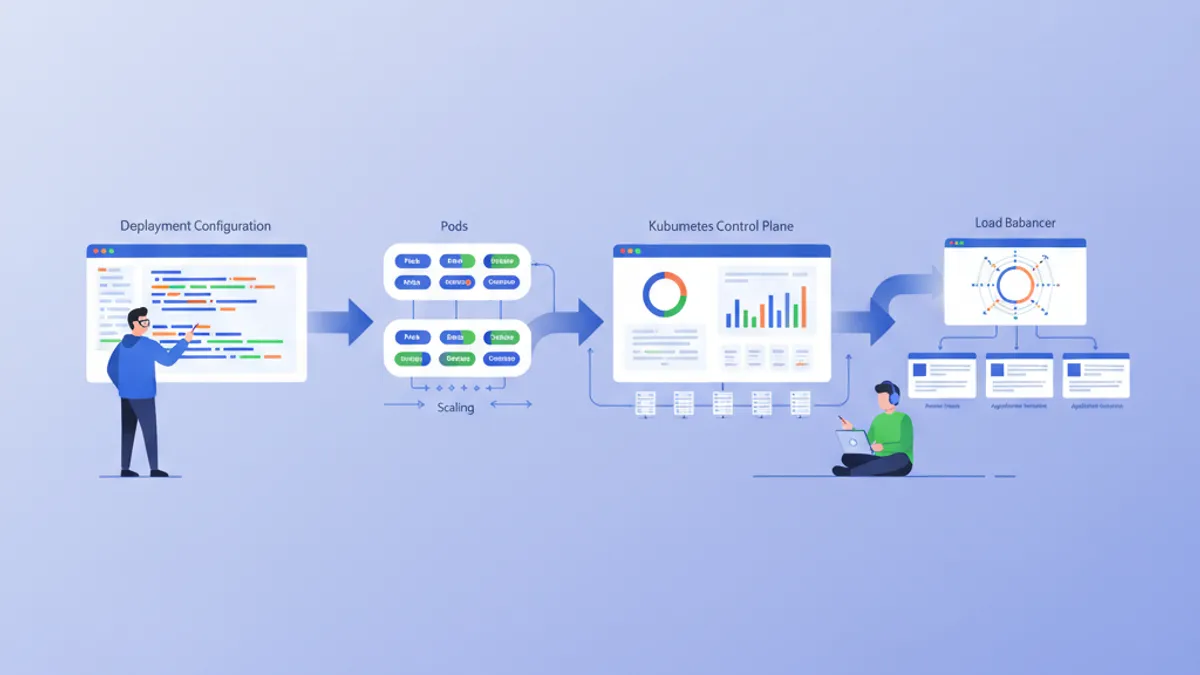
Perguntas Essenciais para Entrevista de DevOps: Guia Completo 2026
Prepare-se para entrevistas de DevOps com as perguntas mais cobradas sobre CI/CD, Kubernetes, Docker, Terraform e práticas de SRE. Respostas detalhadas inclusas.
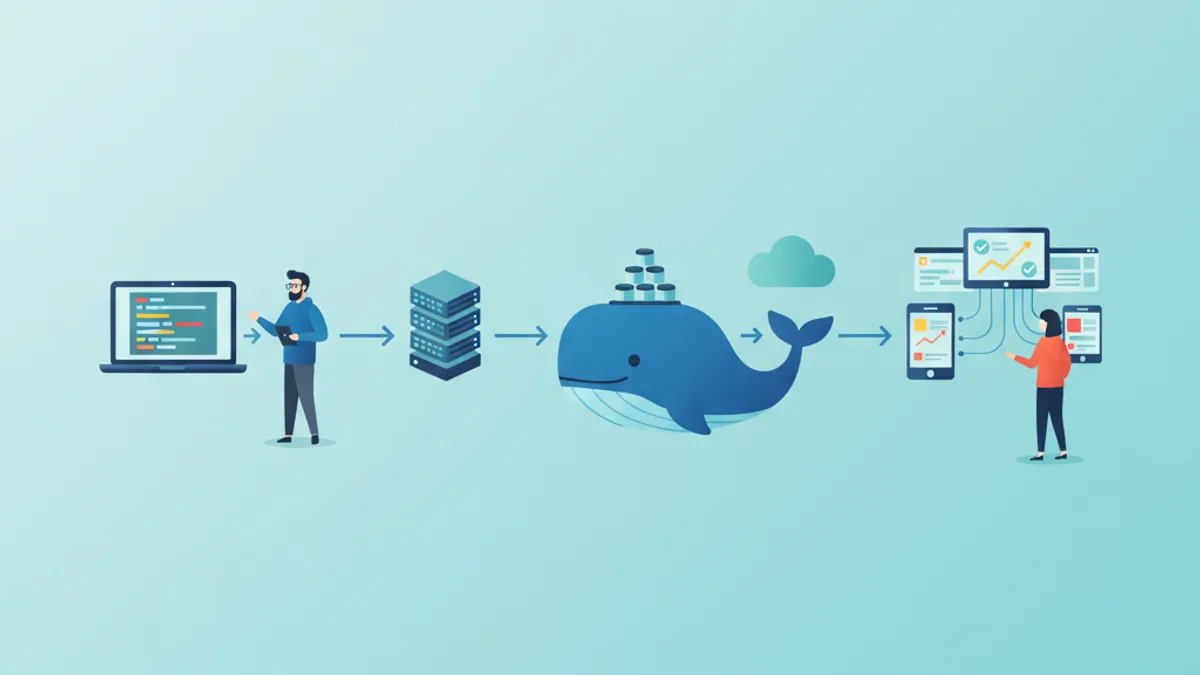
Docker: do desenvolvimento à produção
Guia completo de Docker para conteinerizar aplicações. Dockerfile, Docker Compose, builds multi-stage e deploy em produção com exemplos práticos.
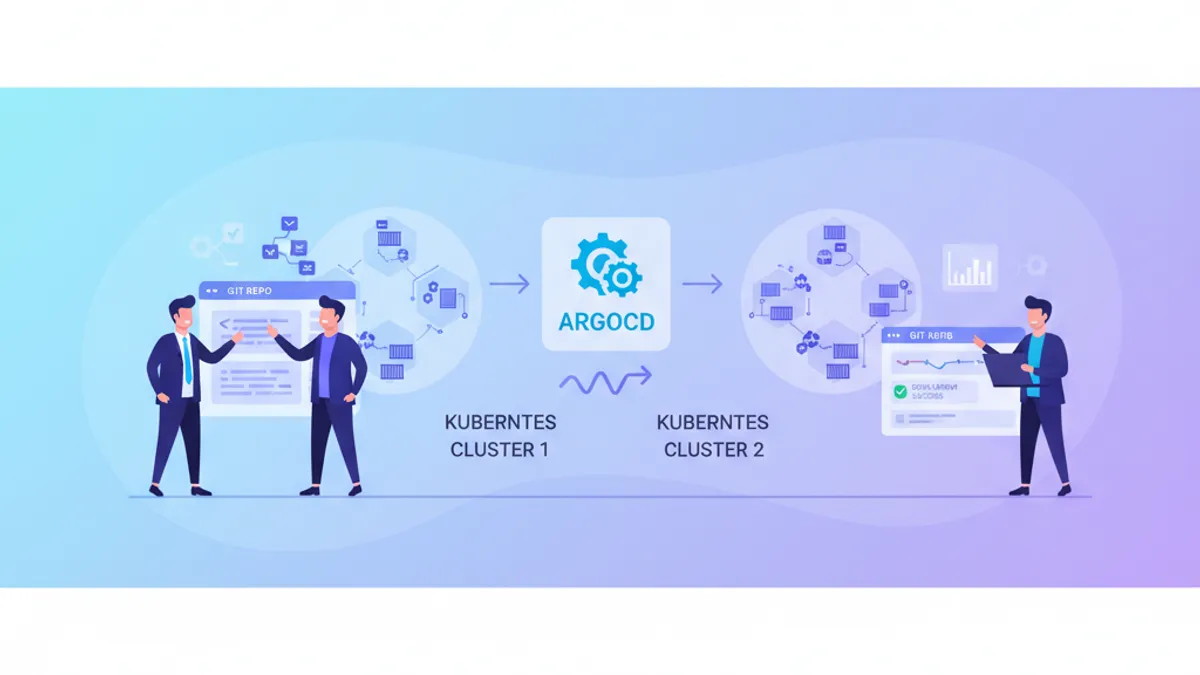
ArgoCD e GitOps em 2026: Deploy Contínuo no Kubernetes e Perguntas de Entrevista
Guia completo sobre ArgoCD e GitOps para deploy contínuo em Kubernetes em 2026. Aborda Application CRDs, sync waves, gerenciamento multi-cluster com ApplicationSets, comparação ArgoCD vs Flux e perguntas frequentes de entrevista para DevOps.