SwiftUI @Observable vs @State: Kiedy Czego Używać w 2026
Opanuj różnice między @Observable a @State w SwiftUI, aby wybrać odpowiednie narzędzie do zarządzania stanem w aplikacjach iOS.
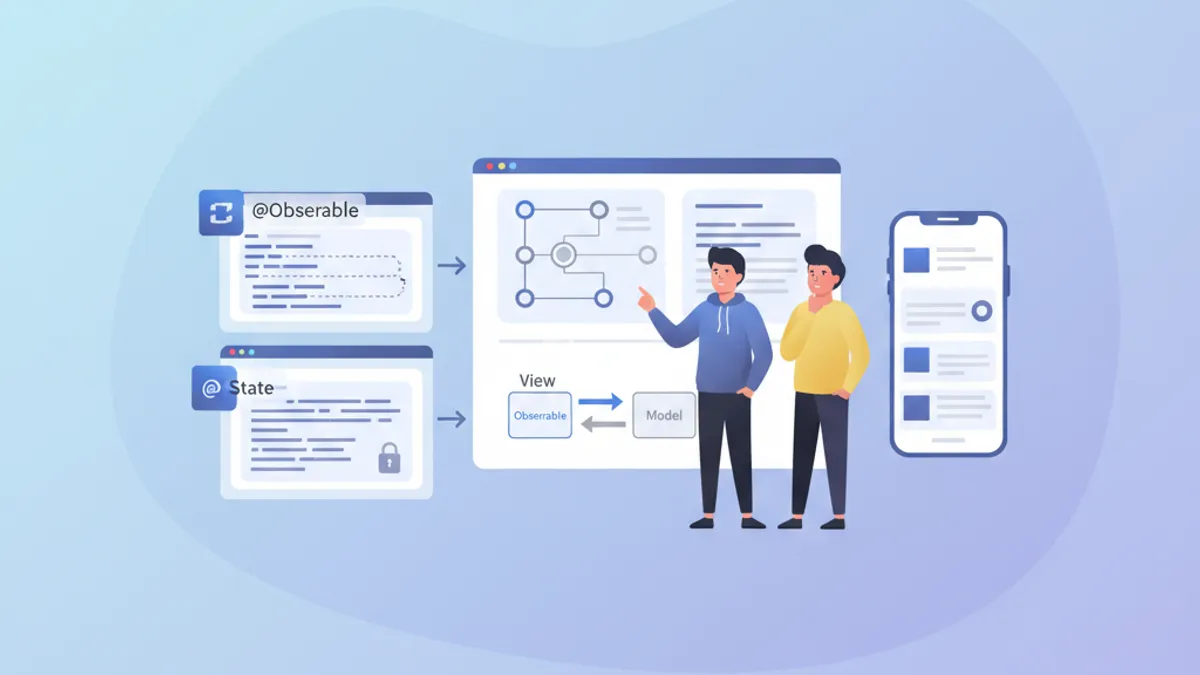
Zarządzanie stanem stanowi fundament każdej wydajnej aplikacji SwiftUI. Od iOS 17 makro @Observable zrewolucjonizowało tworzenie reaktywnych modeli, podczas gdy @State pozostaje niezbędne dla lokalnego stanu widoku. Zrozumienie, kiedy używać każdego z narzędzi, pozwala unikać niepotrzebnych re-renderów i budować płynne, responsywne aplikacje.
Artykuł analizuje wewnętrzne mechanizmy @Observable i @State, ich fundamentalne różnice oraz przedstawia jasne wytyczne wyboru odpowiedniego narzędzia w zależności od kontekstu.
Podstawy @State
@State to najprostsza forma zarządzania stanem w SwiftUI. Ten property wrapper tworzy trwałą pamięć dla wartości należącej wyłącznie do widoku, który ją deklaruje.
struct CounterView: View {
    // @State creates storage managed by SwiftUI
    @State private var count = 0

    var body: some View {
        VStack(spacing: 20) {
            // The view updates when count changes
            Text("Counter: \(count)")
                .font(.largeTitle)

            HStack(spacing: 16) {
                Button("- 1") {
                    count -= 1
                }

                Button("+ 1") {
                    count += 1
                }
            }
            .buttonStyle(.borderedProminent)
        }
    }
}
Każda modyfikacja count wyzwala ponowne renderowanie widoku. SwiftUI automatycznie zarządza cyklem życia tej wartości, zachowując ją między rekonstrukcjami body.
Kluczowe cechy @State
@State posiada kilka wyróżniających właściwości definiujących jego optymalne zastosowanie:
struct FormView: View {
    // ✅ Simple local state - value types
    @State private var username = ""
    @State private var isEnabled = true
    @State private var selectedIndex = 0

    // ✅ Complex value types supported
    @State private var configuration = FormConfiguration()

    var body: some View {
        Form {
            TextField("Username", text: $username)

            Toggle("Enabled", isOn: $isEnabled)

            Picker("Option", selection: $selectedIndex) {
                Text("Option A").tag(0)
                Text("Option B").tag(1)
                Text("Option C").tag(2)
            }
        }
    }
}

// Structs work perfectly with @State
struct FormConfiguration: Equatable {
    var theme: Theme = .light
    var fontSize: CGFloat = 16
    var showNotifications: Bool = true
}

enum Theme {
    case light, dark, system
}
Kluczowa kwestia: @State działa z typami wartościowymi (struct, enum, typy prymitywne). Dla typów referencyjnych (klas) potrzebne są inne narzędzia.
Makro @Observable wyjaśnione
Wprowadzone w iOS 17, @Observable przekształca dowolną klasę w reaktywne źródło danych. W przeciwieństwie do starszego protokołu ObservableObject, to makro oferuje obserwację o drobnej granularności: tylko właściwości faktycznie odczytywane przez widok wyzwalają jego ponowne renderowanie.
import Observation

// @Observable transforms the class into a reactive source
@Observable
class UserModel {
    var name: String = ""
    var email: String = ""
    var avatarURL: URL?
    var preferences = UserPreferences()

    // Computed properties work too
    var isValid: Bool {
        !name.isEmpty && email.contains("@")
    }
}

struct UserPreferences {
    var newsletter: Bool = false
    var notifications: Bool = true
    var theme: Theme = .system
}
Magia dzieje się w czasie kompilacji: makro automatycznie generuje niezbędny kod śledzenia dla każdej właściwości.
Granularna obserwacja w działaniu
Główna różnica względem starego ObservableObject tkwi w granularności śledzenia:
@Observable
class ProfileModel {
    var name: String = ""
    var bio: String = ""
    var followerCount: Int = 0
    var posts: [Post] = []
}

struct ProfileHeaderView: View {
    let model: ProfileModel

    var body: some View {
        VStack {
            // This view only re-renders if name or bio change
            Text(model.name)
                .font(.title)
            Text(model.bio)
                .foregroundStyle(.secondary)
        }
    }
}

struct FollowerCountView: View {
    let model: ProfileModel

    var body: some View {
        // This view only re-renders if followerCount changes
        HStack {
            Image(systemName: "person.2")
            Text("\(model.followerCount) followers")
        }
    }
}

struct ProfileScreen: View {
    @State private var model = ProfileModel()

    var body: some View {
        VStack {
            // Each subview tracks only its dependencies
            ProfileHeaderView(model: model)
            FollowerCountView(model: model)

            Button("Simulate new follower") {
                // Only re-renders FollowerCountView
                model.followerCount += 1
            }
        }
    }
}SwiftUI analizuje body każdego widoku, aby ustalić, które właściwości są odczytywane. Tylko te właściwości wyzwalają ponowne renderowanie po modyfikacji.
Bezpośrednie porównanie: @Observable vs @State
Wybór między tymi narzędziami zależy od kilku czynników. Oto uporządkowane porównanie:
// Scenario 1: Temporary UI state → @State
struct ToggleExample: View {
    @State private var isExpanded = false  // ✅ @State appropriate

    var body: some View {
        VStack {
            Button(isExpanded ? "Collapse" : "Expand") {
                withAnimation {
                    isExpanded.toggle()
                }
            }

            if isExpanded {
                Text("Detailed content...")
            }
        }
    }
}

// Scenario 2: Shared business data → @Observable
@Observable
class CartModel {  // ✅ @Observable appropriate
    var items: [CartItem] = []
    var promoCode: String?

    var total: Decimal {
        items.reduce(0) { $0 + $1.price * Decimal($1.quantity) }
    }

    var itemCount: Int {
        items.reduce(0) { $0 + $1.quantity }
    }

    func addItem(_ item: CartItem) {
        if let index = items.firstIndex(where: { $0.id == item.id }) {
            items[index].quantity += 1
        } else {
            items.append(item)
        }
    }

    func removeItem(_ item: CartItem) {
        items.removeAll { $0.id == item.id }
    }
}

struct CartItem: Identifiable, Equatable {
    let id: UUID
    let name: String
    let price: Decimal
    var quantity: Int
}
Tabela podsumowująca przypadki użycia
| Kryterium | @State | @Observable | |-----------|--------|-------------| | Typ danych | Typy wartościowe (struct, enum) | Klasy | | Zakres | Lokalny dla widoku | Współdzielony między widokami | | Złożoność | Prosty stan | Złożona logika biznesowa | | Cykl życia | Zarządzany przez SwiftUI | Zarządzany jawnie | | Re-render | Cały widok | Granularny dla właściwości |
Gotowy na rozmowy o iOS?
Ćwicz z naszymi interaktywnymi symulatorami, flashcards i testami technicznymi.
Zaawansowane wzorce użycia
Łączenie @State i @Observable
W rzeczywistych aplikacjach te narzędzia harmonijnie współistnieją. @State obsługuje lokalny stan UI, podczas gdy @Observable enkapsuluje dane biznesowe.
@Observable
class TodoListModel {
    var todos: [Todo] = []
    var filter: TodoFilter = .all

    var filteredTodos: [Todo] {
        switch filter {
        case .all:
            return todos
        case .active:
            return todos.filter { !$0.isCompleted }
        case .completed:
            return todos.filter { $0.isCompleted }
        }
    }

    func addTodo(title: String) {
        let todo = Todo(id: UUID(), title: title, isCompleted: false)
        todos.append(todo)
    }

    func toggleTodo(_ todo: Todo) {
        guard let index = todos.firstIndex(where: { $0.id == todo.id }) else { return }
        todos[index].isCompleted.toggle()
    }
}

struct Todo: Identifiable, Equatable {
    let id: UUID
    var title: String
    var isCompleted: Bool
}

enum TodoFilter: CaseIterable {
    case all, active, completed
}

struct TodoListView: View {
    // Business data via @Observable
    @State private var model = TodoListModel()

    // Local UI state via @State
    @State private var newTodoTitle = ""
    @State private var isAddingTodo = false
    @State private var selectedTodo: Todo?

    var body: some View {
        NavigationStack {
            VStack {
                // Filter with Picker
                Picker("Filter", selection: $model.filter) {
                    ForEach(TodoFilter.allCases, id: \.self) { filter in
                        Text(filter.label).tag(filter)
                    }
                }
                .pickerStyle(.segmented)
                .padding()

                // Todo list
                List(model.filteredTodos, selection: $selectedTodo) { todo in
                    TodoRowView(todo: todo) {
                        model.toggleTodo(todo)
                    }
                }
            }
            .navigationTitle("Tasks")
            .toolbar {
                Button {
                    isAddingTodo = true
                } label: {
                    Image(systemName: "plus")
                }
            }
            .sheet(isPresented: $isAddingTodo) {
                AddTodoSheet(model: model)
            }
        }
    }
}

struct TodoRowView: View {
    let todo: Todo
    let onToggle: () -> Void

    var body: some View {
        HStack {
            Image(systemName: todo.isCompleted ? "checkmark.circle.fill" : "circle")
                .foregroundStyle(todo.isCompleted ? .green : .secondary)
                .onTapGesture(perform: onToggle)

            Text(todo.title)
                .strikethrough(todo.isCompleted)
        }
    }
}

extension TodoFilter {
    var label: String {
        switch self {
        case .all: return "All"
        case .active: return "Active"
        case .completed: return "Completed"
        }
    }
}
@Observable z wstrzykiwaniem zależności
Dla bardziej złożonych aplikacji wstrzykiwanie przez environment SwiftUI umożliwia skuteczne odsprzęganie:
@Observable
class AuthenticationService {
    var currentUser: User?
    var isAuthenticated: Bool { currentUser != nil }

    func login(email: String, password: String) async throws {
        // Authentication logic
        currentUser = User(id: UUID(), email: email, name: "User")
    }

    func logout() {
        currentUser = nil
    }
}

struct User: Identifiable, Equatable {
    let id: UUID
    let email: String
    let name: String
}

// Extension to create an environment key
extension EnvironmentValues {
    @Entry var authService: AuthenticationService = AuthenticationService()
}

// Configuration in the App
@main
struct MyApp: App {
    @State private var authService = AuthenticationService()

    var body: some Scene {
        WindowGroup {
            ContentView()
                .environment(\.authService, authService)
        }
    }
}

// Usage in views
struct ProfileView: View {
    @Environment(\.authService) private var authService

    var body: some View {
        if let user = authService.currentUser {
            VStack {
                Text("Hello, \(user.name)")
                Button("Sign Out") {
                    authService.logout()
                }
            }
        } else {
            Text("Not signed in")
        }
    }
}
Wydajność i optymalizacja
Unikanie niepotrzebnych re-renderów
Nawet z granularnością @Observable pewne wzorce mogą obniżać wydajność:
// ❌ Bad pattern: reading the entire object
struct BadPatternView: View {
    let model: ProfileModel

    var body: some View {
        // Reads model.name AND model.posts even if only name is displayed
        let _ = model.posts.count  // Creates unnecessary dependency
        Text(model.name)
    }
}

// ✅ Good pattern: targeted reading
struct GoodPatternView: View {
    let model: ProfileModel

    var body: some View {
        // Tracks only name
        Text(model.name)
    }
}

// ✅ Extract into subviews to isolate dependencies
struct OptimizedProfileView: View {
    let model: ProfileModel

    var body: some View {
        VStack {
            // Each subview has its own dependencies
            ProfileNameView(model: model)
            ProfilePostsView(model: model)
            ProfileStatsView(model: model)
        }
    }
}

struct ProfileNameView: View {
    let model: ProfileModel

    var body: some View {
        Text(model.name)
            .font(.title)
    }
}

struct ProfilePostsView: View {
    let model: ProfileModel

    var body: some View {
        ForEach(model.posts) { post in
            PostRow(post: post)
        }
    }
}

struct ProfileStatsView: View {
    let model: ProfileModel

    var body: some View {
        HStack {
            StatBadge(value: model.followerCount, label: "Followers")
            StatBadge(value: model.posts.count, label: "Posts")
        }
    }
}Właściwości computed na @Observable są przeliczane przy każdym dostępie. Dla skomplikowanych obliczeń warto cache'ować wynik w stored property.
Aktualizacje wsadowe z withObservationTracking
Dla zaawansowanych scenariuszy withObservationTracking pozwala wykrywać zmiany bez tworzenia bindingu:
import Observation

@Observable
class DataSyncModel {
    var lastSyncDate: Date?
    var pendingChanges: Int = 0
    var isSyncing: Bool = false
}

class SyncCoordinator {
    let model: DataSyncModel

    init(model: DataSyncModel) {
        self.model = model
        startObserving()
    }

    private func startObserving() {
        // Observe changes without UI
        withObservationTracking {
            // Access that creates dependencies
            _ = model.pendingChanges
            _ = model.isSyncing
        } onChange: {
            // Called when an observed property changes
            Task { @MainActor in
                self.handleModelChange()
            }
        }
    }

    private func handleModelChange() {
        if model.pendingChanges > 0 && !model.isSyncing {
            // Trigger synchronization
            Task {
                await syncChanges()
            }
        }
        // Re-establish observation
        startObserving()
    }

    private func syncChanges() async {
        model.isSyncing = true
        // Sync logic...
        model.isSyncing = false
        model.pendingChanges = 0
        model.lastSyncDate = Date()
    }
}
Migracja z ObservableObject
W istniejących projektach używających ObservableObject migracja do @Observable upraszcza kod:
// ❌ Old pattern with ObservableObject
class OldSettingsModel: ObservableObject {
    @Published var darkMode: Bool = false
    @Published var fontSize: CGFloat = 16
    @Published var notifications: Bool = true
}

struct OldSettingsView: View {
    @StateObject private var settings = OldSettingsModel()
    // or @ObservedObject if injected

    var body: some View {
        Form {
            Toggle("Dark Mode", isOn: $settings.darkMode)
            Slider(value: $settings.fontSize, in: 12...24)
            Toggle("Notifications", isOn: $settings.notifications)
        }
    }
}

// ✅ New pattern with @Observable
@Observable
class NewSettingsModel {
    var darkMode: Bool = false
    var fontSize: CGFloat = 16
    var notifications: Bool = true
}

struct NewSettingsView: View {
    @State private var settings = NewSettingsModel()

    var body: some View {
        Form {
            Toggle("Dark Mode", isOn: $settings.darkMode)
            Slider(value: $settings.fontSize, in: 12...24)
            Toggle("Notifications", isOn: $settings.notifications)
        }
    }
}
Korzyści migracji:
- Brak konieczności stosowania
@Publisheddla każdej właściwości @Statezastępuje@StateObjectprzy tworzeniu- Automatyczna granularna obserwacja
- Bardziej czytelny i łatwiejszy w utrzymaniu kod
Praktyczne reguły decyzyjne
Przewodnik decyzyjny pomagający wybrać odpowiednie narzędzie:
/*
 RULE 1: Ephemeral UI state → @State
 - Animations, transitions
 - Local form states
 - Temporary selections
 - Section expand/collapse
*/
struct AnimatedCard: View {
    @State private var isFlipped = false  // ✅ Local UI state
    // ...
}

/*
 RULE 2: Shared data across views → @Observable
 - Business data models
 - Authentication state
 - Shopping cart
 - User preferences
*/
@Observable
class UserSession {  // ✅ Shared across app
    var user: User?
    var preferences: Preferences
    // ...
}

/*
 RULE 3: Simple struct with binding → @State
 - Local configuration
 - Isolated forms
*/
struct FormData {
    var name: String = ""
    var email: String = ""
}

struct FormView: View {
    @State private var formData = FormData()  // ✅ Struct with @State
    // ...
}

/*
 RULE 4: Complex business logic → @Observable
 - Validations
 - Network calls
 - Data transformations
*/
@Observable
class OrderProcessor {  // ✅ Complex logic
    var items: [OrderItem] = []
    var status: OrderStatus = .draft

    func validate() -> [ValidationError] { /* ... */ }
    func submit() async throws { /* ... */ }
}
Podsumowanie
Wybór między @Observable a @State sprowadza się do dwóch fundamentalnych pytań: typ danych (wartość czy referencja) i zakres stanu (lokalny czy współdzielony). @State sprawdza się przy prostym, lokalnym stanie UI, podczas gdy @Observable błyszczy przy złożonych modelach danych wymagających granularnej obserwacji.
Lista kontrolna decyzji
- ✅ Używać
@Statedla typów wartościowych i ulotnego stanu UI - ✅ Używać
@Observabledla klas z danymi biznesowymi - ✅ Preferować
@Observable, gdy stan obejmuje wiele widoków - ✅ Wyodrębniać do podwidoków, aby optymalizować re-rendery
- ✅ Unikać czytania niepotrzebnych właściwości w body
- ✅ Migrować stopniowo z
ObservableObject - ✅ Korzystać z environment do wstrzykiwania zależności
- ✅ Testować wydajność z Instruments dla złożonych przypadków
Zacznij ćwiczyć!
Sprawdź swoją wiedzę z naszymi symulatorami rozmów i testami technicznymi.
Tagi
Udostępnij
Powiązane artykuły
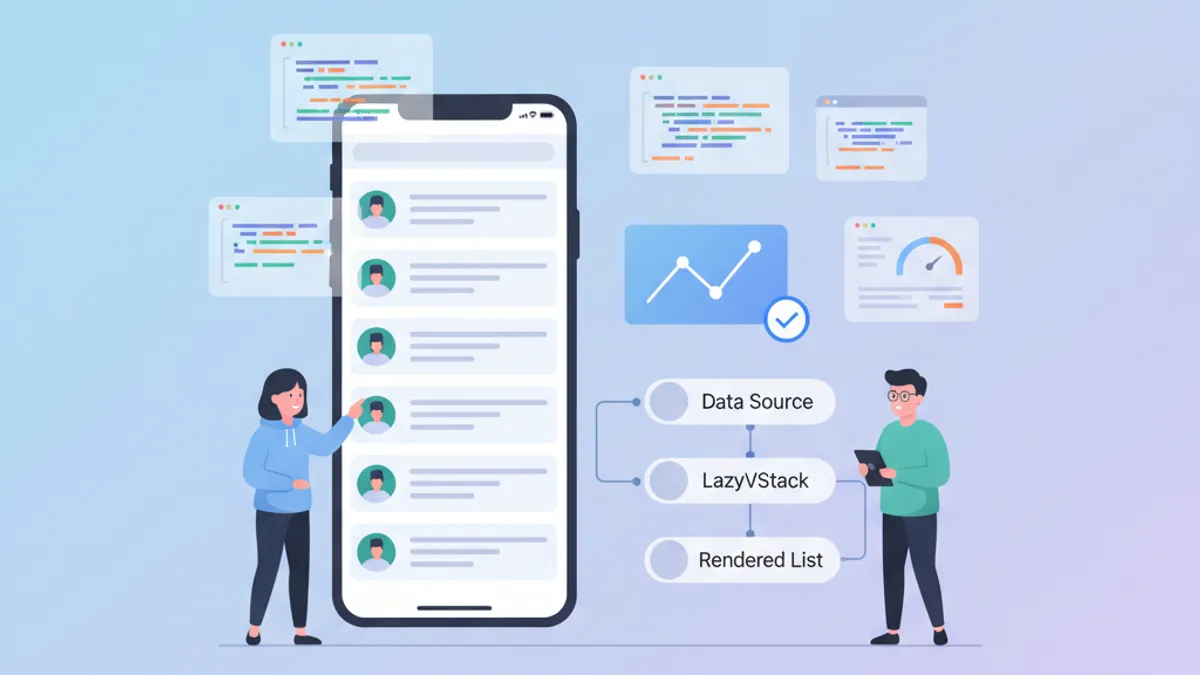
Wydajność SwiftUI: Optymalizacja LazyVStack i Złożonych List
Techniki optymalizacji LazyVStack i list SwiftUI. Zmniejszanie zużycia pamięci, poprawa wydajności przewijania i unikanie typowych pułapek.

Niestandardowe ViewModifiers w SwiftUI: wzorce wielokrotnego użytku dla design systemów
Buduj niestandardowe ViewModifiers w SwiftUI dla spójnego design systemu. Wzorce, najlepsze praktyki i praktyczne przykłady efektywnego stylowania widoków iOS.

SwiftUI: Tworzenie Nowoczesnych Interfejsow dla iOS
Kompletny przewodnik po tworzeniu nowoczesnych interfejsow uzytkownika w SwiftUI: skladnia deklaratywna, komponenty, animacje i najlepsze praktyki dla iOS 18.