SwiftUI @Observable vs @State: Cuándo Usar Cada Uno en 2026
Domina las diferencias entre @Observable y @State en SwiftUI para elegir la herramienta de gestión de estado adecuada en aplicaciones iOS.
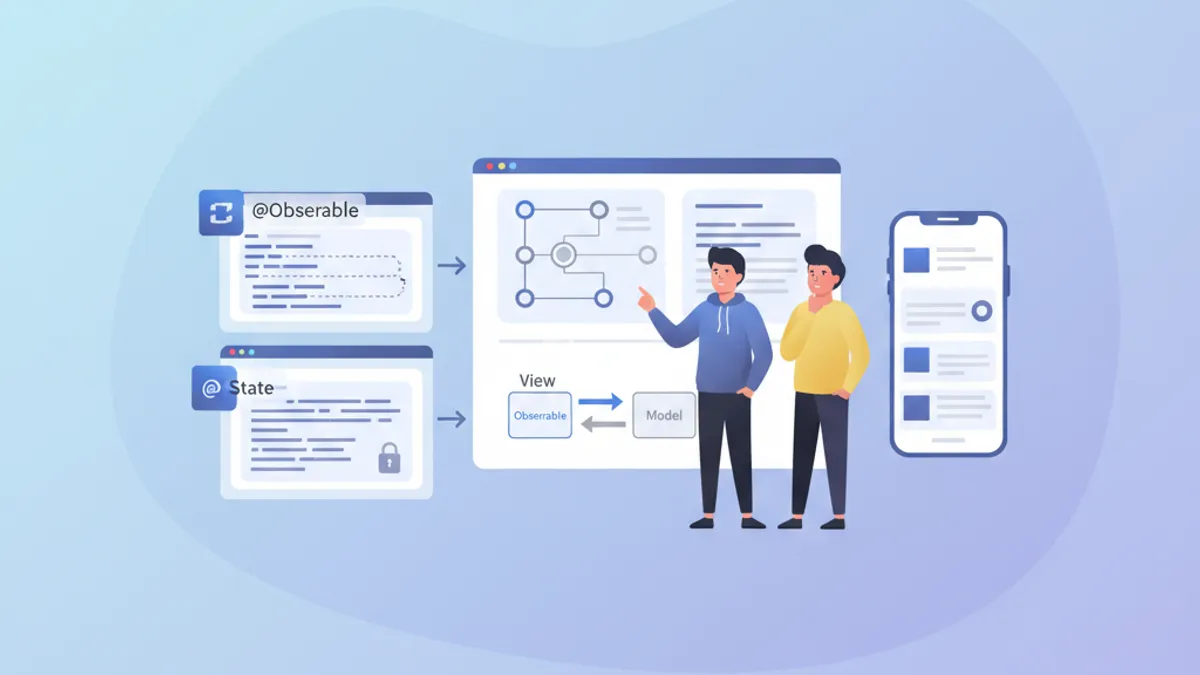
La gestión del estado constituye el pilar fundamental de toda aplicación SwiftUI eficiente. Desde iOS 17, el macro @Observable ha revolucionado la creación de modelos reactivos, mientras que @State sigue siendo esencial para el estado local de las vistas. Comprender cuándo usar cada herramienta evita renderizados innecesarios y permite construir aplicaciones fluidas y responsivas.
Este artículo explora los mecanismos internos de @Observable y @State, sus diferencias fundamentales, y ofrece pautas claras para elegir la herramienta correcta según el contexto.
Fundamentos de @State
@State representa la forma más simple de gestión de estado en SwiftUI. Este property wrapper crea un almacenamiento persistente para un valor que pertenece exclusivamente a la vista que lo declara.
struct CounterView: View {
    // @State creates storage managed by SwiftUI
    @State private var count = 0

    var body: some View {
        VStack(spacing: 20) {
            // The view updates when count changes
            Text("Counter: \(count)")
                .font(.largeTitle)

            HStack(spacing: 16) {
                Button("- 1") {
                    count -= 1
                }

                Button("+ 1") {
                    count += 1
                }
            }
            .buttonStyle(.borderedProminent)
        }
    }
}
Cada modificación de count desencadena un nuevo renderizado de la vista. SwiftUI gestiona automáticamente el ciclo de vida de este valor, preservándolo entre las reconstrucciones del body.
Características clave de @State
@State posee varias propiedades distintivas que definen su uso óptimo:
struct FormView: View {
    // ✅ Simple local state - value types
    @State private var username = ""
    @State private var isEnabled = true
    @State private var selectedIndex = 0

    // ✅ Complex value types supported
    @State private var configuration = FormConfiguration()

    var body: some View {
        Form {
            TextField("Username", text: $username)

            Toggle("Enabled", isOn: $isEnabled)

            Picker("Option", selection: $selectedIndex) {
                Text("Option A").tag(0)
                Text("Option B").tag(1)
                Text("Option C").tag(2)
            }
        }
    }
}

// Structs work perfectly with @State
struct FormConfiguration: Equatable {
    var theme: Theme = .light
    var fontSize: CGFloat = 16
    var showNotifications: Bool = true
}

enum Theme {
    case light, dark, system
}
El elemento crucial: @State funciona con tipos por valor (structs, enums, tipos primitivos). Para tipos por referencia (clases), se requieren otras herramientas.
El macro @Observable explicado
Introducido con iOS 17, @Observable transforma cualquier clase en una fuente de datos reactiva. A diferencia del antiguo protocolo ObservableObject, este macro ofrece observación granular: solo las propiedades efectivamente leídas por una vista desencadenan su nuevo renderizado.
import Observation

// @Observable transforms the class into a reactive source
@Observable
class UserModel {
    var name: String = ""
    var email: String = ""
    var avatarURL: URL?
    var preferences = UserPreferences()

    // Computed properties work too
    var isValid: Bool {
        !name.isEmpty && email.contains("@")
    }
}

struct UserPreferences {
    var newsletter: Bool = false
    var notifications: Bool = true
    var theme: Theme = .system
}
La magia ocurre en tiempo de compilación: el macro genera automáticamente el código de seguimiento necesario para cada propiedad.
Observación granular en acción
La diferencia principal con el antiguo ObservableObject reside en la granularidad del seguimiento:
@Observable
class ProfileModel {
    var name: String = ""
    var bio: String = ""
    var followerCount: Int = 0
    var posts: [Post] = []
}

struct ProfileHeaderView: View {
    let model: ProfileModel

    var body: some View {
        VStack {
            // This view only re-renders if name or bio change
            Text(model.name)
                .font(.title)
            Text(model.bio)
                .foregroundStyle(.secondary)
        }
    }
}

struct FollowerCountView: View {
    let model: ProfileModel

    var body: some View {
        // This view only re-renders if followerCount changes
        HStack {
            Image(systemName: "person.2")
            Text("\(model.followerCount) followers")
        }
    }
}

struct ProfileScreen: View {
    @State private var model = ProfileModel()

    var body: some View {
        VStack {
            // Each subview tracks only its dependencies
            ProfileHeaderView(model: model)
            FollowerCountView(model: model)

            Button("Simulate new follower") {
                // Only re-renders FollowerCountView
                model.followerCount += 1
            }
        }
    }
}SwiftUI analiza el body de cada vista para determinar qué propiedades se leen. Solo esas propiedades desencadenan un nuevo renderizado al modificarse.
Comparación directa: @Observable vs @State
La elección entre estas herramientas depende de varios factores. A continuación, una comparación estructurada:
// Scenario 1: Temporary UI state → @State
struct ToggleExample: View {
    @State private var isExpanded = false  // ✅ @State appropriate

    var body: some View {
        VStack {
            Button(isExpanded ? "Collapse" : "Expand") {
                withAnimation {
                    isExpanded.toggle()
                }
            }

            if isExpanded {
                Text("Detailed content...")
            }
        }
    }
}

// Scenario 2: Shared business data → @Observable
@Observable
class CartModel {  // ✅ @Observable appropriate
    var items: [CartItem] = []
    var promoCode: String?

    var total: Decimal {
        items.reduce(0) { $0 + $1.price * Decimal($1.quantity) }
    }

    var itemCount: Int {
        items.reduce(0) { $0 + $1.quantity }
    }

    func addItem(_ item: CartItem) {
        if let index = items.firstIndex(where: { $0.id == item.id }) {
            items[index].quantity += 1
        } else {
            items.append(item)
        }
    }

    func removeItem(_ item: CartItem) {
        items.removeAll { $0.id == item.id }
    }
}

struct CartItem: Identifiable, Equatable {
    let id: UUID
    let name: String
    let price: Decimal
    var quantity: Int
}
Tabla resumen de casos de uso
| Criterio | @State | @Observable | |----------|--------|-------------| | Tipo de dato | Tipos por valor (struct, enum) | Clases | | Alcance | Local a una vista | Compartible entre vistas | | Complejidad | Estado simple | Lógica de negocio compleja | | Ciclo de vida | Gestionado por SwiftUI | Gestionado explícitamente | | Re-renderizado | Vista completa | Granular por propiedad |
¿Listo para aprobar tus entrevistas de iOS?
Practica con nuestros simuladores interactivos, flashcards y tests técnicos.
Patrones de uso avanzados
Combinar @State y @Observable
En aplicaciones reales, estas herramientas coexisten armoniosamente. @State gestiona el estado local de la UI mientras que @Observable encapsula los datos de negocio.
@Observable
class TodoListModel {
    var todos: [Todo] = []
    var filter: TodoFilter = .all

    var filteredTodos: [Todo] {
        switch filter {
        case .all:
            return todos
        case .active:
            return todos.filter { !$0.isCompleted }
        case .completed:
            return todos.filter { $0.isCompleted }
        }
    }

    func addTodo(title: String) {
        let todo = Todo(id: UUID(), title: title, isCompleted: false)
        todos.append(todo)
    }

    func toggleTodo(_ todo: Todo) {
        guard let index = todos.firstIndex(where: { $0.id == todo.id }) else { return }
        todos[index].isCompleted.toggle()
    }
}

struct Todo: Identifiable, Equatable {
    let id: UUID
    var title: String
    var isCompleted: Bool
}

enum TodoFilter: CaseIterable {
    case all, active, completed
}

struct TodoListView: View {
    // Business data via @Observable
    @State private var model = TodoListModel()

    // Local UI state via @State
    @State private var newTodoTitle = ""
    @State private var isAddingTodo = false
    @State private var selectedTodo: Todo?

    var body: some View {
        NavigationStack {
            VStack {
                // Filter with Picker
                Picker("Filter", selection: $model.filter) {
                    ForEach(TodoFilter.allCases, id: \.self) { filter in
                        Text(filter.label).tag(filter)
                    }
                }
                .pickerStyle(.segmented)
                .padding()

                // Todo list
                List(model.filteredTodos, selection: $selectedTodo) { todo in
                    TodoRowView(todo: todo) {
                        model.toggleTodo(todo)
                    }
                }
            }
            .navigationTitle("Tasks")
            .toolbar {
                Button {
                    isAddingTodo = true
                } label: {
                    Image(systemName: "plus")
                }
            }
            .sheet(isPresented: $isAddingTodo) {
                AddTodoSheet(model: model)
            }
        }
    }
}

struct TodoRowView: View {
    let todo: Todo
    let onToggle: () -> Void

    var body: some View {
        HStack {
            Image(systemName: todo.isCompleted ? "checkmark.circle.fill" : "circle")
                .foregroundStyle(todo.isCompleted ? .green : .secondary)
                .onTapGesture(perform: onToggle)

            Text(todo.title)
                .strikethrough(todo.isCompleted)
        }
    }
}

extension TodoFilter {
    var label: String {
        switch self {
        case .all: return "All"
        case .active: return "Active"
        case .completed: return "Completed"
        }
    }
}
@Observable con inyección de dependencias
Para aplicaciones más complejas, la inyección a través del environment de SwiftUI permite un desacoplamiento eficaz:
@Observable
class AuthenticationService {
    var currentUser: User?
    var isAuthenticated: Bool { currentUser != nil }

    func login(email: String, password: String) async throws {
        // Authentication logic
        currentUser = User(id: UUID(), email: email, name: "User")
    }

    func logout() {
        currentUser = nil
    }
}

struct User: Identifiable, Equatable {
    let id: UUID
    let email: String
    let name: String
}

// Extension to create an environment key
extension EnvironmentValues {
    @Entry var authService: AuthenticationService = AuthenticationService()
}

// Configuration in the App
@main
struct MyApp: App {
    @State private var authService = AuthenticationService()

    var body: some Scene {
        WindowGroup {
            ContentView()
                .environment(\.authService, authService)
        }
    }
}

// Usage in views
struct ProfileView: View {
    @Environment(\.authService) private var authService

    var body: some View {
        if let user = authService.currentUser {
            VStack {
                Text("Hello, \(user.name)")
                Button("Sign Out") {
                    authService.logout()
                }
            }
        } else {
            Text("Not signed in")
        }
    }
}
Rendimiento y optimización
Evitar renderizados innecesarios
Incluso con la granularidad de @Observable, ciertos patrones pueden degradar el rendimiento:
// ❌ Bad pattern: reading the entire object
struct BadPatternView: View {
    let model: ProfileModel

    var body: some View {
        // Reads model.name AND model.posts even if only name is displayed
        let _ = model.posts.count  // Creates unnecessary dependency
        Text(model.name)
    }
}

// ✅ Good pattern: targeted reading
struct GoodPatternView: View {
    let model: ProfileModel

    var body: some View {
        // Tracks only name
        Text(model.name)
    }
}

// ✅ Extract into subviews to isolate dependencies
struct OptimizedProfileView: View {
    let model: ProfileModel

    var body: some View {
        VStack {
            // Each subview has its own dependencies
            ProfileNameView(model: model)
            ProfilePostsView(model: model)
            ProfileStatsView(model: model)
        }
    }
}

struct ProfileNameView: View {
    let model: ProfileModel

    var body: some View {
        Text(model.name)
            .font(.title)
    }
}

struct ProfilePostsView: View {
    let model: ProfileModel

    var body: some View {
        ForEach(model.posts) { post in
            PostRow(post: post)
        }
    }
}

struct ProfileStatsView: View {
    let model: ProfileModel

    var body: some View {
        HStack {
            StatBadge(value: model.followerCount, label: "Followers")
            StatBadge(value: model.posts.count, label: "Posts")
        }
    }
}Las propiedades calculadas en @Observable se reevalúan en cada acceso. Para cálculos complejos, conviene cachear el resultado en una propiedad almacenada.
Actualizaciones por lotes con withObservationTracking
Para escenarios avanzados, withObservationTracking permite detectar cambios sin crear un binding:
import Observation

@Observable
class DataSyncModel {
    var lastSyncDate: Date?
    var pendingChanges: Int = 0
    var isSyncing: Bool = false
}

class SyncCoordinator {
    let model: DataSyncModel

    init(model: DataSyncModel) {
        self.model = model
        startObserving()
    }

    private func startObserving() {
        // Observe changes without UI
        withObservationTracking {
            // Access that creates dependencies
            _ = model.pendingChanges
            _ = model.isSyncing
        } onChange: {
            // Called when an observed property changes
            Task { @MainActor in
                self.handleModelChange()
            }
        }
    }

    private func handleModelChange() {
        if model.pendingChanges > 0 && !model.isSyncing {
            // Trigger synchronization
            Task {
                await syncChanges()
            }
        }
        // Re-establish observation
        startObserving()
    }

    private func syncChanges() async {
        model.isSyncing = true
        // Sync logic...
        model.isSyncing = false
        model.pendingChanges = 0
        model.lastSyncDate = Date()
    }
}
Migrar desde ObservableObject
Para proyectos existentes que usan ObservableObject, la migración a @Observable simplifica el código:
// ❌ Old pattern with ObservableObject
class OldSettingsModel: ObservableObject {
    @Published var darkMode: Bool = false
    @Published var fontSize: CGFloat = 16
    @Published var notifications: Bool = true
}

struct OldSettingsView: View {
    @StateObject private var settings = OldSettingsModel()
    // or @ObservedObject if injected

    var body: some View {
        Form {
            Toggle("Dark Mode", isOn: $settings.darkMode)
            Slider(value: $settings.fontSize, in: 12...24)
            Toggle("Notifications", isOn: $settings.notifications)
        }
    }
}

// ✅ New pattern with @Observable
@Observable
class NewSettingsModel {
    var darkMode: Bool = false
    var fontSize: CGFloat = 16
    var notifications: Bool = true
}

struct NewSettingsView: View {
    @State private var settings = NewSettingsModel()

    var body: some View {
        Form {
            Toggle("Dark Mode", isOn: $settings.darkMode)
            Slider(value: $settings.fontSize, in: 12...24)
            Toggle("Notifications", isOn: $settings.notifications)
        }
    }
}
Ventajas de la migración:
- Ya no se necesita
@Publisheden cada propiedad @Statereemplaza a@StateObjectpara la creación- Observación granular automática
- Código más legible y mantenible
Reglas prácticas de decisión
A continuación, una guía de decisión para elegir la herramienta adecuada:
/*
 RULE 1: Ephemeral UI state → @State
 - Animations, transitions
 - Local form states
 - Temporary selections
 - Section expand/collapse
*/
struct AnimatedCard: View {
    @State private var isFlipped = false  // ✅ Local UI state
    // ...
}

/*
 RULE 2: Shared data across views → @Observable
 - Business data models
 - Authentication state
 - Shopping cart
 - User preferences
*/
@Observable
class UserSession {  // ✅ Shared across app
    var user: User?
    var preferences: Preferences
    // ...
}

/*
 RULE 3: Simple struct with binding → @State
 - Local configuration
 - Isolated forms
*/
struct FormData {
    var name: String = ""
    var email: String = ""
}

struct FormView: View {
    @State private var formData = FormData()  // ✅ Struct with @State
    // ...
}

/*
 RULE 4: Complex business logic → @Observable
 - Validations
 - Network calls
 - Data transformations
*/
@Observable
class OrderProcessor {  // ✅ Complex logic
    var items: [OrderItem] = []
    var status: OrderStatus = .draft

    func validate() -> [ValidationError] { /* ... */ }
    func submit() async throws { /* ... */ }
}
Conclusión
La elección entre @Observable y @State se reduce a dos preguntas fundamentales: el tipo de dato (valor o referencia) y el alcance del estado (local o compartido). @State destaca para estados de UI simples y locales, mientras que @Observable brilla para modelos de datos complejos que requieren observación granular.
Lista de verificación de decisión
- ✅ Usar
@Statepara tipos por valor y estado de UI efímero - ✅ Usar
@Observablepara clases con datos de negocio - ✅ Preferir
@Observablecuando el estado abarca varias vistas - ✅ Extraer en subvistas para optimizar los renderizados
- ✅ Evitar leer propiedades innecesarias en el body
- ✅ Migrar progresivamente desde
ObservableObject - ✅ Usar el environment para inyección de dependencias
- ✅ Probar el rendimiento con Instruments para casos complejos
¡Empieza a practicar!
Pon a prueba tu conocimiento con nuestros simuladores de entrevista y tests técnicos.
Etiquetas
Compartir
Artículos relacionados
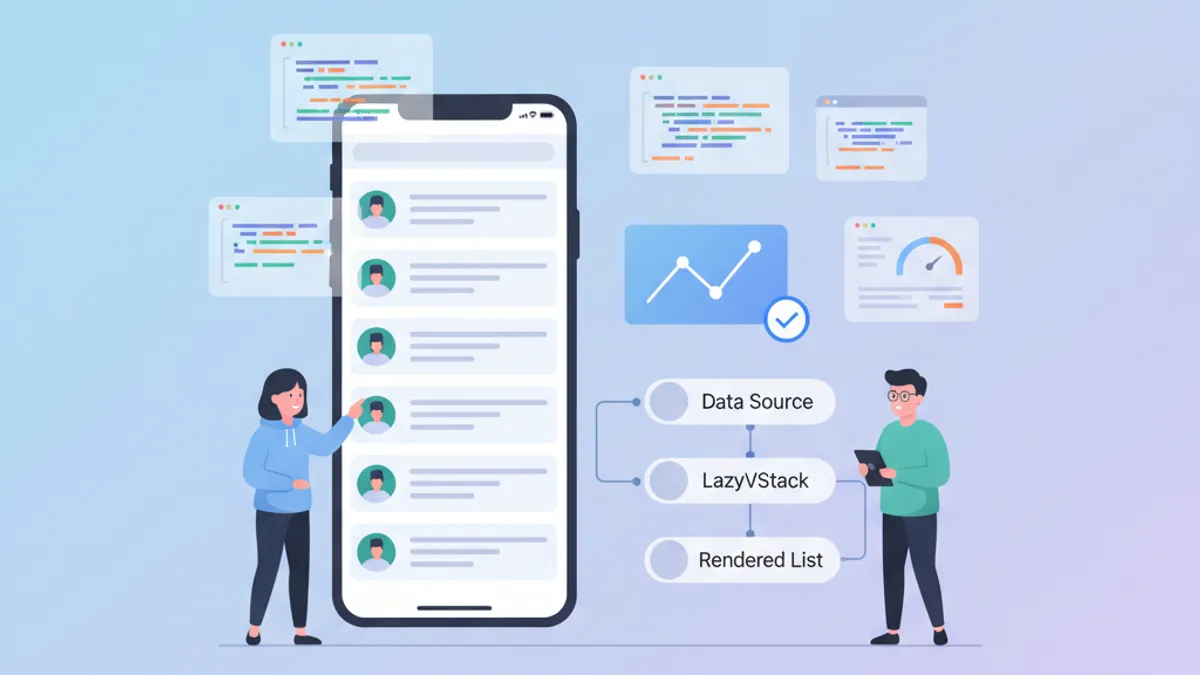
Rendimiento SwiftUI: Optimización de LazyVStack y Listas Complejas
Técnicas de optimización para LazyVStack y listas SwiftUI. Reducir el consumo de memoria, mejorar el rendimiento del scroll y evitar errores comunes.

ViewModifiers personalizados en SwiftUI: patrones reutilizables para Design Systems
Construye ViewModifiers personalizados en SwiftUI para un design system coherente. Patrones, mejores prácticas y ejemplos prácticos para estilizar vistas iOS de forma eficiente.

SwiftUI: Construccion de Interfaces Modernas para iOS
Guia completa para crear interfaces modernas con SwiftUI: sintaxis declarativa, componentes, animaciones y mejores practicas para iOS 18.