Kubernetes: Desplegando tu primera aplicación
Guía práctica para desplegar una aplicación en Kubernetes. Desde la instalación de minikube hasta Deployments, Services y ConfigMaps con ejemplos concretos.
Kubernetes (K8s) se ha convertido en el estándar de facto para la orquestación de contenedores. Diseñado por Google y mantenido actualmente por la CNCF, Kubernetes automatiza el despliegue, el escalado y la gestión de aplicaciones contenedorizadas. Esta guía recorre la configuración de un clúster local y el despliegue de una primera aplicación.
Se recomienda tener conocimientos básicos de Docker antes de profundizar en Kubernetes. Los contenedores son los bloques fundamentales que Kubernetes orquesta. Leer la guía de Docker antes facilita mucho la comprensión de los conceptos presentados aquí.
Comprender la arquitectura de Kubernetes
Kubernetes se basa en una arquitectura maestro-trabajador. El Control Plane toma las decisiones globales sobre el clúster, mientras que los Nodes ejecutan las cargas de trabajo.
# Simplified Kubernetes Architecture

┌─────────────────────────────────────────────────────────────┐
│                      CONTROL PLANE                          │
│  ┌─────────────┐  ┌─────────────┐  ┌─────────────────────┐ │
│  │ API Server  │  │ Scheduler   │  │ Controller Manager  │ │
│  └─────────────┘  └─────────────┘  └─────────────────────┘ │
│  ┌─────────────────────────────────────────────────────────┐│
│  │                        etcd                             ││
│  └─────────────────────────────────────────────────────────┘│
└─────────────────────────────────────────────────────────────┘
                              │
         ┌────────────────────┼────────────────────┐
         ▼                    ▼                    ▼
┌─────────────────┐  ┌─────────────────┐  ┌─────────────────┐
│     NODE 1      │  │     NODE 2      │  │     NODE 3      │
│  ┌───────────┐  │  │  ┌───────────┐  │  │  ┌───────────┐  │
│  │  kubelet  │  │  │  │  kubelet  │  │  │  │  kubelet  │  │
│  ├───────────┤  │  │  ├───────────┤  │  │  ├───────────┤  │
│  │ kube-proxy│  │  │  │ kube-proxy│  │  │  │ kube-proxy│  │
│  ├───────────┤  │  │  ├───────────┤  │  │  ├───────────┤  │
│  │   Pods    │  │  │  │   Pods    │  │  │  │   Pods    │  │
│  └───────────┘  │  │  └───────────┘  │  │  └───────────┘  │
└─────────────────┘  └─────────────────┘  └─────────────────┘
El API Server es el punto de entrada para todos los comandos. etcd almacena el estado del clúster. El Scheduler asigna los Pods a los Nodes. Los Controllers mantienen el estado deseado del sistema.
Configurar el entorno local
Existen varias opciones para experimentar con Kubernetes localmente: minikube, kind, k3d o Docker Desktop. Minikube sigue siendo la solución más popular para aprender.
# terminal
# Install kubectl (Kubernetes client)
curl -LO "https://dl.k8s.io/release/$(curl -L -s https://dl.k8s.io/release/stable.txt)/bin/linux/amd64/kubectl"
chmod +x kubectl
sudo mv kubectl /usr/local/bin/

# Verify installation
kubectl version --client
# Client Version: v1.31.0

# Install minikube
curl -LO https://storage.googleapis.com/minikube/releases/latest/minikube-linux-amd64
sudo install minikube-linux-amd64 /usr/local/bin/minikube

# Start the local cluster
minikube start --driver=docker --cpus=2 --memory=4096

# Check status
minikube status
# minikube: Running
# cluster: Running
# kubectl: Configured
Minikube crea un clúster Kubernetes de un solo nodo dentro de una máquina virtual o un contenedor Docker. Los recursos asignados (CPU, memoria) se ajustan según las necesidades.
# terminal
# Access the Kubernetes dashboard (web interface)
minikube dashboard

# Check cluster nodes
kubectl get nodes
# NAME       STATUS   ROLES           AGE   VERSION
# minikube   Ready    control-plane   5m    v1.31.0

# Detailed cluster information
kubectl cluster-infoKind (Kubernetes in Docker) arranca más rápido y se adapta mejor a las pruebas en CI/CD. K3d utiliza k3s, una distribución ligera de Kubernetes. Docker Desktop integra Kubernetes directamente, pero consume más recursos.
Pods: la unidad básica
Un Pod es la unidad desplegable más pequeña en Kubernetes. Un Pod encapsula uno o varios contenedores que comparten la misma red y el mismo almacenamiento.
# pod-simple.yaml
apiVersion: v1
kind: Pod
metadata:
  # Unique Pod name within the namespace
  name: nginx-pod
  # Labels for organization and selection
  labels:
    app: nginx
    environment: development
spec:
  containers:
    # Main container definition
    - name: nginx
      # Docker image to use
      image: nginx:1.25-alpine
      # Ports exposed by the container
      ports:
        - containerPort: 80
      # Container resource allocation
      resources:
        requests:
          memory: "64Mi"
          cpu: "100m"
        limits:
          memory: "128Mi"
          cpu: "200m"
Este manifiesto YAML declara un Pod que contiene un solo contenedor nginx. Las labels permiten identificar y seleccionar los Pods. Los recursos definen las garantías mínimas (requests) y los límites máximos (limits).
# terminal
# Create the Pod
kubectl apply -f pod-simple.yaml
# pod/nginx-pod created

# List Pods
kubectl get pods
# NAME        READY   STATUS    RESTARTS   AGE
# nginx-pod   1/1     Running   0          30s

# Full Pod details
kubectl describe pod nginx-pod

# Container logs
kubectl logs nginx-pod

# Execute a command inside the Pod
kubectl exec -it nginx-pod -- /bin/sh

# Delete the Pod
kubectl delete pod nginx-pod
Los Pods son efímeros por naturaleza. En caso de caída o eliminación, Kubernetes no los recrea automáticamente. Los Deployments resuelven esta limitación.
Deployments: gestión declarativa
Un Deployment define el estado deseado para un conjunto de Pods idénticos. Kubernetes mantiene automáticamente este estado creando, actualizando o eliminando Pods según sea necesario.
# deployment.yaml
apiVersion: apps/v1
kind: Deployment
metadata:
  # Deployment name
  name: webapp-deployment
  labels:
    app: webapp
spec:
  # Desired number of replicas
  replicas: 3
  # Selector to identify managed Pods
  selector:
    matchLabels:
      app: webapp
  # Template for Pod creation
  template:
    metadata:
      labels:
        app: webapp
    spec:
      containers:
        - name: webapp
          image: nginx:1.25-alpine
          ports:
            - containerPort: 80
          resources:
            requests:
              memory: "64Mi"
              cpu: "100m"
            limits:
              memory: "128Mi"
              cpu: "200m"
          # Liveness probe: restarts container on failure
          livenessProbe:
            httpGet:
              path: /
              port: 80
            initialDelaySeconds: 10
            periodSeconds: 10
          # Readiness probe: removes Pod from Service on failure
          readinessProbe:
            httpGet:
              path: /
              port: 80
            initialDelaySeconds: 5
            periodSeconds: 5
El Deployment crea un ReplicaSet que mantiene 3 Pods idénticos. Las probes verifican el estado de los contenedores y permiten a Kubernetes reaccionar automáticamente ante incidencias.
# terminal
# Create the Deployment
kubectl apply -f deployment.yaml
# deployment.apps/webapp-deployment created

# Verify the Deployment
kubectl get deployments
# NAME                READY   UP-TO-DATE   AVAILABLE   AGE
# webapp-deployment   3/3     3            3           1m

# List Pods created by the Deployment
kubectl get pods -l app=webapp
# NAME                                READY   STATUS    RESTARTS   AGE
# webapp-deployment-7d9f8b6c4-abc12   1/1     Running   0          1m
# webapp-deployment-7d9f8b6c4-def34   1/1     Running   0          1m
# webapp-deployment-7d9f8b6c4-ghi56   1/1     Running   0          1m

# Manual scaling
kubectl scale deployment webapp-deployment --replicas=5

# Deployment history
kubectl rollout history deployment webapp-deployment
Eliminar un Pod activa automáticamente la creación de un nuevo Pod para mantener el número deseado de réplicas.
¿Listo para aprobar tus entrevistas de DevOps?
Practica con nuestros simuladores interactivos, flashcards y tests técnicos.
Services: exposición de red
Los Pods tienen direcciones IP efímeras. Los Services proporcionan una dirección estable para acceder a un conjunto de Pods, con balanceo de carga integrado.
# service.yaml
apiVersion: v1
kind: Service
metadata:
  name: webapp-service
spec:
  # Service type: ClusterIP (internal), NodePort, LoadBalancer
  type: ClusterIP
  # Selector to identify target Pods
  selector:
    app: webapp
  ports:
    # Port exposed by the Service
    - port: 80
      # Target container port
      targetPort: 80
      # Protocol (TCP by default)
      protocol: TCP
Este Service ClusterIP solo es accesible desde dentro del clúster. Las solicitudes a webapp-service:80 se distribuyen entre los Pods que llevan la label app: webapp.
# terminal
# Create the Service
kubectl apply -f service.yaml
# service/webapp-service created

# List Services
kubectl get services
# NAME             TYPE        CLUSTER-IP      EXTERNAL-IP   PORT(S)   AGE
# webapp-service   ClusterIP   10.96.123.456   <none>        80/TCP    30s

# Test from a temporary Pod
kubectl run curl-test --rm -it --image=curlimages/curl -- curl webapp-service

# Detailed Service description
kubectl describe service webapp-service
Para exponer la aplicación fuera del clúster, es necesario un tipo NodePort o LoadBalancer.
# service-nodeport.yaml
apiVersion: v1
kind: Service
metadata:
  name: webapp-nodeport
spec:
  type: NodePort
  selector:
    app: webapp
  ports:
    - port: 80
      targetPort: 80
      # Port on each Node (30000-32767)
      nodePort: 30080
Con minikube, el comando minikube service webapp-nodeport abre automáticamente el navegador en la URL correcta.
ConfigMaps: configuración externalizada
Los ConfigMaps separan la configuración del código. Los valores se inyectan como variables de entorno o se montan como archivos.
# configmap.yaml
apiVersion: v1
kind: ConfigMap
metadata:
  name: webapp-config
data:
  # Simple key-value pairs
  APP_ENV: "production"
  LOG_LEVEL: "info"
  MAX_CONNECTIONS: "100"
  # Multiline configuration (complete file)
  nginx.conf: |
    server {
        listen 80;
        server_name localhost;

        location / {
            root /usr/share/nginx/html;
            index index.html;
        }

        location /health {
            return 200 'OK';
            add_header Content-Type text/plain;
        }
    }
Los ConfigMaps almacenan datos no sensibles. Para los secretos (contraseñas, tokens), los Secrets de Kubernetes son más apropiados.
# deployment-with-config.yaml
apiVersion: apps/v1
kind: Deployment
metadata:
  name: webapp-configured
spec:
  replicas: 2
  selector:
    matchLabels:
      app: webapp-configured
  template:
    metadata:
      labels:
        app: webapp-configured
    spec:
      containers:
        - name: webapp
          image: nginx:1.25-alpine
          ports:
            - containerPort: 80
          # Inject environment variables
          envFrom:
            - configMapRef:
                name: webapp-config
          # Or individual variables
          env:
            - name: SPECIFIC_VAR
              valueFrom:
                configMapKeyRef:
                  name: webapp-config
                  key: LOG_LEVEL
          # Mount configuration file
          volumeMounts:
            - name: nginx-config
              mountPath: /etc/nginx/conf.d/default.conf
              subPath: nginx.conf
      volumes:
        - name: nginx-config
          configMap:
            name: webapp-config
Esta configuración inyecta variables de entorno y monta el archivo nginx.conf dentro del contenedor.
# terminal
# Apply resources
kubectl apply -f configmap.yaml
kubectl apply -f deployment-with-config.yaml

# Verify environment variables
kubectl exec deployment/webapp-configured -- printenv | grep APP_ENV
# APP_ENV=production

# Verify mounted file
kubectl exec deployment/webapp-configured -- cat /etc/nginx/conf.d/default.confModificar un ConfigMap no reinicia automáticamente los Pods. Para aplicar los cambios, hace falta un reinicio manual: kubectl rollout restart deployment webapp-configured. Herramientas como Reloader automatizan este proceso.
Secrets: datos sensibles
Los Secrets almacenan información sensible como contraseñas, tokens o claves SSH. Aunque están codificados en base64, no se cifran por defecto en reposo.
# secret.yaml
apiVersion: v1
kind: Secret
metadata:
  name: webapp-secrets
type: Opaque
# Values must be base64-encoded
data:
  # echo -n 'admin' | base64
  username: YWRtaW4=
  # echo -n 'supersecretpassword' | base64
  password: c3VwZXJzZWNyZXRwYXNzd29yZA==
---
# Alternative: stringData accepts plain text values
apiVersion: v1
kind: Secret
metadata:
  name: webapp-secrets-plain
type: Opaque
stringData:
  username: admin
  password: supersecretpassword
Los Secrets se inyectan de la misma forma que los ConfigMaps.
# deployment-with-secrets.yaml
apiVersion: apps/v1
kind: Deployment
metadata:
  name: webapp-secure
spec:
  replicas: 1
  selector:
    matchLabels:
      app: webapp-secure
  template:
    metadata:
      labels:
        app: webapp-secure
    spec:
      containers:
        - name: webapp
          image: nginx:1.25-alpine
          env:
            - name: DB_USERNAME
              valueFrom:
                secretKeyRef:
                  name: webapp-secrets
                  key: username
            - name: DB_PASSWORD
              valueFrom:
                secretKeyRef:
                  name: webapp-secrets
key: password# terminal
# Create the Secret
kubectl apply -f secret.yaml
# List Secrets (values are not displayed)
kubectl get secrets
# NAME TYPE DATA AGE
# webapp-secrets Opaque 2 10s
# Decode a value
kubectl get secret webapp-secrets -o jsonpath='{.data.password}' | base64 -d
# supersecretpasswordNamespaces: aislamiento lógico
Los Namespaces dividen un clúster en entornos virtuales aislados. Esta separación permite gestionar varios equipos o entornos sobre el mismo clúster.
# namespace.yaml
apiVersion: v1
kind: Namespace
metadata:
  name: development
  labels:
    environment: development
---
apiVersion: v1
kind: Namespace
metadata:
  name: staging
  labels:
    environment: staging
Cada recurso puede crearse dentro de un namespace específico.
# terminal
# Create namespaces
kubectl apply -f namespace.yaml

# List namespaces
kubectl get namespaces
# NAME          STATUS   AGE
# default       Active   1d
# development   Active   10s
# staging       Active   10s

# Create a resource in a specific namespace
kubectl apply -f deployment.yaml -n development

# List Pods in a namespace
kubectl get pods -n development

# Change default namespace
kubectl config set-context --current --namespace=development
Los recursos de namespaces distintos están aislados por defecto. La comunicación entre namespaces se realiza mediante el DNS interno: service-name.namespace.svc.cluster.local.
Aplicación completa: ensamblar los recursos
A continuación se presenta una aplicación completa que combina todos los conceptos vistos.
# complete-app.yaml
---
# Dedicated Namespace
apiVersion: v1
kind: Namespace
metadata:
  name: myapp
---
# ConfigMap for configuration
apiVersion: v1
kind: ConfigMap
metadata:
  name: myapp-config
  namespace: myapp
data:
  APP_NAME: "MyApp"
  LOG_LEVEL: "info"
---
# Secret for sensitive data
apiVersion: v1
kind: Secret
metadata:
  name: myapp-secrets
  namespace: myapp
type: Opaque
stringData:
  api-key: "sk-1234567890abcdef"
---
# Deployment with 3 replicas
apiVersion: apps/v1
kind: Deployment
metadata:
  name: myapp
  namespace: myapp
spec:
  replicas: 3
  selector:
    matchLabels:
      app: myapp
  template:
    metadata:
      labels:
        app: myapp
    spec:
      containers:
        - name: myapp
          image: nginx:1.25-alpine
          ports:
            - containerPort: 80
          envFrom:
            - configMapRef:
                name: myapp-config
          env:
            - name: API_KEY
              valueFrom:
                secretKeyRef:
                  name: myapp-secrets
                  key: api-key
          resources:
            requests:
              memory: "64Mi"
              cpu: "100m"
            limits:
              memory: "128Mi"
              cpu: "200m"
          livenessProbe:
            httpGet:
              path: /
              port: 80
            initialDelaySeconds: 10
            periodSeconds: 10
          readinessProbe:
            httpGet:
              path: /
              port: 80
            initialDelaySeconds: 5
            periodSeconds: 5
---
# Service for internal exposure
apiVersion: v1
kind: Service
metadata:
  name: myapp-service
  namespace: myapp
spec:
  type: ClusterIP
  selector:
    app: myapp
  ports:
    - port: 80
      targetPort: 80
---
# NodePort Service for external access (development)
apiVersion: v1
kind: Service
metadata:
  name: myapp-nodeport
  namespace: myapp
spec:
  type: NodePort
  selector:
    app: myapp
  ports:
    - port: 80
      targetPort: 80
      nodePort: 30100
Este único archivo despliega una aplicación completa con configuración externalizada, secretos, alta disponibilidad y exposición de red.
# terminal
# Deploy the complete application
kubectl apply -f complete-app.yaml

# Verify all resources
kubectl get all -n myapp
# NAME                         READY   STATUS    RESTARTS   AGE
# pod/myapp-7d9f8b6c4-abc12    1/1     Running   0          30s
# pod/myapp-7d9f8b6c4-def34    1/1     Running   0          30s
# pod/myapp-7d9f8b6c4-ghi56    1/1     Running   0          30s
#
# NAME                    TYPE        CLUSTER-IP      PORT(S)        AGE
# service/myapp-service   ClusterIP   10.96.123.456   80/TCP         30s
# service/myapp-nodeport  NodePort    10.96.123.789   80:30100/TCP   30s
#
# NAME                    READY   UP-TO-DATE   AVAILABLE   AGE
# deployment.apps/myapp   3/3     3            3           30s

# Access the application with minikube
minikube service myapp-nodeport -n myapp
Actualizaciones y rollbacks
Kubernetes facilita las actualizaciones progresivas y los rollbacks.
# terminal
# Update the Deployment image
kubectl set image deployment/myapp myapp=nginx:1.26-alpine -n myapp

# Track deployment in real-time
kubectl rollout status deployment/myapp -n myapp
# Waiting for deployment "myapp" rollout to finish: 1 out of 3 new replicas updated
# Waiting for deployment "myapp" rollout to finish: 2 out of 3 new replicas updated
# deployment "myapp" successfully rolled out

# Revision history
kubectl rollout history deployment/myapp -n myapp
# REVISION  CHANGE-CAUSE
# 1         <none>
# 2         <none>

# Rollback to previous revision
kubectl rollout undo deployment/myapp -n myapp

# Rollback to a specific revision
kubectl rollout undo deployment/myapp --to-revision=1 -n myapp
La estrategia de actualización por defecto (RollingUpdate) reemplaza progresivamente los Pods antiguos por los nuevos, garantizando la disponibilidad continua.
Comandos kubectl esenciales
# terminal
# ========================================
# General Information
# ========================================
kubectl cluster-info                    # Cluster info
kubectl get nodes -o wide               # Nodes with details
kubectl api-resources                   # List resource types

# ========================================
# Resource Management
# ========================================
kubectl get all                         # All namespace resources
kubectl get pods -A                     # Pods from all namespaces
kubectl get pods -o wide                # Pods with IP and Node
kubectl get pods -w                     # Watch mode (real-time)

# ========================================
# Inspection and Debugging
# ========================================
kubectl describe pod <name>             # Full details
kubectl logs <pod> -f                   # Streaming logs
kubectl logs <pod> -c <container>       # Specific container logs
kubectl exec -it <pod> -- /bin/sh       # Interactive shell
kubectl port-forward <pod> 8080:80      # Local tunnel to Pod

# ========================================
# Editing and Deletion
# ========================================
kubectl edit deployment <name>          # Live editing (vi)
kubectl delete -f manifest.yaml         # Delete via file
kubectl delete pod <name> --force       # Force deletion
Conclusión
Kubernetes transforma la gestión de aplicaciones contenedorizadas al ofrecer un marco declarativo, resiliente y extensible. Los conceptos fundamentales presentados aquí son la base para los despliegues listos para producción.
Checklist para un primer despliegue Kubernetes
- ✅ Clúster local funcional (minikube, kind o k3d)
- ✅ kubectl instalado y configurado
- ✅ Deployment con réplicas y health probes
- ✅ Service para la exposición de red
- ✅ ConfigMap para la configuración externalizada
- ✅ Secret para los datos sensibles
- ✅ Namespace para el aislamiento
- ✅ Límites de recursos definidos (requests/limits)
- ✅ Estrategia de actualización y rollback dominados
¡Empieza a practicar!
Pon a prueba tu conocimiento con nuestros simuladores de entrevista y tests técnicos.
Dominar Kubernetes abre la puerta a arquitecturas cloud-native escalables. Los siguientes pasos incluyen explorar los Ingress Controllers para el enrutamiento HTTP, los PersistentVolumes para el almacenamiento y Helm para la gestión de paquetes. Kubernetes se convierte en un activo importante durante las entrevistas DevOps y SRE.
Etiquetas
Compartir
Artículos relacionados
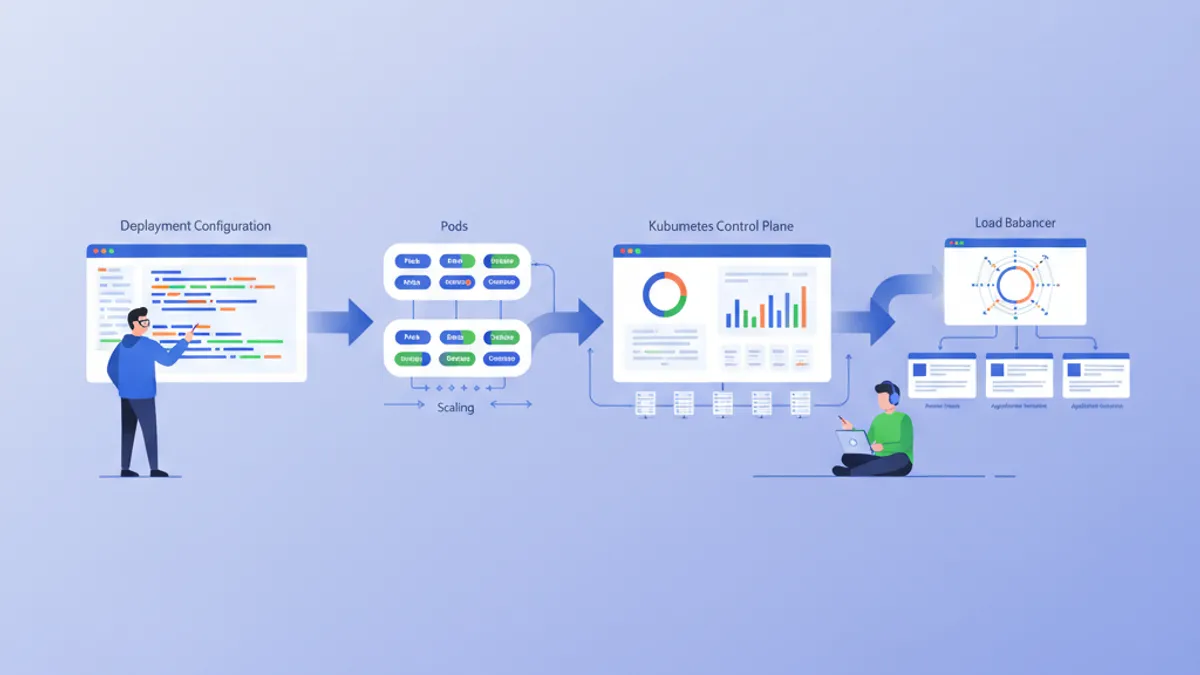
Preguntas de Entrevista de DevOps: Guía Completa 2026
Las 14 preguntas de entrevista de DevOps más frecuentes en 2026, con respuestas estructuradas y ejemplos de código reales sobre CI/CD, Kubernetes, Terraform, monitoreo y SRE.
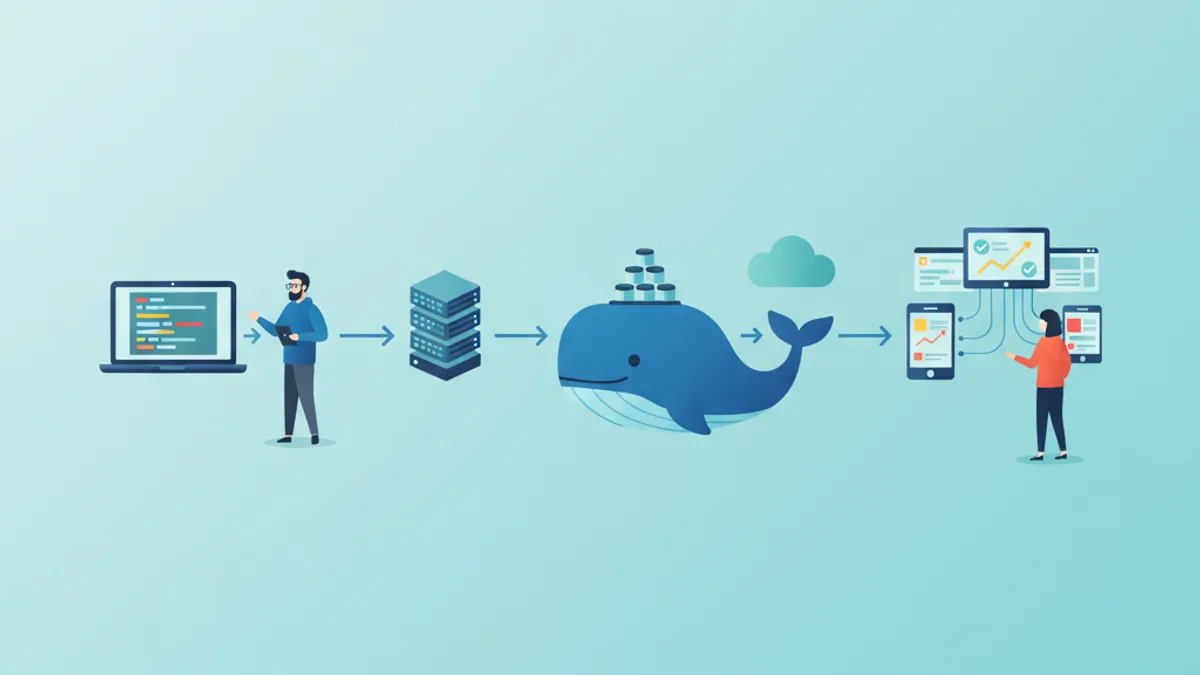
Docker: del desarrollo a producción
Guía completa de Docker para contenerizar aplicaciones. Dockerfile, Docker Compose, builds multi-stage y despliegue en producción con ejemplos prácticos.
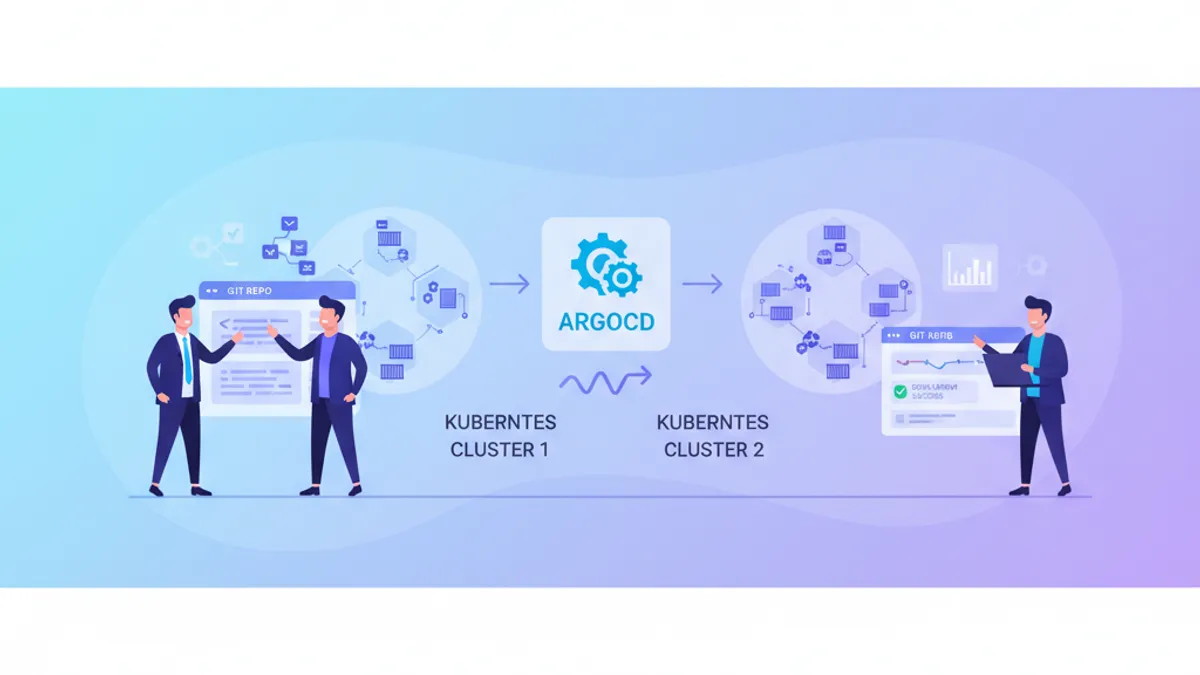
ArgoCD y GitOps en 2026: Despliegue Continuo en Kubernetes y Preguntas de Entrevista
Tutorial completo de ArgoCD y GitOps para despliegue continuo en Kubernetes. Cubre Application CRDs, sync waves, gestion multi-cluster con ApplicationSets y preguntas frecuentes de entrevista con ejemplos YAML practicos.