Dart IsolatesとFlutter並行処理 2026年完全ガイド:compute、非同期処理、面接対策
Dart Isolatesの仕組みとFlutterでの並行処理を徹底解説。compute関数、async/await、Isolate.run()の使い方から技術面接での頻出質問まで網羅した2026年版ガイドです。

Flutterアプリケーションの開発において、UIのスムーズな動作を維持しながら重い処理を実行することは重要な課題です。Dart言語はシングルスレッドで動作しますが、Isolatesという独自の並行処理モデルを採用することで、この課題に対応しています。本記事では、Dart Isolatesの基本概念から実践的な使用方法、そして技術面接で頻出する質問までを網羅的に解説します。
Dart 3.5以降では、Isolate.run()が推奨される並行処理の手法となっています。従来のcompute関数よりもシンプルで柔軟性が高いため、新規プロジェクトではIsolate.run()の使用を検討してください。
Dart Isolatesとは何か
Isolatesは、Dartにおける並行処理の基本単位です。各Isolateは独自のメモリ空間とイベントループを持ち、他のIsolateとメモリを共有しません。この設計により、データ競合やデッドロックといったマルチスレッドプログラミングで発生しがちな問題を回避できます。
従来のスレッドモデルとは異なり、Isolate間の通信はメッセージパッシングによって行われます。これは、あるIsolateから別のIsolateへデータを送信する際に、データのコピーが作成されることを意味します。
import 'dart:isolate';

void main() async {
  // 新しいIsolateを生成してメッセージを受信
  final receivePort = ReceivePort();

  await Isolate.spawn(
    heavyComputation,
    receivePort.sendPort,
  );

  // 結果を受信
  final result = await receivePort.first;
  print('Result: $result');
}

void heavyComputation(SendPort sendPort) {
  // 重い計算処理
  int sum = 0;
  for (int i = 0; i < 1000000000; i++) {
    sum += i;
  }
  sendPort.send(sum);
}
メインIsolateとUIパフォーマンス
Flutterアプリケーションでは、UIのレンダリングとユーザーインタラクションの処理がメインIsolate上で実行されます。60fpsのスムーズなアニメーションを維持するためには、各フレームを約16ミリ秒以内に処理する必要があります。
重い計算処理やファイルのパース、画像処理などをメインIsolate上で実行すると、UIがフリーズしてユーザー体験が損なわれます。このような処理は別のIsolateにオフロードすることが推奨されます。
// 悪い例:メインIsolateでの重い処理
class BadExample extends StatelessWidget {
Widget build(BuildContext context) {
return ElevatedButton(
onPressed: () {
// UIがフリーズする
final result = parseHugeJsonFile(jsonString);
print(result);
},
child: Text('Parse JSON'),
);
}
}
// 良い例:Isolateを使用した非同期処理
class GoodExample extends StatelessWidget {
Widget build(BuildContext context) {
return ElevatedButton(
onPressed: () async {
// UIはスムーズに動作し続ける
final result = await Isolate.run(() => parseHugeJsonFile(jsonString));
print(result);
},
child: Text('Parse JSON'),
);
}
}Isolate.run()による簡潔な並行処理
Dart 2.19で導入されたIsolate.run()は、単発の重い処理を別Isolateで実行する最もシンプルな方法です。新しいIsolateの生成、処理の実行、結果の返却、Isolateのクリーンアップまでを自動的に行います。
import 'dart:isolate';

class ImageProcessor {
  Future<Uint8List> processImage(Uint8List imageData) async {
    // 別Isolateで画像処理を実行
    return await Isolate.run(() {
      // 重い画像処理
      return applyFilters(imageData);
    });
  }

  static Uint8List applyFilters(Uint8List data) {
    // ガウシアンブラー、色調補正などの処理
    // ...
    return processedData;
  }
}
Isolate.run()には制限があります。クロージャ内で参照できるのは、Isolate間で送信可能なオブジェクトのみです。ソケット、ファイルハンドル、HTTPクライアントなどは送信できません。
compute関数の使用方法
Flutterフレームワークが提供するcompute関数は、Isolate.run()と同様の機能を提供しますが、トップレベル関数または静的メソッドのみを受け付けます。
import 'package:flutter/foundation.dart';

class DataParser {
  Future<List<Product>> parseProducts(String jsonString) async {
    // compute関数でJSON解析を別Isolateで実行
    return await compute(_parseProductsJson, jsonString);
  }

  // トップレベル関数または静的メソッドである必要がある
  static List<Product> _parseProductsJson(String json) {
    final List<dynamic> data = jsonDecode(json);
    return data.map((item) => Product.fromJson(item)).toList();
  }
}

class Product {
  final String id;
  final String name;
  final double price;

  Product({required this.id, required this.name, required this.price});

  factory Product.fromJson(Map<String, dynamic> json) {
    return Product(
      id: json['id'],
      name: json['name'],
      price: json['price'].toDouble(),
    );
  }
}
長時間実行するIsolateの管理
単発の処理ではなく、継続的に処理を行うワーカーIsolateが必要な場合は、Isolate.spawnとReceivePort/SendPortを使用した双方向通信を実装します。
import 'dart:isolate';
import 'dart:async';

class WorkerIsolate {
  late Isolate _isolate;
  late SendPort _sendPort;
  final ReceivePort _receivePort = ReceivePort();
  final Completer<void> _ready = Completer<void>();

  Future<void> start() async {
    _isolate = await Isolate.spawn(
      _workerEntryPoint,
      _receivePort.sendPort,
    );

    // ワーカーからのSendPortを受信
    _sendPort = await _receivePort.first as SendPort;
    _ready.complete();
  }

  Future<dynamic> sendMessage(dynamic message) async {
    await _ready.future;
    final responsePort = ReceivePort();
    _sendPort.send([message, responsePort.sendPort]);
    return await responsePort.first;
  }

  void dispose() {
    _isolate.kill();
    _receivePort.close();
  }

  static void _workerEntryPoint(SendPort mainSendPort) {
    final workerReceivePort = ReceivePort();
    mainSendPort.send(workerReceivePort.sendPort);

    workerReceivePort.listen((message) {
      final data = message[0];
      final replyPort = message[1] as SendPort;

      // 処理を実行
      final result = processData(data);
      replyPort.send(result);
    });
  }

  static dynamic processData(dynamic data) {
    // データ処理ロジック
    return data;
  }
}
Flutterの面接対策はできていますか?
インタラクティブなシミュレーター、flashcards、技術テストで練習しましょう。
async/awaitとIsolatesの違い
async/awaitは非同期処理を記述するための構文であり、並行処理とは異なる概念です。async/awaitを使用しても、処理自体はメインIsolate上のイベントループで実行されます。
// async/awaitは並行処理ではない
Future<void> fetchData() async {
  // ネットワークI/Oの待機中は他の処理が実行される
  final response = await http.get(Uri.parse('https://api.example.com/data'));

  // JSONパースはメインIsolateで実行される
  // 大きなJSONの場合、UIがブロックされる可能性がある
  final data = jsonDecode(response.body);
}

// Isolateを使用した真の並行処理
Future<void> fetchDataWithIsolate() async {
  final response = await http.get(Uri.parse('https://api.example.com/data'));

  // JSONパースを別Isolateで実行
  final data = await Isolate.run(() => jsonDecode(response.body));
}
async/awaitはI/O待機(ネットワーク、ファイル読み書き)に適しており、CPU負荷の高い処理にはIsolatesが適しています。
Isolateのパフォーマンス考慮事項
Isolateの生成にはオーバーヘッドが伴います。軽微な処理のために毎回新しいIsolateを生成すると、パフォーマンスが低下する可能性があります。
class IsolatePool {
  final List<WorkerIsolate> _workers = [];
  int _currentIndex = 0;

  Future<void> initialize(int poolSize) async {
    for (int i = 0; i < poolSize; i++) {
      final worker = WorkerIsolate();
      await worker.start();
      _workers.add(worker);
    }
  }

  Future<dynamic> execute(dynamic task) async {
    final worker = _workers[_currentIndex];
    _currentIndex = (_currentIndex + 1) % _workers.length;
    return await worker.sendMessage(task);
  }

  void dispose() {
    for (final worker in _workers) {
      worker.dispose();
    }
  }
}
処理時間が数ミリ秒程度の軽い処理は、メインIsolateで実行しても問題ありません。Isolateの使用は、100ミリ秒以上かかる処理に対して検討するのが一般的な目安です。
技術面接での頻出質問
Q1: IsolatesとThreadsの違いは何ですか?
Isolatesはメモリを共有せず、メッセージパッシングで通信します。これにより、データ競合やロックの必要性がなくなります。一方、従来のスレッドは共有メモリモデルを採用しており、同期機構(mutex、semaphoreなど)が必要です。
Q2: いつIsolatesを使用すべきですか?
CPU負荷の高い処理(大量のデータ処理、複雑な計算、画像・動画処理、暗号化処理など)でUIをブロックしたくない場合にIsolatesを使用します。I/O操作(ネットワークリクエスト、ファイル読み書き)にはasync/awaitで十分です。
Q3: Isolate間でデータを共有する方法は?
SendPortを通じてメッセージを送信します。送信されるデータはコピーされるため、大きなデータの転送にはコストがかかります。TransferableTypedDataを使用すると、一部のデータ型についてはゼロコピー転送が可能です。
import 'dart:typed_data';

void transferLargeData(SendPort sendPort) {
  final largeData = Uint8List(10000000);
  // ゼロコピー転送
  final transferable = TransferableTypedData.fromList([largeData]);
  sendPort.send(transferable);
}
Q4: Flutter Webでは Isolatesは動作しますか?
Flutter Webでは、IsolatesはWeb Workersにコンパイルされます。ただし、一部の制限があり、プラットフォーム固有のコードやプラグインは使用できない場合があります。
エラーハンドリングのベストプラクティス
Isolate内で発生したエラーは、適切に処理しないとサイレントに失敗する可能性があります。
Future<T> runIsolateWithErrorHandling<T>(Future<T> Function() computation) async {
try {
return await Isolate.run(computation);
} on IsolateSpawnException catch (e) {
// Isolate生成に失敗した場合
throw ComputationException('Failed to spawn isolate: $e');
} catch (e, stackTrace) {
// Isolate内での例外
throw ComputationException('Computation failed: $e', stackTrace);
}
}
class ComputationException implements Exception {
final String message;
final StackTrace? stackTrace;
ComputationException(this.message, [this.stackTrace]);
String toString() => 'ComputationException: $message';
}まとめ
Dart IsolatesはFlutterアプリケーションにおける並行処理の基盤です。メモリを共有しない設計により、安全で予測可能な並行処理が可能になります。Isolate.run()やcompute関数を活用することで、UIのレスポンシブ性を維持しながら重い処理を実行できます。
技術面接では、Isolatesの基本概念、async/awaitとの違い、適切な使用場面についての理解が求められます。実際のプロジェクトでは、処理の重さとIsolate生成のオーバーヘッドを考慮して、適切な並行処理戦略を選択することが重要です。
Flutter のバグを見つけられますか
実際のコード、隠れたバグ、1日1回。アカウントなしで試せます。

執筆
Anthony Fillion-MailletSharpSkill 創業者
10 年以上フルスタック開発に携わっています。SharpSkill を運営し、ここで公開される内容に責任を負っています。
2026年7月13日 更新
共有
関連記事

Flutter Impeller 2026年完全ガイド:新レンダリングエンジンの仕組み、パフォーマンス、面接対策
Flutter ImpellerはSkiaに代わる新しいレンダリングエンジンです。AOT(事前コンパイル)によるシェーダージャンクの解消、アーキテクチャ、プラットフォーム対応状況、パフォーマンスベンチマーク、面接でよく聞かれる質問を解説します。
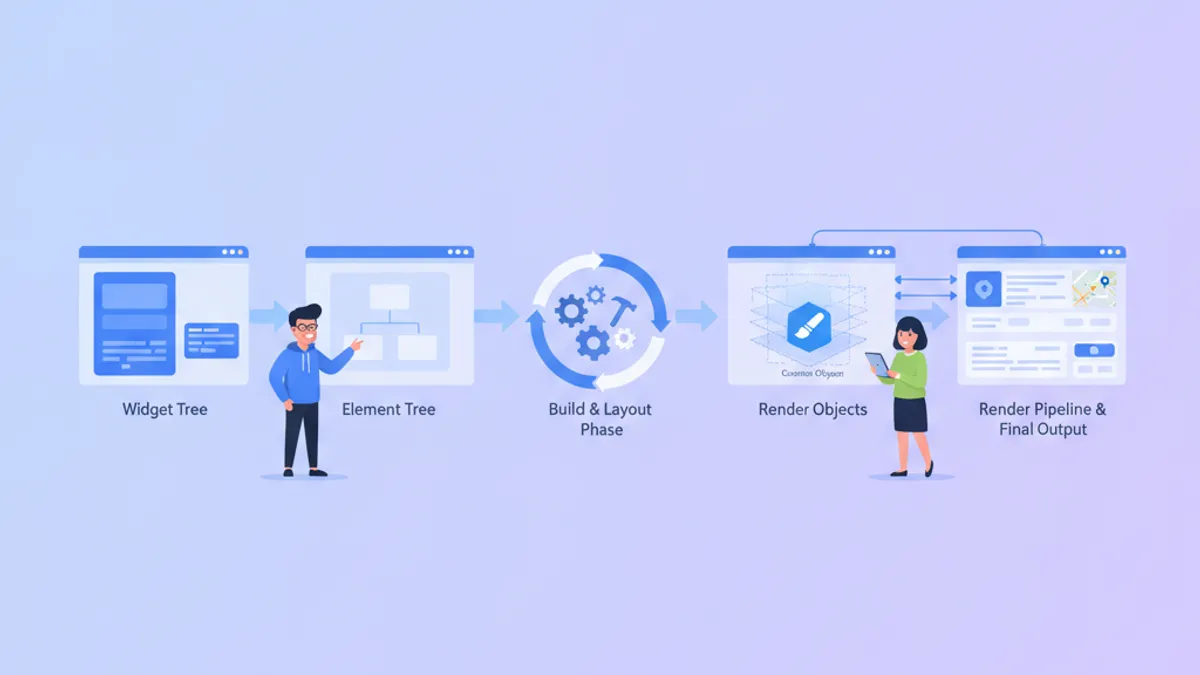
Flutter Custom RenderObjectの完全ガイド2026:カスタムペインティングと面接対策
FlutterのカスタムRenderObjectとレンダリングパイプラインを徹底解説。CustomPainterの実装方法から技術面接で頻出する質問まで、シニアエンジニア向けの実践的な知識を網羅します。
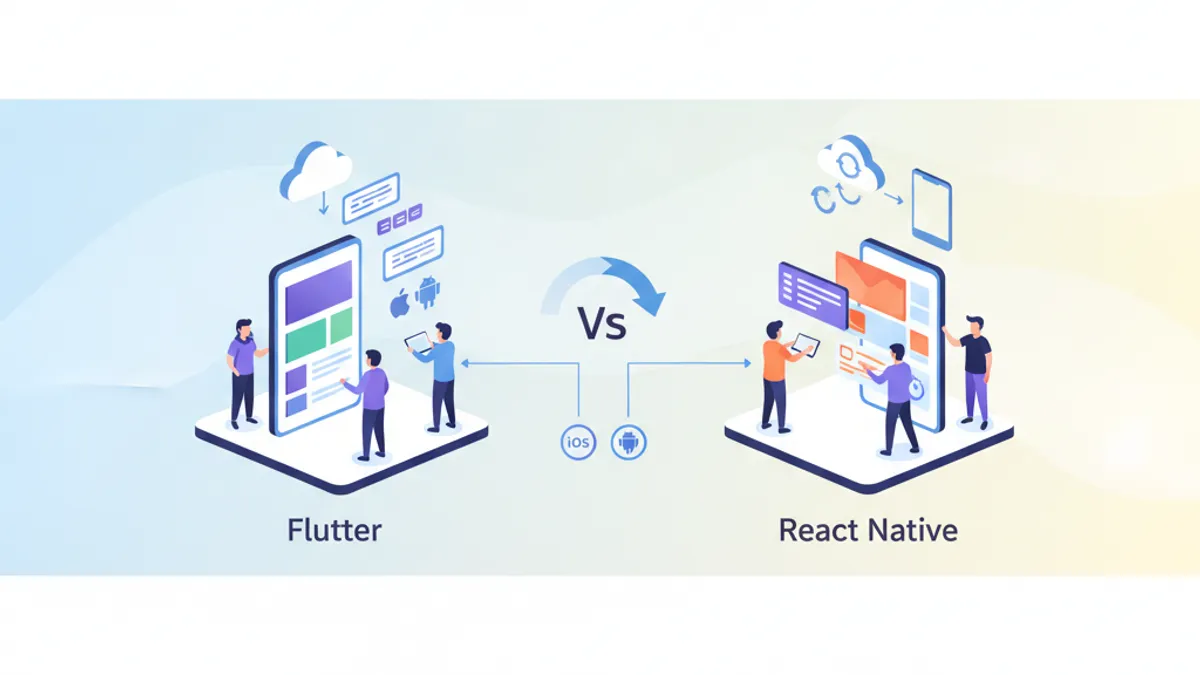
Flutter vs React Native 2026年版:アーキテクチャとパフォーマンスの徹底比較
Flutter 3.44とReact Native 0.86のレンダリングアーキテクチャ、パフォーマンスベンチマーク、開発者体験、採用戦略を詳細に比較します。2026年のクロスプラットフォームモバイル開発におけるフレームワーク選定の指針を提供します。