SwiftUI @Observable vs @State: Quando Usare Cosa nel 2026
Padroneggia le differenze tra @Observable e @State in SwiftUI per scegliere lo strumento di gestione dello stato giusto per le app iOS.
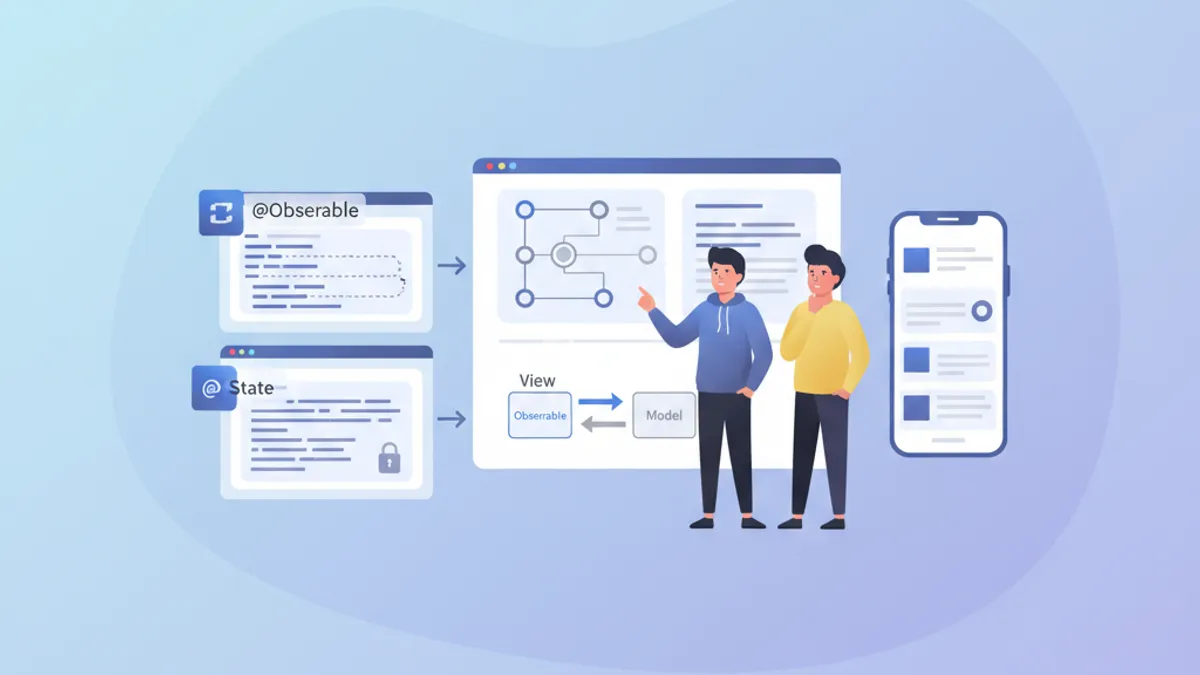
La gestione dello stato costituisce il pilastro di ogni applicazione SwiftUI performante. Da iOS 17, il macro @Observable ha rivoluzionato la creazione di modelli reattivi, mentre @State resta essenziale per lo stato locale delle view. Capire quando usare ciascuno strumento evita re-render inutili e permette di costruire app fluide e reattive.
Questo articolo esplora i meccanismi interni di @Observable e @State, le loro differenze fondamentali e fornisce linee guida chiare per scegliere lo strumento giusto in base al contesto.
Fondamenti di @State
@State rappresenta la forma più semplice di gestione dello stato in SwiftUI. Questo property wrapper crea un'archiviazione persistente per un valore che appartiene esclusivamente alla view che lo dichiara.
struct CounterView: View {
    // @State creates storage managed by SwiftUI
    @State private var count = 0

    var body: some View {
        VStack(spacing: 20) {
            // The view updates when count changes
            Text("Counter: \(count)")
                .font(.largeTitle)

            HStack(spacing: 16) {
                Button("- 1") {
                    count -= 1
                }

                Button("+ 1") {
                    count += 1
                }
            }
            .buttonStyle(.borderedProminent)
        }
    }
}
Ogni modifica a count innesca un re-render della view. SwiftUI gestisce automaticamente il ciclo di vita di questo valore, preservandolo tra le ricostruzioni del body.
Caratteristiche chiave di @State
@State possiede diverse proprietà distintive che ne definiscono l'uso ottimale:
struct FormView: View {
    // ✅ Simple local state - value types
    @State private var username = ""
    @State private var isEnabled = true
    @State private var selectedIndex = 0

    // ✅ Complex value types supported
    @State private var configuration = FormConfiguration()

    var body: some View {
        Form {
            TextField("Username", text: $username)

            Toggle("Enabled", isOn: $isEnabled)

            Picker("Option", selection: $selectedIndex) {
                Text("Option A").tag(0)
                Text("Option B").tag(1)
                Text("Option C").tag(2)
            }
        }
    }
}

// Structs work perfectly with @State
struct FormConfiguration: Equatable {
    var theme: Theme = .light
    var fontSize: CGFloat = 16
    var showNotifications: Bool = true
}

enum Theme {
    case light, dark, system
}
L'elemento cruciale: @State lavora con value type (struct, enum, tipi primitivi). Per i reference type (classi) servono altri strumenti.
Il macro @Observable spiegato
Introdotto con iOS 17, @Observable trasforma qualsiasi classe in una sorgente di dati reattiva. A differenza del vecchio protocollo ObservableObject, questo macro offre osservazione granulare: solo le proprietà effettivamente lette da una view ne attivano il re-render.
import Observation

// @Observable transforms the class into a reactive source
@Observable
class UserModel {
    var name: String = ""
    var email: String = ""
    var avatarURL: URL?
    var preferences = UserPreferences()

    // Computed properties work too
    var isValid: Bool {
        !name.isEmpty && email.contains("@")
    }
}

struct UserPreferences {
    var newsletter: Bool = false
    var notifications: Bool = true
    var theme: Theme = .system
}
La magia avviene a tempo di compilazione: il macro genera automaticamente il codice di tracking necessario per ogni proprietà.
Osservazione granulare in azione
La differenza principale rispetto al vecchio ObservableObject risiede nella granularità del tracking:
@Observable
class ProfileModel {
    var name: String = ""
    var bio: String = ""
    var followerCount: Int = 0
    var posts: [Post] = []
}

struct ProfileHeaderView: View {
    let model: ProfileModel

    var body: some View {
        VStack {
            // This view only re-renders if name or bio change
            Text(model.name)
                .font(.title)
            Text(model.bio)
                .foregroundStyle(.secondary)
        }
    }
}

struct FollowerCountView: View {
    let model: ProfileModel

    var body: some View {
        // This view only re-renders if followerCount changes
        HStack {
            Image(systemName: "person.2")
            Text("\(model.followerCount) followers")
        }
    }
}

struct ProfileScreen: View {
    @State private var model = ProfileModel()

    var body: some View {
        VStack {
            // Each subview tracks only its dependencies
            ProfileHeaderView(model: model)
            FollowerCountView(model: model)

            Button("Simulate new follower") {
                // Only re-renders FollowerCountView
                model.followerCount += 1
            }
        }
    }
}SwiftUI analizza il body di ogni view per determinare quali proprietà vengono lette. Solo quelle proprietà attivano un re-render quando modificate.
Confronto diretto: @Observable vs @State
La scelta tra questi strumenti dipende da diversi fattori. Ecco un confronto strutturato:
// Scenario 1: Temporary UI state → @State
struct ToggleExample: View {
    @State private var isExpanded = false  // ✅ @State appropriate

    var body: some View {
        VStack {
            Button(isExpanded ? "Collapse" : "Expand") {
                withAnimation {
                    isExpanded.toggle()
                }
            }

            if isExpanded {
                Text("Detailed content...")
            }
        }
    }
}

// Scenario 2: Shared business data → @Observable
@Observable
class CartModel {  // ✅ @Observable appropriate
    var items: [CartItem] = []
    var promoCode: String?

    var total: Decimal {
        items.reduce(0) { $0 + $1.price * Decimal($1.quantity) }
    }

    var itemCount: Int {
        items.reduce(0) { $0 + $1.quantity }
    }

    func addItem(_ item: CartItem) {
        if let index = items.firstIndex(where: { $0.id == item.id }) {
            items[index].quantity += 1
        } else {
            items.append(item)
        }
    }

    func removeItem(_ item: CartItem) {
        items.removeAll { $0.id == item.id }
    }
}

struct CartItem: Identifiable, Equatable {
    let id: UUID
    let name: String
    let price: Decimal
    var quantity: Int
}
Tabella riassuntiva dei casi d'uso
| Criterio | @State | @Observable | |----------|--------|-------------| | Tipo di dato | Value type (struct, enum) | Classi | | Ambito | Locale a una view | Condivisibile tra view | | Complessità | Stato semplice | Logica di business complessa | | Ciclo di vita | Gestito da SwiftUI | Gestito esplicitamente | | Re-render | View intera | Granulare per proprietà |
Pronto a superare i tuoi colloqui su iOS?
Pratica con i nostri simulatori interattivi, flashcards e test tecnici.
Pattern d'uso avanzati
Combinare @State e @Observable
Nelle applicazioni reali, questi strumenti coesistono armoniosamente. @State gestisce lo stato locale dell'UI mentre @Observable incapsula i dati di business.
@Observable
class TodoListModel {
    var todos: [Todo] = []
    var filter: TodoFilter = .all

    var filteredTodos: [Todo] {
        switch filter {
        case .all:
            return todos
        case .active:
            return todos.filter { !$0.isCompleted }
        case .completed:
            return todos.filter { $0.isCompleted }
        }
    }

    func addTodo(title: String) {
        let todo = Todo(id: UUID(), title: title, isCompleted: false)
        todos.append(todo)
    }

    func toggleTodo(_ todo: Todo) {
        guard let index = todos.firstIndex(where: { $0.id == todo.id }) else { return }
        todos[index].isCompleted.toggle()
    }
}

struct Todo: Identifiable, Equatable {
    let id: UUID
    var title: String
    var isCompleted: Bool
}

enum TodoFilter: CaseIterable {
    case all, active, completed
}

struct TodoListView: View {
    // Business data via @Observable
    @State private var model = TodoListModel()

    // Local UI state via @State
    @State private var newTodoTitle = ""
    @State private var isAddingTodo = false
    @State private var selectedTodo: Todo?

    var body: some View {
        NavigationStack {
            VStack {
                // Filter with Picker
                Picker("Filter", selection: $model.filter) {
                    ForEach(TodoFilter.allCases, id: \.self) { filter in
                        Text(filter.label).tag(filter)
                    }
                }
                .pickerStyle(.segmented)
                .padding()

                // Todo list
                List(model.filteredTodos, selection: $selectedTodo) { todo in
                    TodoRowView(todo: todo) {
                        model.toggleTodo(todo)
                    }
                }
            }
            .navigationTitle("Tasks")
            .toolbar {
                Button {
                    isAddingTodo = true
                } label: {
                    Image(systemName: "plus")
                }
            }
            .sheet(isPresented: $isAddingTodo) {
                AddTodoSheet(model: model)
            }
        }
    }
}

struct TodoRowView: View {
    let todo: Todo
    let onToggle: () -> Void

    var body: some View {
        HStack {
            Image(systemName: todo.isCompleted ? "checkmark.circle.fill" : "circle")
                .foregroundStyle(todo.isCompleted ? .green : .secondary)
                .onTapGesture(perform: onToggle)

            Text(todo.title)
                .strikethrough(todo.isCompleted)
        }
    }
}

extension TodoFilter {
    var label: String {
        switch self {
        case .all: return "All"
        case .active: return "Active"
        case .completed: return "Completed"
        }
    }
}
@Observable con dependency injection
Per applicazioni più complesse, l'iniezione tramite l'environment di SwiftUI permette un disaccoppiamento efficace:
@Observable
class AuthenticationService {
    var currentUser: User?
    var isAuthenticated: Bool { currentUser != nil }

    func login(email: String, password: String) async throws {
        // Authentication logic
        currentUser = User(id: UUID(), email: email, name: "User")
    }

    func logout() {
        currentUser = nil
    }
}

struct User: Identifiable, Equatable {
    let id: UUID
    let email: String
    let name: String
}

// Extension to create an environment key
extension EnvironmentValues {
    @Entry var authService: AuthenticationService = AuthenticationService()
}

// Configuration in the App
@main
struct MyApp: App {
    @State private var authService = AuthenticationService()

    var body: some Scene {
        WindowGroup {
            ContentView()
                .environment(\.authService, authService)
        }
    }
}

// Usage in views
struct ProfileView: View {
    @Environment(\.authService) private var authService

    var body: some View {
        if let user = authService.currentUser {
            VStack {
                Text("Hello, \(user.name)")
                Button("Sign Out") {
                    authService.logout()
                }
            }
        } else {
            Text("Not signed in")
        }
    }
}
Performance e ottimizzazione
Evitare re-render inutili
Anche con la granularità di @Observable, certi pattern possono degradare le prestazioni:
// ❌ Bad pattern: reading the entire object
struct BadPatternView: View {
    let model: ProfileModel

    var body: some View {
        // Reads model.name AND model.posts even if only name is displayed
        let _ = model.posts.count  // Creates unnecessary dependency
        Text(model.name)
    }
}

// ✅ Good pattern: targeted reading
struct GoodPatternView: View {
    let model: ProfileModel

    var body: some View {
        // Tracks only name
        Text(model.name)
    }
}

// ✅ Extract into subviews to isolate dependencies
struct OptimizedProfileView: View {
    let model: ProfileModel

    var body: some View {
        VStack {
            // Each subview has its own dependencies
            ProfileNameView(model: model)
            ProfilePostsView(model: model)
            ProfileStatsView(model: model)
        }
    }
}

struct ProfileNameView: View {
    let model: ProfileModel

    var body: some View {
        Text(model.name)
            .font(.title)
    }
}

struct ProfilePostsView: View {
    let model: ProfileModel

    var body: some View {
        ForEach(model.posts) { post in
            PostRow(post: post)
        }
    }
}

struct ProfileStatsView: View {
    let model: ProfileModel

    var body: some View {
        HStack {
            StatBadge(value: model.followerCount, label: "Followers")
            StatBadge(value: model.posts.count, label: "Posts")
        }
    }
}Le computed property su @Observable vengono rivalutate a ogni accesso. Per calcoli complessi, conviene cachare il risultato in una stored property.
Aggiornamenti batch con withObservationTracking
Per scenari avanzati, withObservationTracking permette di rilevare cambiamenti senza creare un binding:
import Observation

@Observable
class DataSyncModel {
    var lastSyncDate: Date?
    var pendingChanges: Int = 0
    var isSyncing: Bool = false
}

class SyncCoordinator {
    let model: DataSyncModel

    init(model: DataSyncModel) {
        self.model = model
        startObserving()
    }

    private func startObserving() {
        // Observe changes without UI
        withObservationTracking {
            // Access that creates dependencies
            _ = model.pendingChanges
            _ = model.isSyncing
        } onChange: {
            // Called when an observed property changes
            Task { @MainActor in
                self.handleModelChange()
            }
        }
    }

    private func handleModelChange() {
        if model.pendingChanges > 0 && !model.isSyncing {
            // Trigger synchronization
            Task {
                await syncChanges()
            }
        }
        // Re-establish observation
        startObserving()
    }

    private func syncChanges() async {
        model.isSyncing = true
        // Sync logic...
        model.isSyncing = false
        model.pendingChanges = 0
        model.lastSyncDate = Date()
    }
}
Migrazione da ObservableObject
Per i progetti esistenti che usano ObservableObject, la migrazione a @Observable semplifica il codice:
// ❌ Old pattern with ObservableObject
class OldSettingsModel: ObservableObject {
    @Published var darkMode: Bool = false
    @Published var fontSize: CGFloat = 16
    @Published var notifications: Bool = true
}

struct OldSettingsView: View {
    @StateObject private var settings = OldSettingsModel()
    // or @ObservedObject if injected

    var body: some View {
        Form {
            Toggle("Dark Mode", isOn: $settings.darkMode)
            Slider(value: $settings.fontSize, in: 12...24)
            Toggle("Notifications", isOn: $settings.notifications)
        }
    }
}

// ✅ New pattern with @Observable
@Observable
class NewSettingsModel {
    var darkMode: Bool = false
    var fontSize: CGFloat = 16
    var notifications: Bool = true
}

struct NewSettingsView: View {
    @State private var settings = NewSettingsModel()

    var body: some View {
        Form {
            Toggle("Dark Mode", isOn: $settings.darkMode)
            Slider(value: $settings.fontSize, in: 12...24)
            Toggle("Notifications", isOn: $settings.notifications)
        }
    }
}
Vantaggi della migrazione:
- Non serve più
@Publishedsu ogni proprietà @Statesostituisce@StateObjectper la creazione- Osservazione granulare automatica
- Codice più leggibile e manutenibile
Regole pratiche di decisione
Ecco una guida decisionale per scegliere lo strumento giusto:
/*
 RULE 1: Ephemeral UI state → @State
 - Animations, transitions
 - Local form states
 - Temporary selections
 - Section expand/collapse
*/
struct AnimatedCard: View {
    @State private var isFlipped = false  // ✅ Local UI state
    // ...
}

/*
 RULE 2: Shared data across views → @Observable
 - Business data models
 - Authentication state
 - Shopping cart
 - User preferences
*/
@Observable
class UserSession {  // ✅ Shared across app
    var user: User?
    var preferences: Preferences
    // ...
}

/*
 RULE 3: Simple struct with binding → @State
 - Local configuration
 - Isolated forms
*/
struct FormData {
    var name: String = ""
    var email: String = ""
}

struct FormView: View {
    @State private var formData = FormData()  // ✅ Struct with @State
    // ...
}

/*
 RULE 4: Complex business logic → @Observable
 - Validations
 - Network calls
 - Data transformations
*/
@Observable
class OrderProcessor {  // ✅ Complex logic
    var items: [OrderItem] = []
    var status: OrderStatus = .draft

    func validate() -> [ValidationError] { /* ... */ }
    func submit() async throws { /* ... */ }
}
Conclusione
La scelta tra @Observable e @State si riduce a due domande fondamentali: il tipo di dato (valore o riferimento) e l'ambito dello stato (locale o condiviso). @State eccelle per stati di UI semplici e locali, mentre @Observable brilla per modelli di dati complessi che richiedono osservazione granulare.
Checklist di decisione
- ✅ Usare
@Stateper value type e stato di UI effimero - ✅ Usare
@Observableper classi con dati di business - ✅ Preferire
@Observablequando lo stato attraversa più view - ✅ Estrarre in subview per ottimizzare i re-render
- ✅ Evitare di leggere proprietà inutili nel body
- ✅ Migrare progressivamente da
ObservableObject - ✅ Usare l'environment per la dependency injection
- ✅ Testare le prestazioni con Instruments per casi complessi
Inizia a praticare!
Metti alla prova le tue conoscenze con i nostri simulatori di colloquio e test tecnici.
Tag
Condividi
Articoli correlati
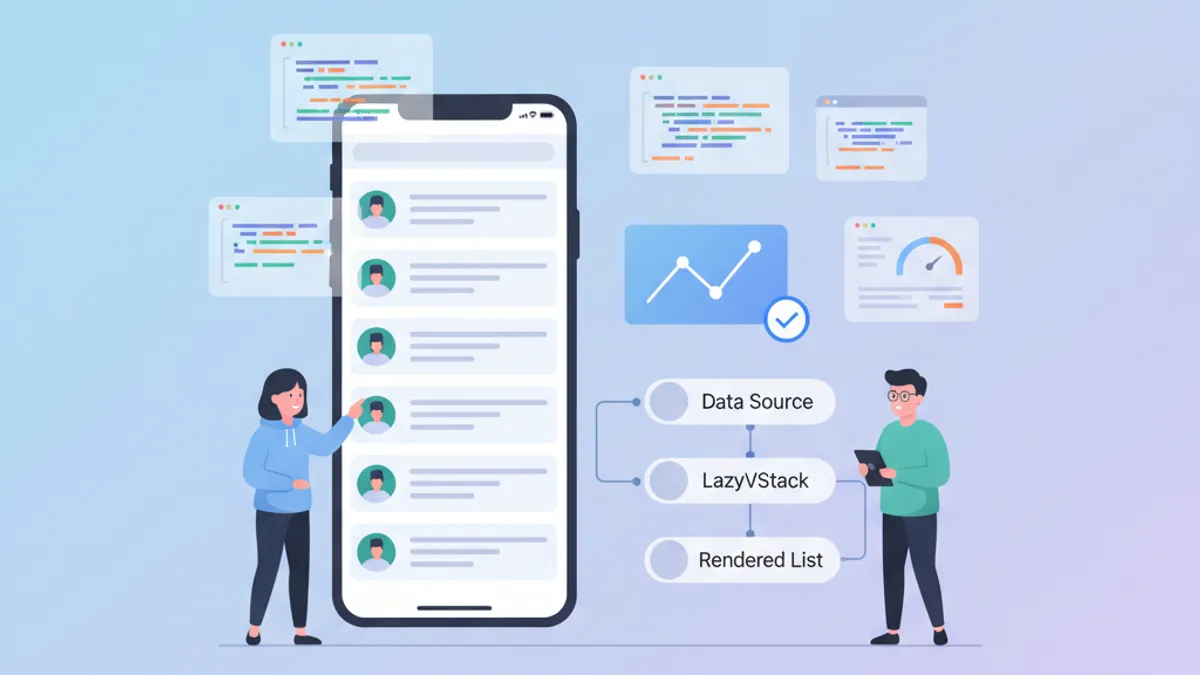
Performance SwiftUI: Ottimizzazione di LazyVStack e Liste Complesse
Tecniche di ottimizzazione per LazyVStack e liste SwiftUI. Ridurre il consumo di memoria, migliorare le performance di scroll ed evitare errori comuni.

ViewModifier personalizzati in SwiftUI: pattern riutilizzabili per Design System
Costruisci ViewModifier personalizzati in SwiftUI per un design system coerente. Pattern, best practice ed esempi pratici per stilizzare le view iOS in modo efficiente.

SwiftUI: Creare Interfacce Moderne per iOS
Una guida completa alla creazione di interfacce utente moderne con SwiftUI: sintassi dichiarativa, componenti, animazioni e best practice per iOS 18.