モバイル開発者向けFlutter面接質問トップ20
Flutter面接で頻出する20問を徹底解説します。ウィジェット、状態管理、Dart言語、アーキテクチャ、ベストプラクティスをコード例とともに紹介します。
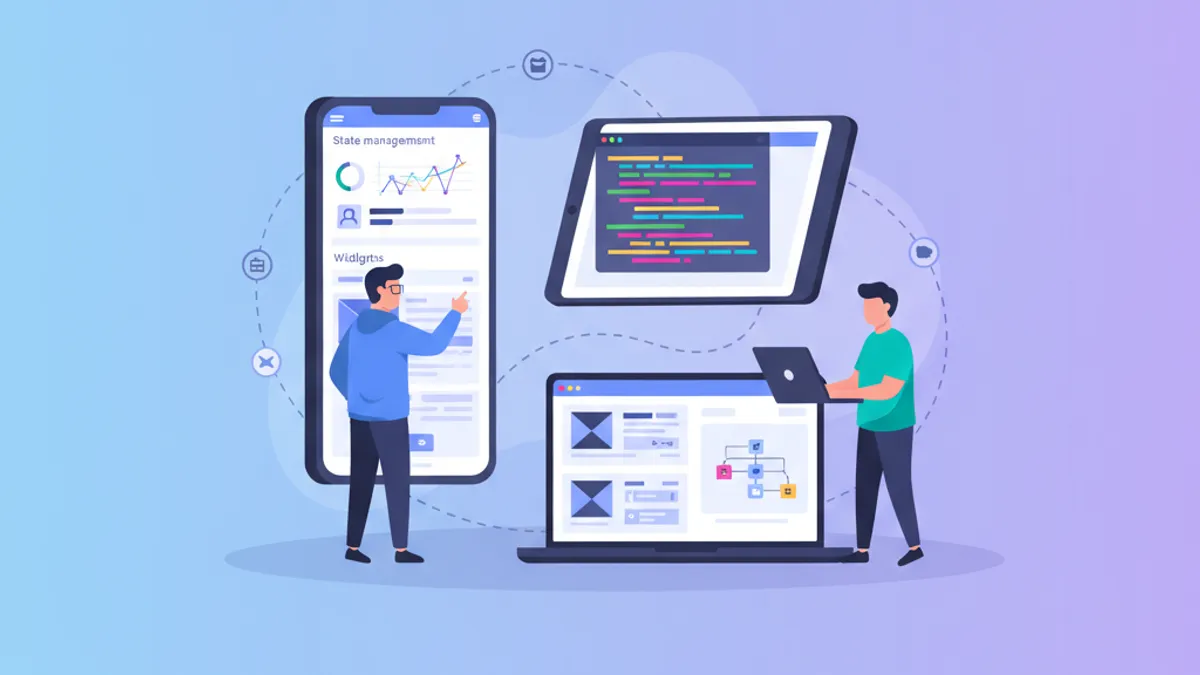
Flutterの面接では、フレームワークの理解度、Dart言語の習熟度、モバイルアーキテクチャパターンへの知見が問われます。本ガイドでは、基礎から応用まで最も頻出する20問を、詳細な解説とコード例とともに取り上げます。
面接官は「どのように」だけでなく「なぜ」を説明できる候補者を高く評価します。各概念について、ユースケースと技術的なトレードオフを理解しておくことが合否を分けます。
Flutterとdartの基本的な質問
1. StatelessWidgetとStatefulWidgetの違いは何ですか?
StatelessWidgetは、初期設定にのみ依存する不変のウィジェットです。一度構築されると変更されることはありません。一方、StatefulWidgetは時間とともに変化しうるミュータブルな状態を保持し、ウィジェットの再構築をトリガーします。
// StatelessWidget: static display, no change after construction
class WelcomeMessage extends StatelessWidget {
// Final parameter - never changes
final String username;
const WelcomeMessage({super.key, required this.username});
Widget build(BuildContext context) {
// Build called once (unless parent rebuilds)
return Text('Welcome, $username');
}
}// StatefulWidget: mutable state, can rebuild itself
class LikeButton extends StatefulWidget {
const LikeButton({super.key});
State<LikeButton> createState() => _LikeButtonState();
}
class _LikeButtonState extends State<LikeButton> {
// Mutable local state
int _likeCount = 0;
void _incrementLike() {
// setState triggers rebuild with new state
setState(() {
_likeCount++;
});
}
Widget build(BuildContext context) {
return ElevatedButton(
onPressed: _incrementLike,
child: Text('Likes: $_likeCount'),
);
}
}原則として、デフォルトではStatelessWidgetを使用し、ウィジェットローカルな状態が必要な場合にのみStatefulWidgetを選択します。
2. Flutterのウィジェットツリーはどのように機能しますか?
Flutterはインターフェースを3つの相互接続されたツリーで構成します。Widget Tree(不変の宣言)、Element Tree(ライフサイクルとバインディング)、Render Tree(レイアウトと描画)です。
// Declarative structure - widgets describe the UI
class MyApp extends StatelessWidget {
Widget build(BuildContext context) {
// Each widget creates an Element in the Element Tree
return MaterialApp(
home: Scaffold(
// Scaffold creates multiple RenderObjects
body: Center(
// Center modifies its child's layout
child: Column(
children: [
// Each Text has its own RenderParagraph
Text('First'),
Text('Second'),
],
),
),
),
);
}
}setStateが呼ばれると、Flutterは新旧のウィジェットツリーを比較し、変更されたエレメントのみを再構築します。この差分検出はKeyとウィジェットの型に依存しています。
3. constコンストラクタとは何ですか?なぜ使うのですか?
constコンストラクタは、ランタイムではなくコンパイル時にウィジェットを生成します。Flutterはこれらのインスタンスを再利用できるため、不要な再構築を回避しパフォーマンスが向上します。
class OptimizedScreen extends StatelessWidget {
const OptimizedScreen({super.key});
Widget build(BuildContext context) {
return Column(
children: [
// ✅ const: same instance reused on each build
const Icon(Icons.star, size: 48),
const SizedBox(height: 16),
const Text('Static title'),
// ❌ Non-const: new instance on each build
Icon(Icons.star, color: Theme.of(context).primaryColor),
],
);
}
}
// Custom widget with const constructor
class StaticCard extends StatelessWidget {
final String title;
// All fields must be final for const
const StaticCard({super.key, required this.title});
Widget build(BuildContext context) {
return Card(child: Text(title));
}
}Flutterアナライザーはprefer_const_constructorsリントで、const化の見落としを検出します。
4. FlutterにおけるKeyの種類を説明してください
Keyは、ウィジェットの並び替え時に状態を保持する役割を果たします。Keyがない場合、Flutterはツリー内の位置に基づいて判断するため、リストの並び替え時にバグが発生する可能性があります。
class TodoList extends StatelessWidget {
final List<Todo> todos;
const TodoList({super.key, required this.todos});
Widget build(BuildContext context) {
return ListView.builder(
itemCount: todos.length,
itemBuilder: (context, index) {
final todo = todos[index];
// ✅ ValueKey: preserves state if order changes
return TodoTile(
key: ValueKey(todo.id),
todo: todo,
);
},
);
}
}
// Different key types for different contexts
class KeyExamples extends StatelessWidget {
Widget build(BuildContext context) {
return Column(
children: [
// ValueKey: based on a unique value
Container(key: ValueKey('unique-id')),
// ObjectKey: based on object identity
Container(key: ObjectKey(myObject)),
// UniqueKey: new key on each build
Container(key: UniqueKey()),
// GlobalKey: access state from outside
Form(key: _formKey),
],
);
}
}GlobalKeyを使えば任意の場所からウィジェットの状態にアクセスできますが、使用は最小限に抑えるべきです。
Dartの質問
5. Dartにおけるfinalとconstの違いは何ですか?
finalは一度だけ代入可能な変数を定義し、ランタイム時に評価されます。constはコンパイル時定数を生成し、実行前に評価される不変の値です。
class DateExample {
  // final: value assigned at runtime
  final DateTime createdAt = DateTime.now();

  // const: value known at compile time
  static const int maxItems = 100;
  static const String appName = 'MyApp';

  // ❌ Error: DateTime.now() not const (runtime value)
  // static const DateTime timestamp = DateTime.now();
}

void demonstrateDifference() {
  // final: each call can have different value
  final timestamp1 = DateTime.now();
  final timestamp2 = DateTime.now();
  print(timestamp1 == timestamp2); // false (different)

  // const: same instance reused
  const list1 = [1, 2, 3];
  const list2 = [1, 2, 3];
  print(identical(list1, list2)); // true (same instance)
}
Flutterでは、静的なウィジェットにはconstを、計算された値にはfinalを使用するのが適切です。
6. FutureとAsync/Awaitはどのように動作しますか?
Futureは将来利用可能になる値を表現します。async/awaitはこれらの非同期操作を、ネストされたコールバックなしで可読性の高い構文で扱う仕組みです。
class UserRepository {
  final ApiClient _client;

  UserRepository(this._client);

  // Future: promise of a future value
  Future<User> fetchUser(String id) async {
    try {
      // await suspends execution until resolution
      final response = await _client.get('/users/$id');
      return User.fromJson(response);
    } catch (e) {
      // Errors propagate normally with async/await
      throw UserNotFoundException(id);
    }
  }

  // Parallel execution with Future.wait
  Future<List<User>> fetchUsers(List<String> ids) async {
    // All requests start simultaneously
    final futures = ids.map((id) => fetchUser(id));
    // Wait for all to complete
    return Future.wait(futures);
  }

  // Sequential processing
  Future<void> processSequentially(List<String> ids) async {
    for (final id in ids) {
      // Each request waits for the previous one
      await fetchUser(id);
    }
  }
}並列処理にはFuture.waitを、逐次処理にはasyncループを使用します。
FutureBuilderは単純なケースに適していますが、Riverpod(AsyncValue)は複雑なアプリケーションにおいてキャッシュ管理、エラーハンドリング、リフレッシュ機能の面で優れた選択肢です。
7. Streamとその使い方を説明してください
Streamは非同期の値のシーケンスを表し、WebSocket、センサーデータ、ユーザーインタラクションなどのリアルタイムイベントに最適です。
class MessageService {
// StreamController manages creation and broadcasting
final _messageController = StreamController<Message>.broadcast();
// Expose only the Stream (not the Sink)
Stream<Message> get messages => _messageController.stream;
void addMessage(Message message) {
_messageController.sink.add(message);
}
void dispose() {
_messageController.close();
}
}
// Usage with StreamBuilder
class MessageList extends StatelessWidget {
final MessageService service;
const MessageList({super.key, required this.service});
Widget build(BuildContext context) {
return StreamBuilder<Message>(
stream: service.messages,
builder: (context, snapshot) {
// Handle all possible states
if (snapshot.connectionState == ConnectionState.waiting) {
return const CircularProgressIndicator();
}
if (snapshot.hasError) {
return Text('Error: ${snapshot.error}');
}
if (!snapshot.hasData) {
return const Text('No messages');
}
return MessageCard(message: snapshot.data!);
},
);
}
}.broadcast()のStreamは複数のリスナーを許可しますが、単一サブスクリプションStreamは1つのリスナーのみに対応します。
Flutterの面接対策はできていますか?
インタラクティブなシミュレーター、flashcards、技術テストで練習しましょう。
アーキテクチャと状態管理の質問
8. 状態管理ソリューションの比較:Provider、Riverpod、Bloc
各ソリューションは異なるニーズに対応します。Providerはシンプルさとネイティブ統合を提供します。Riverpodは型安全性とテスト容易性をもたらします。Blocはイベント駆動型アーキテクチャを厳格に強制します。
// Riverpod: declarative and type-safe approach
final userProvider = FutureProvider.autoDispose<User>((ref) async {
final repository = ref.watch(userRepositoryProvider);
return repository.fetchCurrentUser();
});
class UserProfile extends ConsumerWidget {
Widget build(BuildContext context, WidgetRef ref) {
// AsyncValue handles loading/error/data
final userAsync = ref.watch(userProvider);
return userAsync.when(
loading: () => const CircularProgressIndicator(),
error: (error, stack) => Text('Error: $error'),
data: (user) => Text(user.displayName),
);
}
}// Bloc: explicit events/states separation
abstract class AuthEvent {}
class LoginRequested extends AuthEvent {
final String email;
final String password;
LoginRequested(this.email, this.password);
}
abstract class AuthState {}
class AuthInitial extends AuthState {}
class AuthLoading extends AuthState {}
class AuthSuccess extends AuthState {
final User user;
AuthSuccess(this.user);
}
class AuthFailure extends AuthState {
final String error;
AuthFailure(this.error);
}
class AuthBloc extends Bloc<AuthEvent, AuthState> {
AuthBloc() : super(AuthInitial()) {
on<LoginRequested>(_onLoginRequested);
}
Future<void> _onLoginRequested(
LoginRequested event,
Emitter<AuthState> emit,
) async {
emit(AuthLoading());
try {
final user = await _repository.login(event.email, event.password);
emit(AuthSuccess(user));
} catch (e) {
emit(AuthFailure(e.toString()));
}
}
}RiverpodはモダンなAPIとテストの容易さから、新規プロジェクトに推奨されます。
9. FlutterにおけるClean Architectureとは何ですか?
Clean Architectureはコードを独立したレイヤーに分離します。Domain(ビジネスロジック)、Data(データソース)、Presentation(UI)の3層です。この分離によりテストとメンテナンスが容易になります。
// Entity: pure business object, no framework dependency
class User {
  final String id;
  final String email;
  final String name;

  const User({
    required this.id,
    required this.email,
    required this.name,
  });
}

// domain/repositories/user_repository.dart
// Interface: abstract contract, implementation in Data
abstract class UserRepository {
  Future<User> getUser(String id);
  Future<void> updateUser(User user);
}

// domain/usecases/get_user_usecase.dart
// Use case: isolated business logic
class GetUserUseCase {
  final UserRepository _repository;

  GetUserUseCase(this._repository);

  Future<User> call(String userId) {
    return _repository.getUser(userId);
  }
}// Concrete implementation with data sources
class UserRepositoryImpl implements UserRepository {
final UserRemoteDataSource _remoteDataSource;
final UserLocalDataSource _localDataSource;
UserRepositoryImpl(this._remoteDataSource, this._localDataSource);
Future<User> getUser(String id) async {
try {
// Try local cache first
final cachedUser = await _localDataSource.getUser(id);
if (cachedUser != null) return cachedUser;
} catch (_) {}
// Fallback to API
final user = await _remoteDataSource.fetchUser(id);
await _localDataSource.cacheUser(user);
return user;
}
}Domainレイヤーは何にも依存せず、DataはDomainに依存し、Presentationは両方に依存します。
10. 依存性注入はどのように実装しますか?
依存性注入は、依存関係を外部から提供することでコンポーネント間の結合を解消します。RiverpodのProviderはこの目的に優れています。
// Provider definitions (dependencies)
final apiClientProvider = Provider<ApiClient>((ref) {
return ApiClient(baseUrl: Environment.apiUrl);
});
final userRepositoryProvider = Provider<UserRepository>((ref) {
// Automatically injects ApiClient
final client = ref.watch(apiClientProvider);
return UserRepositoryImpl(client);
});
final getUserUseCaseProvider = Provider<GetUserUseCase>((ref) {
final repository = ref.watch(userRepositoryProvider);
return GetUserUseCase(repository);
});
// Usage in a widget
class UserScreen extends ConsumerWidget {
Widget build(BuildContext context, WidgetRef ref) {
final getUserUseCase = ref.watch(getUserUseCaseProvider);
// Use the use case...
}
}
// Tests: easy dependency override
void main() {
testWidgets('displays user', (tester) async {
await tester.pumpWidget(
ProviderScope(
overrides: [
// Replace with mock for tests
userRepositoryProvider.overrideWithValue(MockUserRepository()),
],
child: const MyApp(),
),
);
});
}最大の利点は、テスト時に任意の依存関係をモックに置き換えられることです。
パフォーマンスの質問
11. 再構築のパフォーマンスを最適化するには?
再構築を最小限に抑えることがパフォーマンス向上の鍵です。主な手法は、constウィジェット、粒度の細かい分割、Riverpodセレクターの活用です。
// ❌ Bad: everything rebuilds on each change
class BadExample extends ConsumerWidget {
Widget build(BuildContext context, WidgetRef ref) {
final user = ref.watch(userProvider);
return Column(
children: [
Text(user.name),
Text(user.email),
const ExpensiveWidget(), // Rebuilds unnecessarily
],
);
}
}
// ✅ Good: selector to rebuild only if name changes
class GoodExample extends ConsumerWidget {
Widget build(BuildContext context, WidgetRef ref) {
// select: rebuilds only if name changes
final name = ref.watch(userProvider.select((u) => u.name));
return Text(name);
}
}
// ✅ Good: splitting into smaller widgets
class OptimizedScreen extends StatelessWidget {
Widget build(BuildContext context) {
return Column(
children: [
const Header(), // Static, never rebuilds
const UserNameWidget(), // Rebuilds if name changes
const UserEmailWidget(), // Rebuilds if email changes
const Footer(), // Static
],
);
}
}DevToolsのPerformanceタブで、過剰な再構築を特定できます。
12. 長いリストを最適化するには?
長いリストにはListView.builderによる遅延読み込みが必要です。20以上のアイテムがある場合、直接childrenを持つListViewの使用は避けるべきです。
class OptimizedList extends StatelessWidget {
final List<Item> items;
const OptimizedList({super.key, required this.items});
Widget build(BuildContext context) {
// ✅ ListView.builder: builds on demand
return ListView.builder(
// Fixed height improves scrolling
itemExtent: 72,
itemCount: items.length,
itemBuilder: (context, index) {
return ItemTile(
// Key to preserve state during scroll
key: ValueKey(items[index].id),
item: items[index],
);
},
);
}
}
// List widget with infinite loading
class InfiniteList extends ConsumerStatefulWidget {
ConsumerState<InfiniteList> createState() => _InfiniteListState();
}
class _InfiniteListState extends ConsumerState<InfiniteList> {
final _scrollController = ScrollController();
void initState() {
super.initState();
_scrollController.addListener(_onScroll);
}
void _onScroll() {
// Load more data near the end
if (_scrollController.position.pixels >=
_scrollController.position.maxScrollExtent - 200) {
ref.read(itemsProvider.notifier).loadMore();
}
}
Widget build(BuildContext context) {
final items = ref.watch(itemsProvider);
return ListView.builder(
controller: _scrollController,
itemCount: items.length,
itemBuilder: (context, index) => ItemTile(item: items[index]),
);
}
}1000件以上の超長大リストには、ListView.separatedやscrollable_positioned_listなどの専用パッケージの検討が推奨されます。
画像を含むリストでは、再読み込みを防ぐためにcached_network_imageを使用してください。キャッシュされていない画像はスクロール時のカクつきの原因になります。
13. Impellerレンダリングエンジンの仕組みを説明してください
ImpellerはFlutter 3.16以降でSkiaに代わるデフォルトのレンダリングエンジンです。シェーダーを事前コンパイルすることで、初回表示時の「ジャンク」を排除します。
// Complex animations benefit from Impeller
class SmoothAnimation extends StatefulWidget {
State<SmoothAnimation> createState() => _SmoothAnimationState();
}
class _SmoothAnimationState extends State<SmoothAnimation>
with SingleTickerProviderStateMixin {
late AnimationController _controller;
void initState() {
super.initState();
_controller = AnimationController(
duration: const Duration(seconds: 2),
vsync: this,
)..repeat();
}
Widget build(BuildContext context) {
return AnimatedBuilder(
animation: _controller,
builder: (context, child) {
// Impeller: no runtime shader compilation
return Transform.rotate(
angle: _controller.value * 2 * 3.14159,
child: child,
);
},
child: const FlutterLogo(size: 100),
);
}
}ImpellerはiOSではデフォルトで有効です。Androidではflutter run --enable-impellerで互換性を確認できます。
ナビゲーションとフォームの質問
14. ディープリンクを使ったナビゲーションはどのように実装しますか?
ディープリンクはURLを通じてアプリの特定の画面を直接開く仕組みです。GoRouterはこの機能をネイティブにサポートしています。
final router = GoRouter(
  routes: [
    GoRoute(
      path: '/products/:productId',
      builder: (context, state) {
        // Extract URL parameter
        final productId = state.pathParameters['productId']!;
        return ProductScreen(productId: productId);
      },
    ),
    GoRoute(
      path: '/search',
      builder: (context, state) {
        // Query parameters (?query=flutter)
        final query = state.uri.queryParameters['query'] ?? '';
        return SearchScreen(initialQuery: query);
      },
    ),
  ],
);

// Programmatic navigation
void navigateToProduct(BuildContext context, String id) {
  // go: replaces navigation stack
  context.go('/products/$id');

  // push: adds to stack (allows back)
  context.push('/products/$id');

  // pushNamed with extra for complex data
  context.pushNamed(
    'productDetail',
    pathParameters: {'productId': id},
    extra: ProductData(id: id),
  );
}
システムレベルのディープリンクを有効にするには、ネイティブファイル(AndroidManifest.xml、Info.plist)の設定が必要です。
15. フォームバリデーションを効果的に実装するには?
バリデーションはForm、TextFormField、カスタムバリデーターを組み合わせて実現します。formzのようなZodライクなパッケージで構造化することも可能です。
class RegistrationForm extends StatefulWidget {
State<RegistrationForm> createState() => _RegistrationFormState();
}
class _RegistrationFormState extends State<RegistrationForm> {
final _formKey = GlobalKey<FormState>();
final _emailController = TextEditingController();
final _passwordController = TextEditingController();
final _confirmController = TextEditingController();
Widget build(BuildContext context) {
return Form(
key: _formKey,
// Real-time validation
autovalidateMode: AutovalidateMode.onUserInteraction,
child: Column(
children: [
TextFormField(
controller: _emailController,
decoration: const InputDecoration(labelText: 'Email'),
keyboardType: TextInputType.emailAddress,
validator: _validateEmail,
),
TextFormField(
controller: _passwordController,
decoration: const InputDecoration(labelText: 'Password'),
obscureText: true,
validator: _validatePassword,
),
TextFormField(
controller: _confirmController,
decoration: const InputDecoration(labelText: 'Confirm'),
obscureText: true,
validator: _validateConfirmPassword,
),
ElevatedButton(
onPressed: _submit,
child: const Text('Create account'),
),
],
),
);
}
String? _validateEmail(String? value) {
if (value == null || value.isEmpty) {
return 'Email required';
}
final emailRegex = RegExp(r'^[\w-\.]+@([\w-]+\.)+[\w-]{2,4}$');
if (!emailRegex.hasMatch(value)) {
return 'Invalid email format';
}
return null;
}
String? _validatePassword(String? value) {
if (value == null || value.length < 8) {
return 'Minimum 8 characters';
}
if (!value.contains(RegExp(r'[A-Z]'))) {
return 'At least one uppercase letter required';
}
if (!value.contains(RegExp(r'[0-9]'))) {
return 'At least one number required';
}
return null;
}
String? _validateConfirmPassword(String? value) {
if (value != _passwordController.text) {
return 'Passwords do not match';
}
return null;
}
void _submit() {
if (_formKey.currentState!.validate()) {
// Form is valid, proceed
}
}
}AutovalidateMode.onUserInteractionモードは、ユーザーが操作した後にエラーを表示するため、最も優れたUXを提供します。
テストの質問
16. Flutterウィジェットのテスト方法は?
ウィジェットテストはデバイスに依存せずにUIを検証します。flutter_testパッケージが必要なユーティリティを提供します。
import 'package:flutter_test/flutter_test.dart';
import 'package:flutter_riverpod/flutter_riverpod.dart';

void main() {
  testWidgets('displays welcome message', (tester) async {
    // Arrange: build the widget
    await tester.pumpWidget(
      const ProviderScope(
        child: MaterialApp(
          home: WelcomeScreen(username: 'Alice'),
        ),
      ),
    );

    // Assert: verify content
    expect(find.text('Welcome, Alice'), findsOneWidget);
  });

  testWidgets('button increments counter', (tester) async {
    await tester.pumpWidget(
      const MaterialApp(home: CounterScreen()),
    );

    // Initial state
    expect(find.text('0'), findsOneWidget);

    // Act: tap the button
    await tester.tap(find.byType(ElevatedButton));
    await tester.pump(); // Rebuild after setState

    // Assert: counter incremented
    expect(find.text('1'), findsOneWidget);
  });

  testWidgets('form validates email', (tester) async {
    await tester.pumpWidget(
      const MaterialApp(home: LoginForm()),
    );

    // Enter invalid email
    await tester.enterText(
      find.byKey(const Key('email-field')),
      'invalid-email',
    );
    await tester.tap(find.byType(ElevatedButton));
    await tester.pump();

    // Verify error message
    expect(find.text('Invalid email format'), findsOneWidget);
  });
}pump()は1フレーム進め、pumpAndSettle()はすべてのアニメーションの完了を待ちます。
17. Riverpodプロバイダーのテスト方法は?
RiverpodはProviderContainerとオーバーライドによりテストを容易にします。
import 'package:flutter_riverpod/flutter_riverpod.dart';
import 'package:flutter_test/flutter_test.dart';
import 'package:mocktail/mocktail.dart';

// Repository mock
class MockUserRepository extends Mock implements UserRepository {}

void main() {
  late MockUserRepository mockRepository;
  late ProviderContainer container;

  setUp(() {
    mockRepository = MockUserRepository();
    container = ProviderContainer(
      overrides: [
        userRepositoryProvider.overrideWithValue(mockRepository),
      ],
    );
  });

  tearDown(() {
    container.dispose();
  });

  test('loads user from repository', () async {
    // Arrange
    final expectedUser = User(id: '1', name: 'Test');
    when(() => mockRepository.getUser('1'))
        .thenAnswer((_) async => expectedUser);

    // Act
    final user = await container.read(userProvider('1').future);

    // Assert
    expect(user, expectedUser);
    verify(() => mockRepository.getUser('1')).called(1);
  });

  test('handles repository error', () async {
    when(() => mockRepository.getUser(any()))
        .thenThrow(Exception('Network error'));

    expect(
      () => container.read(userProvider('1').future),
      throwsException,
    );
  });
}
プロバイダーテストはUI描画を必要としないため、高速に実行されます。
デプロイの質問
18. 開発・ステージング・本番環境の管理方法は?
環境設定は.envファイルまたは--dart-defineによるコンパイル時定数で管理します。
enum Environment { dev, staging, prod }

class AppConfig {
  final Environment environment;
  final String apiUrl;
  final bool enableAnalytics;

  const AppConfig._({
    required this.environment,
    required this.apiUrl,
    required this.enableAnalytics,
  });

  // Predefined configurations
  static const dev = AppConfig._(
    environment: Environment.dev,
    apiUrl: 'https://api-dev.example.com',
    enableAnalytics: false,
  );

  static const staging = AppConfig._(
    environment: Environment.staging,
    apiUrl: 'https://api-staging.example.com',
    enableAnalytics: true,
  );

  static const prod = AppConfig._(
    environment: Environment.prod,
    apiUrl: 'https://api.example.com',
    enableAnalytics: true,
  );

  // Read from --dart-define
  static AppConfig fromEnvironment() {
    const env = String.fromEnvironment('ENV', defaultValue: 'dev');
    switch (env) {
      case 'prod':
        return prod;
      case 'staging':
        return staging;
      default:
        return dev;
    }
  }
}# terminal
# Launch with specific environment
flutter run --dart-define=ENV=staging
# Production build
flutter build apk --dart-define=ENV=prod --release19. 複数のアプリバリアントを作るフレーバリングとは?
フレーバリングは、異なる設定(アイコン、名前、API)を持つ複数のバリアント(client1、client2)を作成する仕組みです。
import 'package:flutter/material.dart';
import 'config/flavor_config.dart';
import 'app.dart';

void main() {
  FlavorConfig(
    flavor: Flavor.client1,
    name: 'App Client 1',
    apiUrl: 'https://api.client1.com',
    primaryColor: Colors.blue,
  );
  runApp(const App());
}

// config/flavor_config.dart
enum Flavor { client1, client2, internal }

class FlavorConfig {
  final Flavor flavor;
  final String name;
  final String apiUrl;
  final Color primaryColor;

  // Singleton for global access
  static FlavorConfig? _instance;
  static FlavorConfig get instance => _instance!;

  FlavorConfig({
    required this.flavor,
    required this.name,
    required this.apiUrl,
    required this.primaryColor,
  }) {
    _instance = this;
  }

  bool get isProduction => flavor != Flavor.internal;
}
各フレーバーに対応するネイティブファイル(Androidのbuild.gradle、iOSのxcconfig)の設定も必要です。
20. Flutterのセキュリティベストプラクティスは?
セキュリティは、機密データの保存、入力バリデーション、リバースエンジニアリング対策の3つの領域をカバーします。
import 'package:flutter_secure_storage/flutter_secure_storage.dart';

class SecureStorage {
  // Encrypted storage for sensitive data
  final _storage = const FlutterSecureStorage(
    aOptions: AndroidOptions(encryptedSharedPreferences: true),
    iOptions: IOSOptions(accessibility: KeychainAccessibility.first_unlock),
  );

  Future<void> saveToken(String token) async {
    await _storage.write(key: 'auth_token', value: token);
  }

  Future<String?> getToken() async {
    return _storage.read(key: 'auth_token');
  }

  Future<void> deleteToken() async {
    await _storage.delete(key: 'auth_token');
  }
}

// Input validation
class InputValidator {
  // Injection prevention
  static String sanitize(String input) {
    return input
        .replaceAll(RegExp(r'[<>"\']'), '')
        .trim();
  }

  // Length validation
  static bool isValidLength(String input, int min, int max) {
    return input.length >= min && input.length <= max;
  }
}

// SSL pinning protection
class SecureApiClient {
  Dio createSecureClient() {
    final dio = Dio();
    // Add certificate pinning
    (dio.httpClientAdapter as IOHttpClientAdapter).createHttpClient = () {
      final client = HttpClient();
      client.badCertificateCallback = (cert, host, port) {
        // Verify certificate fingerprint
        return _isValidCertificate(cert);
      };
      return client;
    };
    return dio;
  }
}シークレットをコードに直接埋め込んではいけません。トークンにはflutter_secure_storageを使用し、本番ビルドには--obfuscateオプションを適用します。
まとめ
これらの20問はFlutter面接の重要な領域を網羅しています。フレームワークの基礎、Dart言語の習熟、アーキテクチャパターン、プロダクション向けベストプラクティスの各分野です。合格の鍵は、構文の暗記ではなく、根底にあるメカニズムの深い理解にあります。
準備チェックリスト
- StatelessWidgetとStatefulWidgetの違いとユースケースを習得する
- ウィジェットツリーと再構築の最適化を理解する
- async/await、Future、Streamを演習で実践する
- Riverpodを使った状態管理プロジェクトを実装する
- GoRouterとディープリンクを把握する
- ユニットテストとウィジェットテストを書く
- マルチ環境構成を理解する
今すぐ練習を始めましょう!
面接シミュレーターと技術テストで知識をテストしましょう。
個人プロジェクトでの継続的な実践が、これらの知識を定着させる最善の方法です。ここで取り上げた各質問は、Flutterフレームワークの細部を習得するために、実際のコードでより深く掘り下げる価値があります。
タグ
共有
関連記事

Flutter:初めてのクロスプラットフォームアプリを構築する
FlutterとDartによるクロスプラットフォームモバイルアプリケーション構築の完全ガイド。Widget、状態管理、ナビゲーション、初心者向けベストプラクティスを解説。
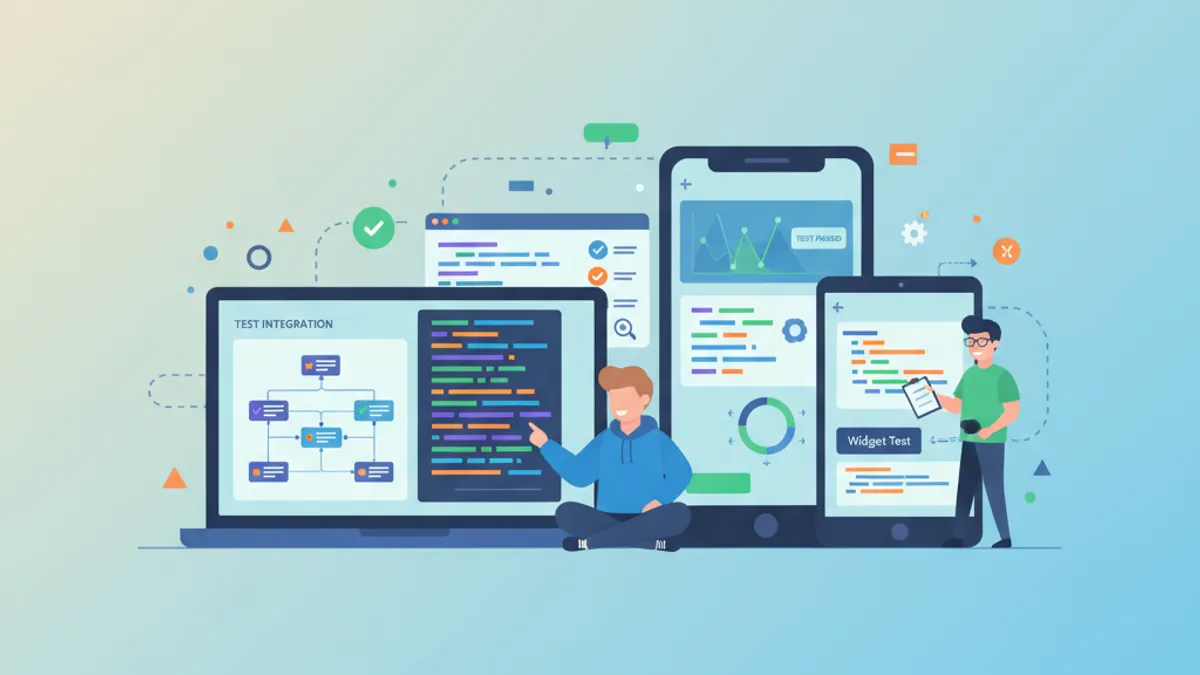
Flutterテスト完全ガイド2026:ウィジェットテスト、統合テスト、面接対策のベストプラクティス
Flutter のウィジェットテスト、統合テスト、ゴールデンテスト、モック戦略を網羅的に解説。2026年の技術面接で問われる実践的なテストパターンとコード例を紹介します。
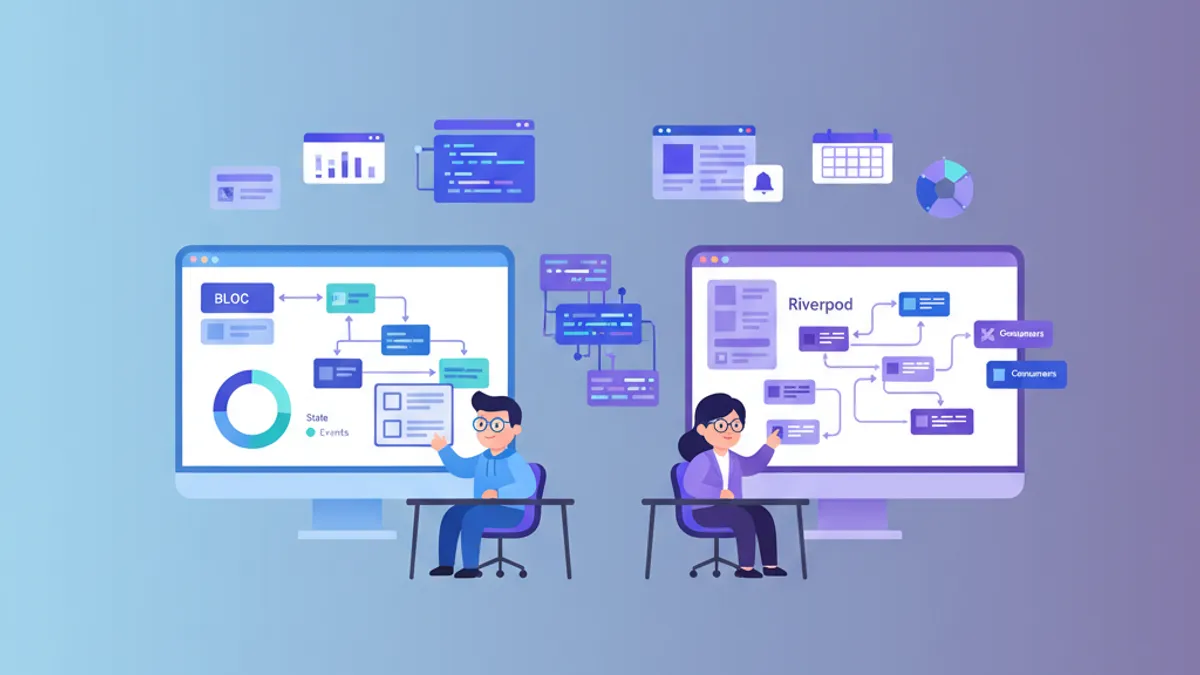
Flutterの状態管理: Riverpod vs BLoC - 完全比較ガイド
Flutterの状態管理におけるRiverpodとBLoCの詳細な比較です。アーキテクチャ、パフォーマンス、テスト容易性、ユースケースから最適なソリューションを選びます。